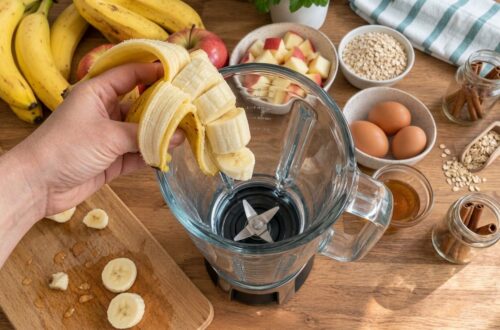
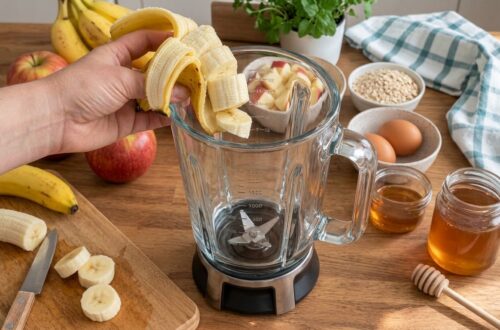
Say goodbye to complicated baking and hello to effortless deliciousness! This article is your ultimate guide to whipping up an incredibly soft and naturally sweet Apple Cake, all with the magic of your blender. No endless bowls or intricate steps – just simple, satisfying baking.
We’re starting with the star: a moist and flavorful blender apple cake that’s perfect for any time of day. But why stop there? We’ll also explore a collection of other quick, blender-friendly recipes that make healthy eating and baking a breeze. Get ready to discover your new favorite easy bakes!
Quick Overview
- Main topic: Easy, blender-made cakes and desserts
- Best for: Quick breakfasts, simple desserts, effortless baking
- Number of recipes: 7
- Prep style: Blender-centric, minimal effort
- Reader benefit: Time-saving, delicious, and convenient homemade treats
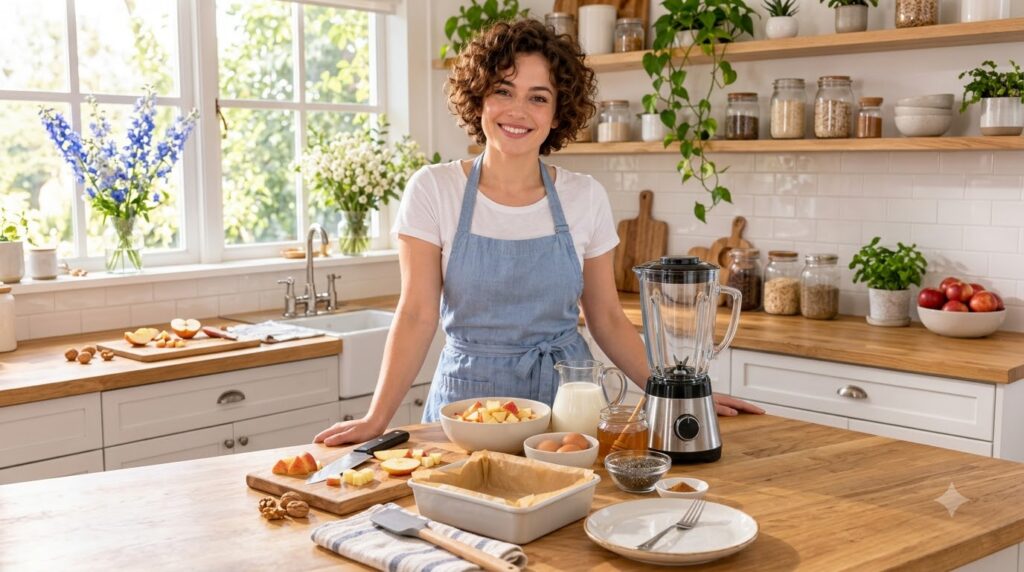
Recipe 1: Easy Blender Apple Cake
This is the star of the show – an incredibly soft and naturally sweet apple cake that comes together with minimal effort, making it perfect for any day of the week.
Servings: 8
Prep time: 10 minutes
Cook / chill / rest time: 30-40 minutes
Ingredients:
- 2 apples, cored and roughly chopped (peeled or unpeeled, your choice!)
- 1 cup all-purpose flour
- 1/2 cup sugar (adjust to taste)
- 2 large eggs
- 1/4 cup vegetable oil or melted butter
- 1/4 cup milk
- 1 teaspoon baking powder
- 1/2 teaspoon ground cinnamon
- A pinch of salt
Instructions:
- Preheat your oven to 350°F (175°C). Grease and flour an 8 or 9-inch round baking pan.
- In a blender, combine the chopped apples, flour, sugar, eggs, oil, milk, baking powder, cinnamon, and salt. Blend until smooth, scraping down the sides as needed.
- Pour the batter into your prepared pan. Optionally, arrange a few extra thin apple slices on top for decoration.
- Bake for 30-40 minutes, or until a toothpick inserted into the center comes out clean. Let it cool completely before serving.
Storage / Serving / Usage Note:
Store leftover cake covered at room temperature for up to 3 days, or refrigerate for up to 5 days. Serve plain, with a dusting of powdered sugar, or a dollop of whipped cream.
Recipe 2: Quick Blender Banana Muffins
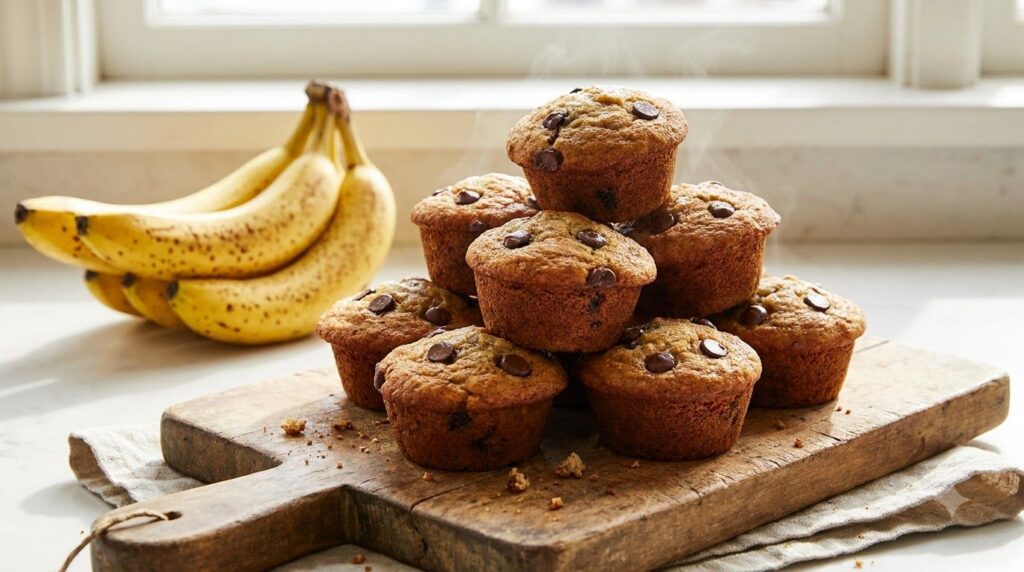
Transform overripe bananas into these moist and flavorful muffins with minimal fuss. Perfect for a quick breakfast or a delightful snack.
Servings: 12 muffins
Prep time: 10 minutes
Cook / chill / rest time: 20-25 minutes
Ingredients:
- 3 ripe bananas, roughly chopped
- 1 large egg
- 1/4 cup melted butter or vegetable oil
- 1/4 cup milk (dairy or non-dairy)
- 1 teaspoon vanilla extract
- 1 1/2 cups all-purpose flour
- 1/2 cup granulated sugar
- 1 teaspoon baking soda
- 1/2 teaspoon ground cinnamon
- Pinch of salt
- 1/2 cup chocolate chips (optional)
Instructions:
- Preheat your oven to 375°F (190°C). Line a 12-cup muffin tin with paper liners or grease generously.
- In a blender, combine chopped bananas, egg, melted butter/oil, milk, and vanilla extract. Blend until smooth.
- In a large bowl, whisk together flour, sugar, baking soda, cinnamon, and salt.
- Pour the wet mixture from the blender into the dry ingredients. Mix gently with a spoon or spatula until just combined (do not overmix). Fold in chocolate chips, if using.
- Divide the batter evenly among the muffin cups.
- Bake for 20-25 minutes, or until a toothpick inserted into the center of a muffin comes out clean. Let cool in the tin for a few minutes before transferring to a wire rack to cool completely.
Storage / Serving / Usage Note:
Store in an airtight container at room temperature for up to 3 days, or freeze for longer storage. Enjoy warm or at room temperature.
Recipe 3: Blender Berry Crumble Bars
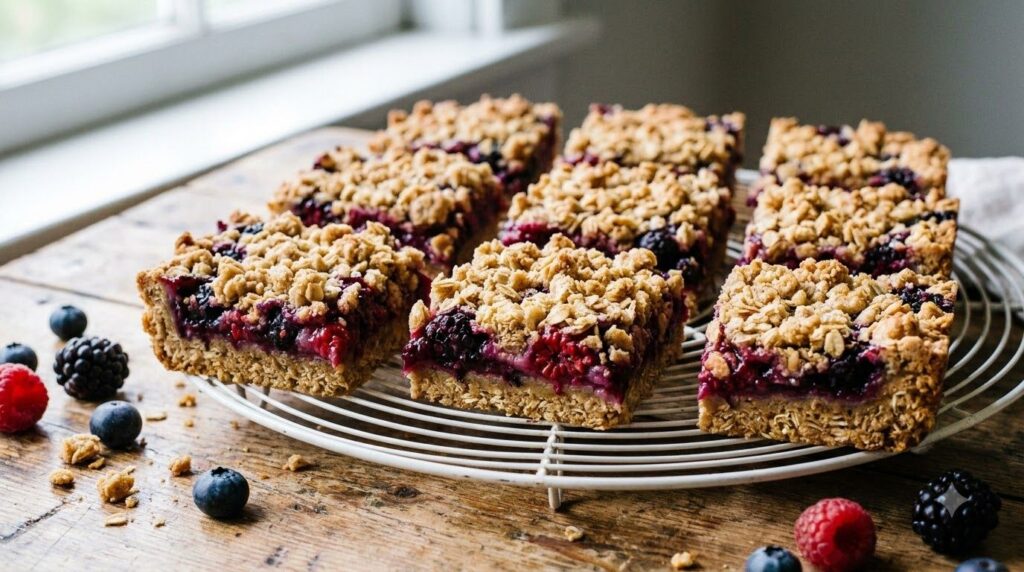
These crumble bars feature a buttery oat crust and topping, with a luscious berry filling, all made simple with your blender.
Servings: 9-12 bars
Prep time: 15 minutes
Cook / chill / rest time: 30-35 minutes bake, 30 minutes chill
Ingredients:
- 1 cup rolled oats
- 1 cup all-purpose flour
- 1/2 cup packed light brown sugar
- 1/2 teaspoon baking powder
- 1/4 teaspoon salt
- 1/2 cup (1 stick) cold unsalted butter, cut into cubes
- 1 1/2 cups mixed berries (fresh or frozen, e.g., blueberries, raspberries)
- 2 tablespoons granulated sugar (for filling)
- 1 tablespoon lemon juice (for filling)
- 1 tablespoon cornstarch (for filling)
Instructions:
- Preheat your oven to 375°F (190°C). Line an 8×8-inch baking pan with parchment paper, leaving an overhang on two sides.
- In a blender or food processor, combine oats, flour, brown sugar, baking powder, and salt. Pulse a few times to mix. Add cold butter cubes and blend until the mixture resembles coarse crumbs.
- Press about two-thirds of the crumb mixture firmly into the bottom of the prepared pan.
- In a separate bowl, combine mixed berries, granulated sugar, lemon juice, and cornstarch. Toss gently to coat.
- Spread the berry mixture evenly over the crust in the pan.
- Crumble the remaining oat mixture over the berry layer.
- Bake for 30-35 minutes, or until the topping is golden brown and the filling is bubbly.
- Let cool completely in the pan on a wire rack, then chill in the refrigerator for at least 30 minutes before lifting out and cutting into bars.
Storage / Serving / Usage Note:
Store in an airtight container at room temperature for up to 3 days, or refrigerate for up to 5 days. These bars are excellent as a snack or a light dessert.
Recipe 4: Blender Lemon Poppy Seed Loaf
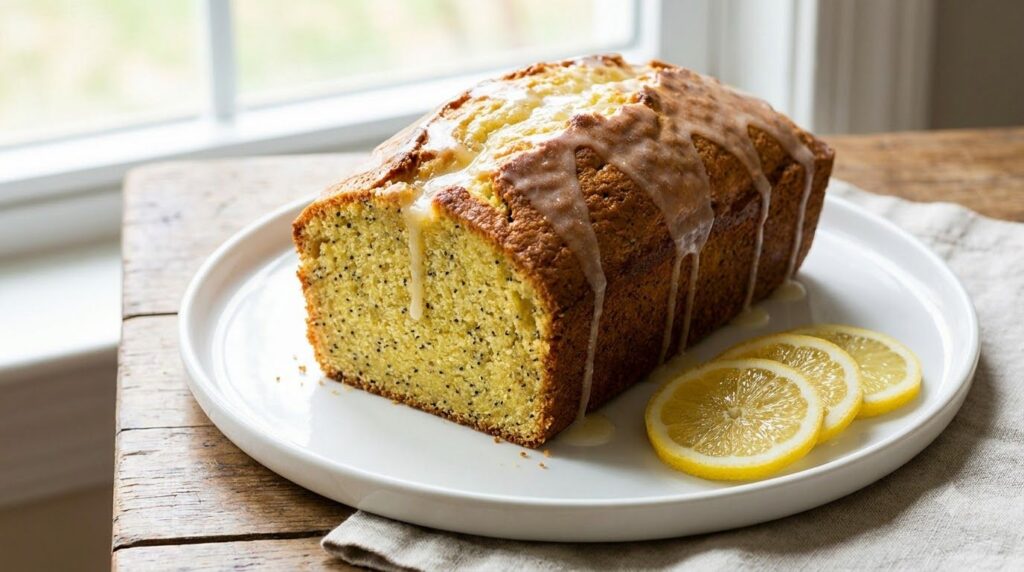
Brighten your day with this zesty lemon poppy seed loaf, where the blender does most of the work to create a tender crumb and vibrant flavor.
Servings: 8-10 slices
Prep time: 10 minutes
Cook / chill / rest time: 45-55 minutes bake
Ingredients:
- For the Loaf:
- 1 1/2 cups all-purpose flour
- 1 cup granulated sugar
- 1 teaspoon baking powder
- 1/4 teaspoon baking soda
- 1/2 teaspoon salt
- 1/2 cup milk (dairy or non-dairy)
- 1/4 cup vegetable oil
- 2 large eggs
- 1 tablespoon lemon zest
- 1/4 cup fresh lemon juice
- 2 tablespoons poppy seeds
- For the Glaze (optional):
- 1/2 cup powdered sugar
- 1-2 tablespoons fresh lemon juice
Instructions:
- Preheat your oven to 350°F (175°C). Grease and flour a 9×5-inch loaf pan.
- In a large bowl, whisk together flour, granulated sugar, baking powder, baking soda, and salt.
- In a blender, combine milk, vegetable oil, eggs, lemon zest, and lemon juice. Blend until smooth.
- Pour the wet ingredients from the blender into the dry ingredients. Stir gently with a spoon or spatula until just combined. Fold in the poppy seeds.
- Pour the batter into the prepared loaf pan and spread evenly.
- Bake for 45-55 minutes, or until a wooden skewer inserted into the center comes out clean.
- Let the loaf cool in the pan for 10 minutes before inverting onto a wire rack to cool completely.
- For the Glaze: Once the loaf is cool, whisk together powdered sugar and lemon juice until smooth. Drizzle over the cooled loaf.
Storage / Serving / Usage Note:
Store the loaf in an airtight container at room temperature for up to 3 days. It’s wonderful with a cup of tea or coffee.
Recipe 5: Blender Zucchini Chocolate Chip Muffins
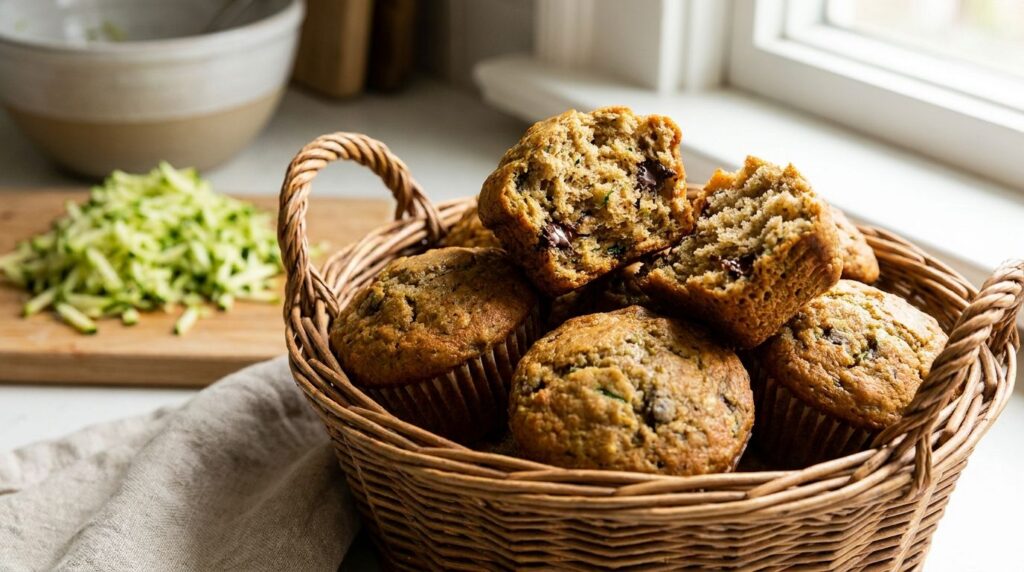
These muffins are a fantastic way to use up extra zucchini, creating a wonderfully moist and chocolatey treat that’s surprisingly easy to make.
Servings: 12 muffins
Prep time: 15 minutes
Cook / chill / rest time: 20-25 minutes
Ingredients:
- 1 medium zucchini, roughly chopped (about 1.5 cups)
- 2 large eggs
- 1/2 cup brown sugar, packed
- 1/4 cup vegetable oil
- 1/4 cup milk (dairy or non-dairy)
- 1 teaspoon vanilla extract
- 1 1/2 cups all-purpose flour
- 1 teaspoon baking powder
- 1/2 teaspoon baking soda
- 1/2 teaspoon ground cinnamon
- Pinch of salt
- 1 cup chocolate chips
Instructions:
- Preheat your oven to 375°F (190°C). Line a 12-cup muffin tin with paper liners or grease generously.
- In a blender, combine chopped zucchini, eggs, brown sugar, vegetable oil, milk, and vanilla extract. Blend until the zucchini is finely processed and the mixture is smooth.
- In a large bowl, whisk together flour, baking powder, baking soda, cinnamon, and salt.
- Pour the wet mixture from the blender into the dry ingredients. Stir gently with a spoon or spatula until just combined. Fold in the chocolate chips.
- Divide the batter evenly among the muffin cups.
- Bake for 20-25 minutes, or until a toothpick inserted into the center of a muffin comes out clean.
- Let cool in the tin for a few minutes before transferring to a wire rack to cool completely.
Storage / Serving / Usage Note:
Store in an airtight container at room temperature for up to 3 days, or refrigerate for up to 5 days. These muffins make a great breakfast or after-school snack.
Recipe 6: Healthy Blender Oat Pancakes
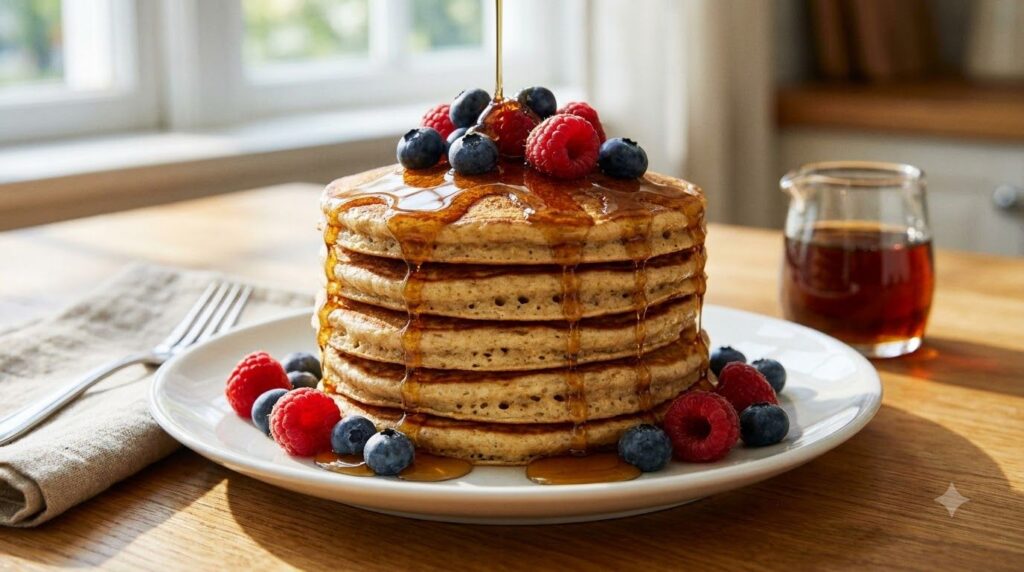
These wholesome pancakes are made entirely in your blender, offering a quick and nutritious way to enjoy a hearty breakfast.
Servings: 2-3
Prep time: 5 minutes
Cook / chill / rest time: 15-20 minutes
Ingredients:
- 1 cup rolled oats
- 1 cup milk (dairy or non-dairy)
- 1 large egg
- 1 ripe banana (or 1/4 cup applesauce)
- 1 teaspoon baking powder
- 1/2 teaspoon ground cinnamon (optional)
- Pinch of salt
- Oil or butter for cooking
Instructions:
- Add all ingredients (oats, milk, egg, banana/applesauce, baking powder, cinnamon, salt) to a blender. Blend until completely smooth. Let the batter rest for 5 minutes while you heat your griddle.
- Heat a lightly oiled or buttered griddle or non-stick pan over medium heat.
- Pour 1/4 cup of batter for each pancake onto the hot griddle.
- Cook for 2-3 minutes per side, or until golden brown and cooked through.
Storage / Serving / Usage Note:
Serve immediately with your favorite toppings like maple syrup, fresh fruit, or nuts. Leftover pancakes can be refrigerated for up to 3 days and reheated in a toaster or microwave.
Recipe 7: Blender Pumpkin Spice Muffins

Enjoy the comforting flavors of autumn with these simple and spiced pumpkin muffins, all mixed up in your blender.
Servings: 12 muffins
Prep time: 10 minutes
Cook / chill / rest time: 20-22 minutes
Ingredients:
- 1 cup pumpkin puree (not pumpkin pie filling)
- 2 large eggs
- 1/2 cup granulated sugar
- 1/4 cup brown sugar, packed
- 1/4 cup vegetable oil or melted butter
- 1/4 cup milk (dairy or non-dairy)
- 1 teaspoon vanilla extract
- 1 1/2 cups all-purpose flour
- 1 teaspoon baking powder
- 1 teaspoon pumpkin pie spice
- 1/2 teaspoon baking soda
- Pinch of salt
- 1/2 cup chopped pecans or walnuts (optional)
Instructions:
- Preheat your oven to 375°F (190°C). Line a 12-cup muffin tin with paper liners or grease generously.
- In a blender, combine pumpkin puree, eggs, granulated sugar, brown sugar, vegetable oil, milk, and vanilla extract. Blend until smooth.
- In a large bowl, whisk together flour, baking powder, pumpkin pie spice, baking soda, and salt.
- Pour the wet mixture from the blender into the dry ingredients. Stir gently with a spoon or spatula until just combined. Fold in chopped nuts, if using.
- Divide the batter evenly among the muffin cups.
- Bake for 20-22 minutes, or until a toothpick inserted into the center of a muffin comes out clean.
- Let cool in the tin for a few minutes before transferring to a wire rack to cool completely.
Storage / Serving / Usage Note:
Store in an airtight container at room temperature for up to 3 days, or refrigerate for up to 5 days. These muffins are perfect for a cozy morning or an afternoon treat.
Simple Tips for Best Results
- Don’t Overmix: After blending wet ingredients, gently fold them into dry ingredients. Overmixing can lead to tough baked goods.
- Adjust Sweetness: The amount of sugar can often be adjusted to your preference, especially when using naturally sweet ingredients like ripe fruit.
- Use Ripe Fruit: For recipes like banana muffins or apple cake, very ripe fruit adds natural sweetness and moisture.
- Grease and Flour: Always properly grease and flour your baking pans (or use parchment paper/liners) to prevent sticking.
- Cool Completely: For cakes and bars, allowing them to cool completely before slicing prevents crumbling and ensures the best texture.
FAQ
What kind of blender is best for these recipes?
A standard kitchen blender or even a high-speed blender will work for these recipes. The key is that it’s powerful enough to create a smooth batter or mixture.
Can I use whole wheat flour instead of all-purpose flour?
Yes, you can often substitute a portion of all-purpose flour with whole wheat flour for added fiber and nutrients. Start by replacing half, as whole wheat flour can sometimes result in a denser texture.
How can I tell if my baked goods are fully cooked?
A reliable test is to insert a toothpick or thin wooden skewer into the center of the cake or muffin. If it comes out clean or with only a few moist crumbs attached, it’s done.
Final Thoughts
Baking doesn’t have to be a complicated affair. With your trusty blender and these simple recipes, you can whip up delicious, homemade treats like the Easy Blender Apple Cake and many more, with minimal effort and maximum enjoyment. Embrace the convenience and savor the flavors!