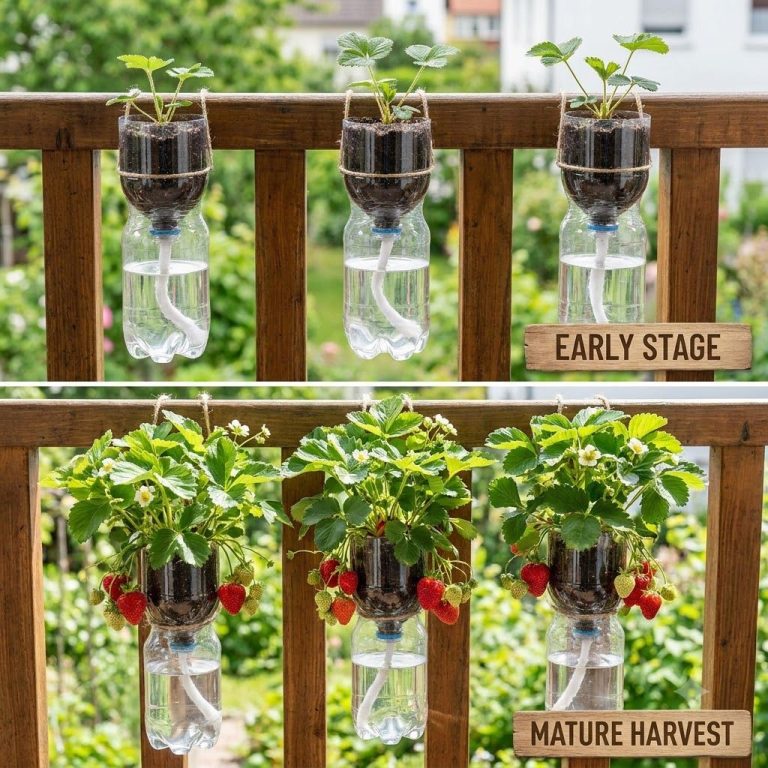
DIY Self-Watering Bottle System for Thriving Balcony Strawberries
Dreaming of fresh, juicy strawberries right on your balcony? Urban gardening can be a challenge, especially when it comes to consistent watering. But what if we told you there’s a simple, affordable, and incredibly effective DIY solution that will keep your strawberry plants hydrated and happy, even on the busiest days? Welcome to the world of the DIY self-watering bottle system!
For many gardening enthusiasts with limited space, balcony gardens are a wonderful way to bring nature closer. However, plants in containers dry out quickly, and uneven watering can lead to stressed plants and smaller harvests. This ingenious self-watering system provides a constant supply of moisture directly to the roots, ensuring your strawberries flourish with minimal fuss.
Benefits of a DIY Self-Watering System
Why go self-watering? The advantages are numerous, especially for a busy gardener:
- Consistent Moisture: Plants get a steady supply of water, preventing the stress caused by cycles of drought and overwatering.
- Water Efficiency: Less water is lost to evaporation or runoff, making it an eco-friendly choice.
- Time-Saving: You don’t have to water daily, giving you more time to enjoy your garden rather than maintaining it.
- Nutrient Retention: Water goes directly to the roots, minimizing nutrient leaching from the soil.
- Reduced Pests & Diseases: Less surface moisture can deter certain pests and fungal diseases.
Materials You’ll Need
Gathering your supplies is the first step towards a bountiful strawberry harvest!
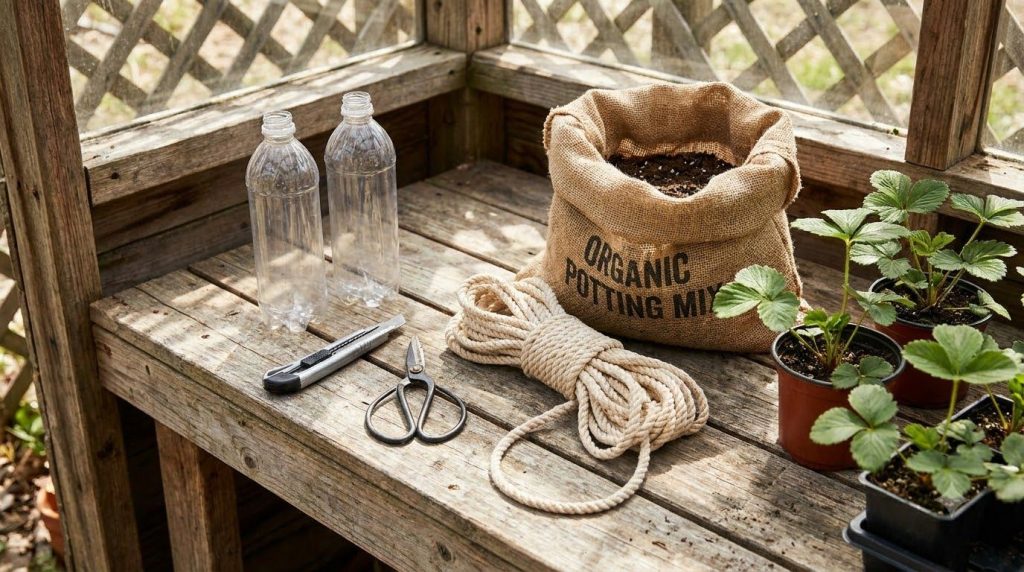
- Two empty plastic bottles (1.5L or 2L soda bottles work great)
- A sharp knife or box cutter (use with caution!)
- Scissors
- Cotton rope, old shoelaces, or a strip of old cotton fabric (for the wick)
- Potting mix (well-draining, specific for fruits or vegetables)
- Strawberry plant starts or seeds
- Drill or awl (optional, for making holes)
Step-by-Step Guide to Building Your System
Prepare Your Bottles
- Cut the Bottle: Take one plastic bottle and cut it about 1/3 of the way down from the top. The top section will be where your plant grows, and the bottom section will hold the water reservoir.
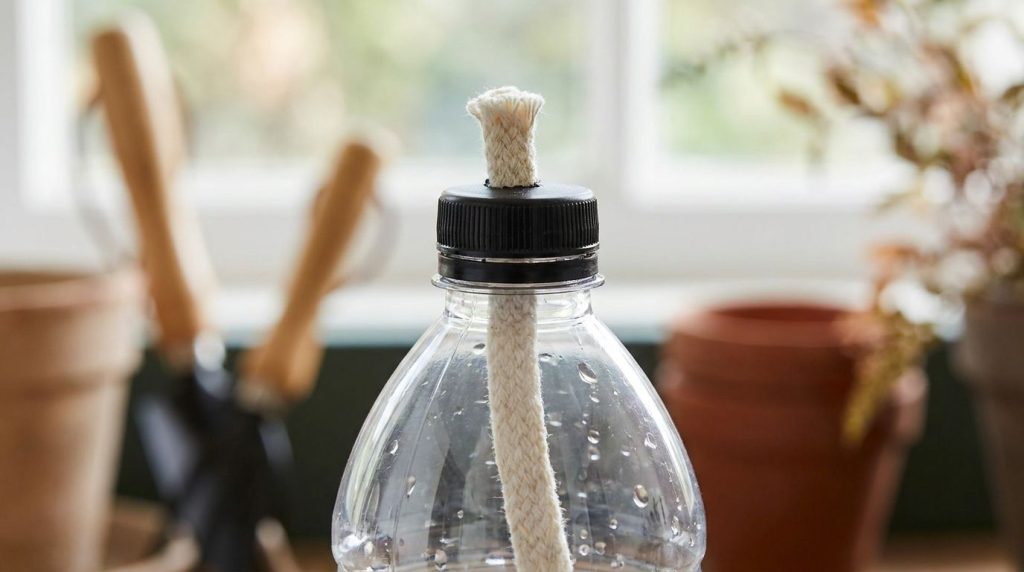
- Make Drainage/Wick Hole: In the bottle cap of the *top section*, make a hole large enough for your wick to pass through. If you’re not using the cap, ensure there’s a hole at the very bottom of the top section for the wick.
- Prepare the Wick: Cut a piece of cotton rope or fabric about 12-15 inches long. Thread it through the hole you just made in the bottle cap or the bottom of the top section. You want about 2-3 inches of the wick sticking out of the cap/bottom (this will go into the water) and the rest extending into the planter section.
Assemble the System
- Invert the Top: Place the top section of the bottle (with the wick and cap attached, or simply with the wick threaded through) upside down into the bottom section. It should fit snugly. The wick should extend down into the bottom reservoir.
- Fill with Soil: Fill the inverted top section with your potting mix. Gently pull the wick up into the soil as you fill, ensuring it’s well distributed to draw moisture effectively.
- Water Reservoir: Fill the bottom section (the reservoir) with water. Make sure the wick is submerged in the water.
Plant Your Strawberries
- Planting: Carefully plant your strawberry start into the soil in the top section. If planting from seed, follow package instructions for depth and spacing.
- Initial Watering: Water the soil from the top thoroughly the first time to help settle the plant and activate the wick.
Tips for Thriving Balcony Strawberries in Your New System
- Sunlight: Strawberries love sun! Place your system in a spot that receives at least 6-8 hours of direct sunlight per day.
- Refill Regularly: While self-watering, you’ll still need to check the reservoir and refill it when it gets low, usually every few days to once a week depending on plant size and weather.
- Fertilizing: Since water is constantly moving nutrients, a balanced liquid fertilizer can be added to the water reservoir every few weeks during the growing season.
- Pest Control: Keep an eye out for common strawberry pests like slugs, snails, or aphids. Organic pest control methods are best for edible plants.
- Mulch: A thin layer of straw or wood chips on top of the soil can help retain moisture and keep berries clean.
Creating your own self-watering bottle system is an empowering step towards a more sustainable and enjoyable gardening journey. Imagine plucking sweet, ripe strawberries from your own balcony, all thanks to a little DIY ingenuity! It’s a fantastic project for any urban gardener looking to simplify plant care and maximize their harvest. Give it a try, and watch your balcony transform into a strawberry oasis!