Are you searching for that elusive secret to incredibly smooth, youthful-looking skin without breaking the bank? We all dream of a radiant complexion that defies time, but often feel overwhelmed by endless products and complicated routines. What if we told you that the key to unlocking smoother skin might be hiding in your medicine cabinet and bathroom?
Today, we’re diving into a fascinating DIY beauty hack that’s been gaining traction for its simplicity and potential benefits: a homemade wrinkle-fighting gel using just aspirin and baby oil. Get ready to explore an affordable, easy-to-make solution that could become your new go-to for a healthy, glowing look!
Why Aspirin and Baby Oil? The Science Behind the Glow
This unusual combination might raise an eyebrow, but there’s a good reason why these common household items are being touted for their skincare potential:
- Aspirin (Acetylsalicylic Acid): More than just a pain reliever, aspirin contains salicylic acid, a powerful beta-hydroxy acid (BHA). Salicylic acid is a common ingredient in many high-end skincare products, especially those targeting acne and anti-aging. It’s known for its exfoliating properties, helping to slough off dead skin cells, clear clogged pores, and promote cell turnover. This can lead to a smoother skin texture and a reduction in the appearance of fine lines and wrinkles. Aspirin also has anti-inflammatory properties, which can help calm irritated skin.
- Baby Oil (Mineral Oil): Often overlooked, baby oil is essentially mineral oil, a highly effective occlusive agent. This means it creates a protective barrier on the skin’s surface, locking in moisture and preventing water loss. For dry or aging skin, this intense hydration can help plump up the skin, making fine lines less noticeable and giving your complexion a soft, supple feel. It’s also gentle and non-comedogenic, meaning it won’t clog pores for most skin types.
Crafting Your Own Wrinkle-Fighting Gel: A Simple Recipe
Ready to give this natural beauty hack a try? Here’s how to create your own aspirin and baby oil wrinkle-fighting gel at home.
What You’ll Need:
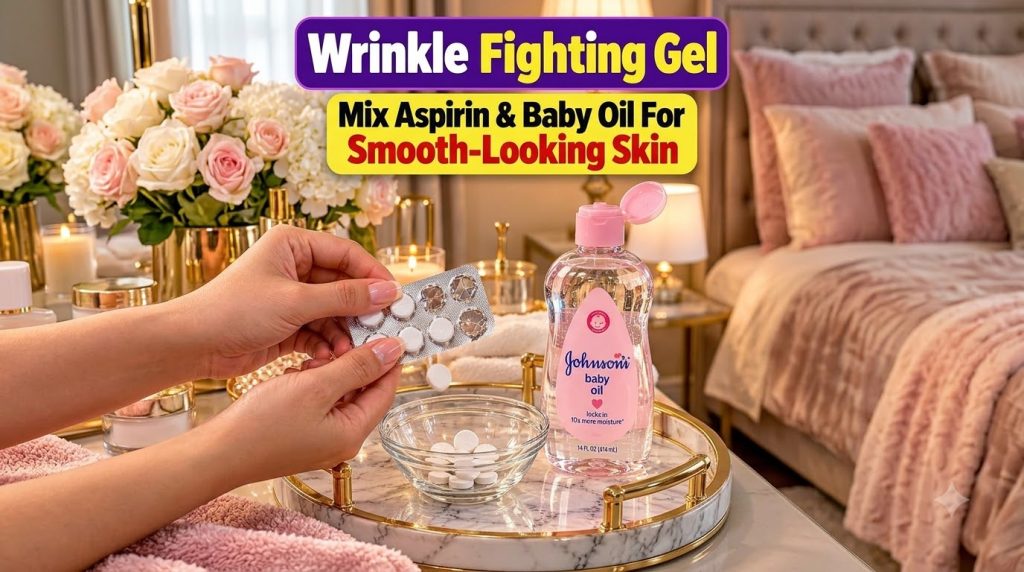
- 5-6 uncoated aspirin tablets (make sure they are plain aspirin, not coated or extended-release)
- 2-3 tablespoons of Johnson’s Baby Oil (or any pure mineral oil)
- A small, clean bowl
- A spoon or fork for crushing
- An airtight container for storage
Step-by-Step Instructions:
- Crush the Aspirin: Place the aspirin tablets into your small, clean bowl. Using the back of a spoon or a fork, carefully crush them into a fine powder. Ensure there are no large lumps remaining for a smooth consistency.
- Add Baby Oil: Gradually add the baby oil to the aspirin powder, starting with two tablespoons. Mix well with your spoon.
- Adjust Consistency: Continue mixing until you achieve a smooth, gel-like paste. If it’s too thick, add a little more baby oil, a few drops at a time, until you reach your desired consistency. It should be easy to spread but not too runny.
- Transfer and Store: Carefully transfer your homemade wrinkle-fighting gel into an airtight container. Store it in a cool, dark place.
How to Incorporate This Gel into Your Routine
Once your gel is ready, here’s how to use it for the best results:
- Patch Test First: Always perform a patch test on a small, inconspicuous area of your skin (like behind your ear or on your inner arm) 24 hours before applying it to your face. This ensures you don’t have an adverse reaction.
- Cleanse Your Skin: Before application, gently cleanse your face to remove any makeup, dirt, or impurities.
- Apply Thinly: Apply a thin, even layer of the gel to your face, focusing on areas with fine lines, wrinkles, or uneven texture. Avoid the delicate eye area and lips.
- Leave On: Allow the gel to sit on your skin for about 10-15 minutes. You might feel a slight tingling sensation, which is normal, but if you experience any burning or discomfort, rinse it off immediately.
- Rinse Thoroughly: After the recommended time, gently rinse your face with lukewarm water, making sure to remove all traces of the gel.
- Follow with Moisturizer: Pat your skin dry and follow up with your regular moisturizer to lock in hydration.
- Frequency: Start by using this gel 1-2 times a week. If your skin tolerates it well, you can gradually increase to 2-3 times a week, but always listen to your skin.
Important Considerations for DIY Skincare
- Sun Sensitivity: Salicylic acid can increase your skin’s sensitivity to the sun. Always use a broad-spectrum sunscreen (SPF 30 or higher) daily when using this treatment, and limit sun exposure.
- Ingredient Purity: Ensure you are using plain, uncoated aspirin. Avoid any varieties with additional active ingredients or coatings, as these could irritate your skin.
- Individual Results: Skincare results can vary greatly from person to person. While many find success with natural remedies, this DIY gel is not a medical treatment for wrinkles and should be used with realistic expectations.
- Consult a Professional: If you have sensitive skin, allergies, or existing skin conditions, it’s always best to consult with a dermatologist before trying new DIY treatments.
Embracing natural, homemade beauty solutions can be incredibly empowering and budget-friendly. This aspirin and baby oil wrinkle-fighting gel offers a simple yet potentially effective way to achieve that smooth, healthy glow you’ve been longing for. Give it a try and share your experience with us!
What are your favorite natural ingredients for glowing skin? Let us know in the comments below!