Get ready to meet your new favorite healthy treat! This 2-ingredient Peanut Butter Banana ‘Nice’ Cream is an absolute game-changer for anyone craving something sweet, creamy, and satisfying without any guilt. Forget complex recipes or unhealthy additives – this delightful dessert proves that sometimes, less truly is more. It’s perfect for those moments when a sweet tooth strikes but you want to stick to your healthy eating goals.
This incredible ‘nice’ cream is naturally sweetened by ripe bananas and made extra delicious with the rich, nutty flavor of peanut butter. It’s so simple that even the most kitchen-shy individuals can whip it up in minutes. Whether you’re looking for a post-dinner treat, a refreshing snack on a warm day, or a quick breakfast on the go, this recipe has you covered. It’s suitable for almost everyone, including vegans, gluten-free eaters, and kids who will love its ice cream-like texture.
In this article, you’ll discover how to create the creamiest, most satisfying ‘nice’ cream with just two simple ingredients. We’ll cover everything from the basic steps to expert tips for perfect texture, exciting variations, and smart storage solutions. Get ready to transform humble bananas and peanut butter into a dessert that feels indulgent but is packed with wholesome goodness!
Recipe Summary
- Prep Time: 5 minutes
- Cook Time: 0 minutes
- Total Time: 5 minutes
- Servings: 1-2
- Difficulty Level: Easy
- Course: Dessert, Snack
- Cuisine: American
- Diet Type: Vegan, Gluten-Free, Dairy-Free, Vegetarian
Why You’ll Love This Recipe
- Ready in Minutes: From start to finish, you can have this delicious treat in about 5 minutes.
- Beginner-Friendly: It requires minimal cooking skills and simple steps.
- Naturally Sweetened: No added sugars, just the natural sweetness of ripe bananas.
- Healthy Indulgence: Satisfies your sweet cravings with wholesome ingredients.
- High in Potassium: Thanks to the banana base, it’s a good source of this essential mineral.
- Kid-Approved: A fantastic healthy alternative to traditional ice cream that kids will adore.
- Budget-Friendly: Made with two inexpensive and common pantry staples.
- Versatile: Easily customizable with extra toppings or flavor additions.
Ingredients
- 2-3 ripe bananas: Frozen and sliced into coins. The riper the banana, the sweeter your ‘nice’ cream will be.
- 2 tablespoons creamy peanut butter: Or any nut butter of your choice, such as almond butter or cashew butter. Choose natural, unsweetened varieties if possible.
Equipment Needed
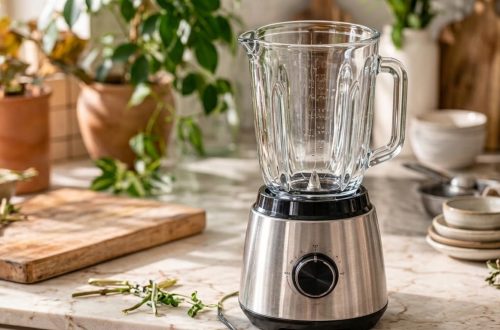
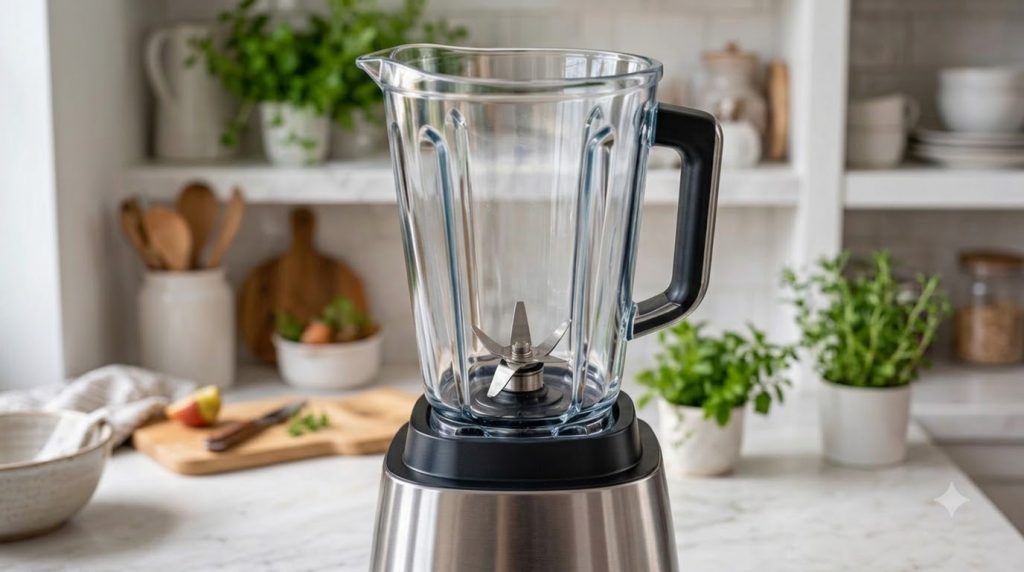
- High-speed blender or food processor
- Spatula or tamper (for the blender)
- Measuring spoons
- Serving bowl
Step-by-Step Instructions
-
Prepare Your Bananas (the most important step for success!)
Start by peeling your ripe bananas and slicing them into 1-inch thick coins. Lay the banana slices in a single layer on a baking sheet lined with parchment paper or a silicone mat. This prevents them from sticking together. Place the baking sheet in the freezer for at least 4-6 hours, or preferably overnight, until the banana slices are completely solid. Frozen solid bananas are key to the creamy, ice cream-like texture.
-
Combine Ingredients in Blender
Once your bananas are thoroughly frozen, transfer the solid banana slices directly into your high-speed blender or food processor. Add the 2 tablespoons of creamy peanut butter on top of the bananas. Ensure your blender is equipped to handle frozen ingredients, as this is a thick mixture.
-
Blend Until Creamy
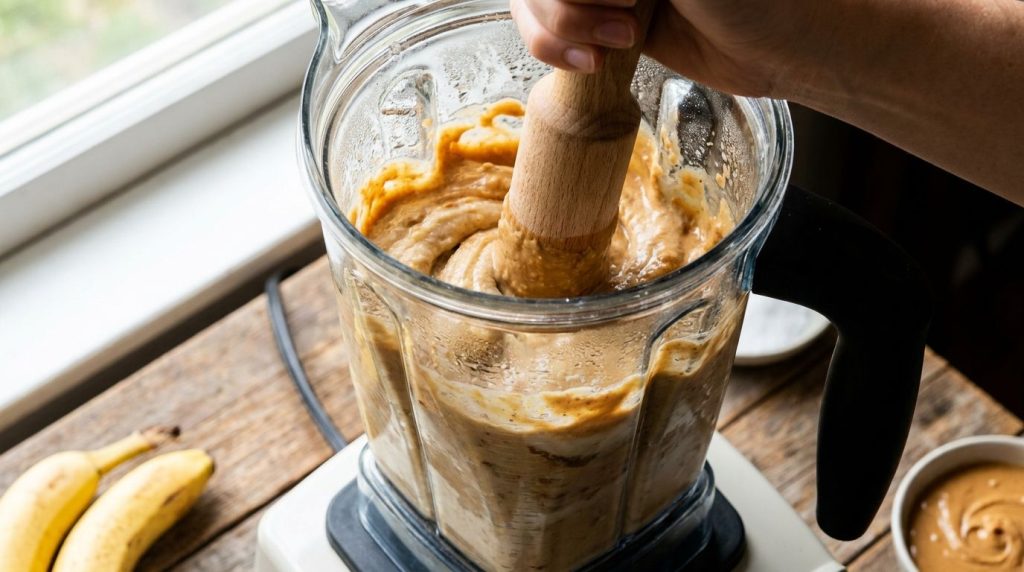
Begin blending the mixture on a low speed, gradually increasing to high. You’ll notice the mixture going through several stages: first, it will look crumbly, then like thick slush, and finally, it will transform into a smooth, creamy, soft-serve consistency. You will likely need to stop and scrape down the sides of the blender with a spatula several times to ensure everything is incorporated. If your blender has a tamper, use it to push the ingredients down towards the blades, which helps immensely with thicker mixtures.
-
Achieve Perfect Texture
Continue blending and scraping until there are no more chunks of banana and the mixture is completely smooth and uniform, resembling soft-serve ice cream. This usually takes about 2-4 minutes depending on your blender’s power. Be patient; it might seem like it won’t come together at first, but it will!
-
Serve Immediately
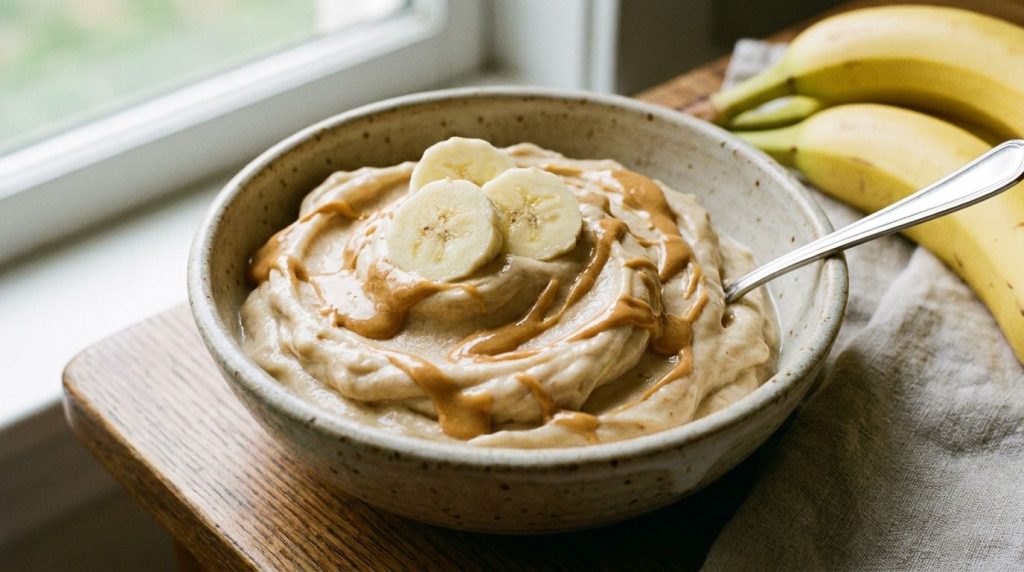
Once you’ve reached the desired creamy consistency, transfer the ‘nice’ cream into a serving bowl. Enjoy it immediately while it’s at its best, having that perfect soft-serve texture. You can garnish with extra banana slices, a drizzle of peanut butter, or any other toppings you love.
Nutrition Highlights
This 2-ingredient Peanut Butter Banana ‘Nice’ Cream is a powerhouse of natural goodness. It’s naturally sweetened, meaning you avoid the refined sugars often found in traditional desserts. Bananas provide essential vitamins and minerals like potassium, Vitamin C, and Vitamin B6, while also contributing dietary fiber for healthy digestion. Peanut butter adds a good dose of protein and healthy monounsaturated fats, helping to keep you feeling full and satisfied. This combination makes for a balanced, energy-boosting treat that supports overall well-being.
Ingredient Benefits
- Bananas: The star of ‘nice’ cream, bananas provide the natural sweetness and incredibly creamy texture when frozen and blended. They are rich in potassium, which is vital for heart health and muscle function, and contain fiber for digestive health. Their natural sugars offer a quick energy boost.
- Peanut Butter: This creamy, nutty addition brings a delightful richness and flavor depth to the ‘nice’ cream. It’s a great source of plant-based protein, which helps with satiety, and healthy fats that are good for heart health. It also contributes to the overall smooth and satisfying consistency.
Expert Tips
- Use Ripe Bananas: The riper your bananas are (think yellow with brown spots), the sweeter and more flavorful your ‘nice’ cream will be. Underripe bananas will yield a less sweet and potentially slightly bitter taste.
- Freeze Bananas Properly: Ensure bananas are completely frozen solid. Slicing them into smaller pieces before freezing helps them freeze faster and blend more easily. A single layer on parchment paper prevents clumping.
- Don’t Add Liquid: Resist the urge to add milk or water to the blender. The magic of ‘nice’ cream is in the friction of the blender blades breaking down the frozen fruit into a creamy consistency without extra liquid, which would make it icy.
- High-Speed Blender is Key: While a food processor can work, a powerful high-speed blender (like a Vitamix or Blendtec) will give you the creamiest, smoothest results with less effort and time.
- Be Patient While Blending: It takes a few minutes for the frozen bananas to break down and become creamy. Stop and scrape the sides frequently, and use a tamper if your blender has one.
- Serve Immediately: For the best soft-serve texture, enjoy your ‘nice’ cream right after blending. It will harden significantly if stored in the freezer for too long.
- Adjust Sweetness (Optional): If your bananas aren’t super ripe and you prefer a sweeter taste, you can add a tiny drizzle of maple syrup or a date to the blender, though it’s usually not necessary.
Recipe Variations
- Chocolate Peanut Butter ‘Nice’ Cream: Add 1-2 tablespoons of unsweetened cocoa powder to the blender for a rich chocolate flavor.
- Protein Boost: Include 1 scoop of your favorite vanilla or chocolate protein powder for an extra protein kick, perfect for post-workout.
- Chunky Monkey Version: Stir in a handful of chocolate chips and chopped walnuts or peanuts after blending.
- Tropical Twist: Substitute half of the bananas with frozen mango or pineapple for a brighter, more tropical flavor profile.
- Seed Boost: Add 1 tablespoon of chia seeds or flax seeds for extra fiber and omega-3s. This might require a tiny splash of milk to maintain creaminess.
- Spiced ‘Nice’ Cream: A pinch of cinnamon or a tiny dash of vanilla extract can enhance the flavor wonderfully.
Storage Instructions
This peanut butter banana ‘nice’ cream is best enjoyed immediately after preparation for that perfect soft-serve consistency. However, if you have leftovers or want to make it slightly ahead, you can store it.
- Refrigerator Storage: ‘Nice’ cream does not store well in the refrigerator, as it will melt back into a liquid consistency.
- Freezer Storage: Transfer any leftovers to an airtight container and freeze for up to 1-2 weeks. Be aware that the texture will become very firm, similar to hard-packed ice cream. When ready to eat, let it thaw on the counter for 10-20 minutes, or microwave for 10-15 seconds, then stir vigorously to regain some creaminess.
- Best Storage Containers: Use shallow, freezer-safe containers with tight-fitting lids to minimize ice crystal formation.
Frequently Asked Questions
Can I make this ahead of time?
While best enjoyed fresh, you can make it ahead and freeze it. Just be prepared for a firmer texture that requires some thawing time before serving.
Can I use fresh bananas?
No, frozen bananas are essential for the creamy, thick, ice cream-like consistency. Fresh bananas will result in a smoothie or a banana-flavored sauce, not ‘nice’ cream.
What kind of peanut butter works best?
Creamy, natural peanut butter (without added sugars or oils) works best for a smooth texture and pure flavor. However, crunchy peanut butter can be used if you enjoy small peanut chunks!
Can children eat this?
Absolutely! This is a fantastic healthy dessert for children, offering natural sweetness and nutrients. Just be mindful of any nut allergies.
My ‘nice’ cream isn’t blending smoothly; what should I do?
Stop the blender, scrape down the sides, and continue blending. If it’s still too thick, you can add 1-2 teaspoons of plant-based milk (like almond or soy milk) at a time, but add as little as possible to maintain thickness.
How ripe should the bananas be for freezing?
For the sweetest flavor, use very ripe bananas – those with plenty of brown spots on the peel. They are naturally sweeter and blend into a creamier consistency.
Is this recipe suitable for dietary restrictions?
Yes, it is naturally vegan, gluten-free, and dairy-free, making it suitable for many dietary needs. Always check your peanut butter ingredients for any hidden additives.
Conclusion
There you have it – a remarkably simple yet incredibly satisfying 2-ingredient Peanut Butter Banana ‘Nice’ Cream recipe! It’s proof that healthy eating doesn’t mean sacrificing flavor or indulgence. This creamy, naturally sweet treat is quick to make, packed with nutrients, and endlessly customizable to suit your cravings. Whether you’re looking for a guilt-free dessert, a refreshing snack, or a unique way to use up overripe bananas, this recipe is sure to become a staple in your kitchen. Go ahead, give it a try tonight, and prepare to be amazed by this delightful, wholesome treat!