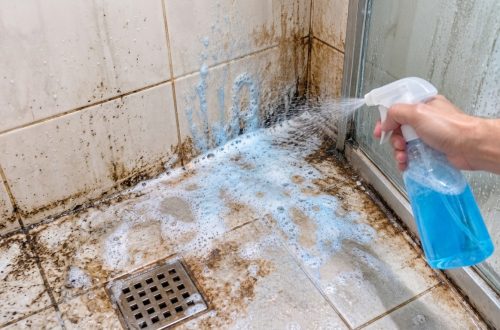
Hard water stains are a common nemesis in many homes, leaving unsightly mineral deposits and cloudy film on faucets, showerheads, and glass. That once shiny chrome fixture can quickly look dull and neglected, making your entire bathroom or kitchen feel less clean than it is. These stubborn white, chalky spots are caused by an accumulation of minerals like calcium and magnesium, which are left behind when hard water evaporates. They can be incredibly frustrating to clean, often resisting standard wiping and scrubbing.
But what if we told you there’s a surprisingly simple, all-natural solution hiding in your pantry that can tackle even the toughest hard water stains? You don’t need harsh chemicals or expensive specialized cleaners to restore the shine to your beloved fixtures. This guide is for anyone tired of battling those chalky white marks and dreaming of sparkling, spotless faucets.
Whether you’re a seasoned cleaning pro looking for a natural alternative or a beginner just starting to tackle home maintenance, this guide will walk you through a foolproof DIY method. We’ll show you how to harness the power of common household ingredients to dissolve mineral buildup and bring back the gleam, transforming your bathroom and kitchen with minimal effort.
Get ready to reclaim the sparkle! By the end of this article, you’ll be equipped with the knowledge and confidence to banish hard water stains from your faucets, leaving them looking brand new. Say goodbye to dull, stained fixtures and hello to a brilliantly clean home.
Quick Summary
- Preparation Time: 5 minutes
- Application Time: 15-60 minutes (depending on stain severity)
- Difficulty Level: Easy
- Best Uses: Removing hard water stains, limescale, and mineral buildup.
- Suitable Surfaces: Chrome, stainless steel, ceramic, porcelain. (Always test first).
- Storage Time: Not applicable (solution made fresh).
Why You’ll Love This DIY Solution
- Easy to make: Simple steps for anyone to follow.
- Budget-friendly: Uses inexpensive, common household ingredients.
- Natural & Non-Toxic: A safer alternative to harsh chemical cleaners.
- Highly Effective: Dissolves stubborn mineral deposits with ease.
- Beginner-friendly: No special skills or tools required.
- Environmentally Friendly: Reduces chemical waste.
- Versatile: Can be adapted for various hard water issues.
- Quick to prepare: Get started on cleaning almost instantly.
Ingredients / Materials
- 1/2 cup white vinegar (distilled white vinegar works best)
- 1/2 cup warm water (tap water is fine)
- 1 tablespoon baking soda
- 1 teaspoon liquid dish soap (optional, for extra degreasing)
- 5-10 drops lemon essential oil (optional, for scent)
Equipment Needed
- Small mixing bowl or measuring cup
- Spray bottle (if making a spray)
- Soft microfiber cloths (2-3)
- Old toothbrush or small scrub brush
- Rubber bands (if soaking)
- Small plastic bag (like a sandwich bag, if soaking)
- Gloves (optional, for sensitive skin)
Step-by-Step Instructions
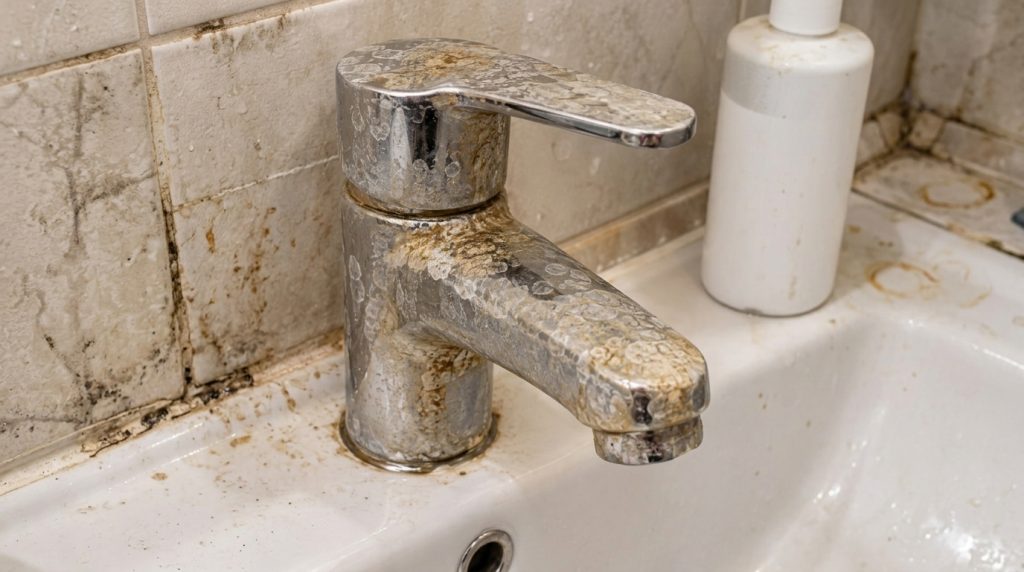
Step 1: Prepare Your Work Area (1 minute)
Before you begin, ensure your faucet area is clear of any items like soap dishes or toothbrushes. If possible, quickly wipe down the faucet with a dry cloth to remove any loose dust or surface grime. This allows our cleaning solution to directly target the mineral deposits. Good preparation is key to an effective clean.
Step 2: Create the Vinegar Solution (2 minutes)
In your small mixing bowl or measuring cup, combine 1/2 cup white vinegar with 1/2 cup warm water. If your stains are particularly tough or if you suspect some greasy buildup, you can add 1 teaspoon of liquid dish soap. For a fresh scent, feel free to add 5-10 drops of lemon essential oil. Stir gently to combine all ingredients. Vinegar is acidic and works wonders in dissolving mineral deposits.
Step 3: Apply the Solution (5-10 minutes initial application)
There are two main ways to apply this solution, depending on the severity of your hard water stains:
- For Light to Moderate Stains: Dip a microfiber cloth into the vinegar solution, ensuring it’s thoroughly saturated but not dripping excessively. Wrap the wet cloth tightly around the entire faucet, paying special attention to areas with visible stains. You can also use a spray bottle to liberally spray the solution directly onto the faucet.
- For Heavy, Stubborn Stains (Soaking Method): For severe buildup, this method is highly effective. Take a small plastic bag (like a sandwich bag) and fill it with enough of the vinegar solution to submerge the stained parts of your faucet. Carefully place the bag over the faucet head or handles, ensuring the stained areas are fully immersed in the solution. Use rubber bands to secure the bag tightly around the faucet, preventing leaks and keeping the solution in contact with the stains.
Step 4: Let it Dwell (15-60 minutes)
This is where the magic happens! Allow the vinegar solution to sit on the faucet for at least 15-30 minutes for light to moderate stains. For very heavy or long-standing mineral deposits, let it dwell for 30 minutes to an hour, or even longer if necessary. The acidity of the vinegar needs time to break down and dissolve the calcium and magnesium buildup. You might even see some bubbling, which indicates the solution is working.
Step 5: Scrub Away the Residue (5-10 minutes)
After the dwelling time, remove the plastic bag or the soaked microfiber cloth. Take an old toothbrush or a small scrub brush and gently scrub the stained areas. You’ll notice that the mineral deposits are now much softer and easier to remove. For any remaining stubborn spots, sprinkle a small amount of baking soda directly onto the area and scrub again with the vinegar-soaked brush or cloth. The mild abrasive quality of baking soda, combined with the vinegar, creates a powerful cleaning duo. Rinse your brush frequently to remove loosened debris.
Step 6: Rinse and Polish (2 minutes)
Once you’ve scrubbed away all the visible stains, thoroughly rinse the faucet with clean, warm water. Make sure to wash away all traces of the cleaning solution and any loosened mineral particles. Finally, grab a fresh, dry microfiber cloth and polish your faucet until it gleams. Buffing with a dry cloth helps prevent new water spots and brings out the natural shine. Admire your sparkling clean results!
Best Uses
This DIY hard water stain remover is incredibly effective and safe for a variety of common household fixtures and surfaces.
- Bathroom Faucets: Ideal for removing limescale and water spots from chrome, stainless steel, and ceramic sink faucets.
- Showerheads: Perfect for clearing clogged nozzles and restoring water flow by dissolving mineral buildup.
- Shower Doors/Glass: Can be sprayed and wiped on glass shower doors to remove hazy film.
- Kitchen Sinks & Faucets: Works wonders on stainless steel and porcelain sinks, as well as kitchen faucets.
- Tiles: Effective on ceramic and porcelain bathroom and kitchen tiles affected by hard water spray.
- Toilet Bowls: Can help remove hard water rings when poured into the bowl and allowed to sit.
Surface Limitations:
- Natural Stone: Avoid using vinegar solutions on natural stone surfaces like marble, granite, or travertine. The acidity can etch or dull these surfaces over time.
- Brass/Bronze (Unsealed): Vinegar can also react with unsealed brass or bronze finishes, potentially causing discoloration. Always test on an inconspicuous area first if unsure.
- Cast Iron (Unsealed): While rare for faucets, unsealed cast iron can be damaged by prolonged acid exposure.
Safety Notes
- Ventilation: Ensure good ventilation in the area you are cleaning, especially if using essential oils, as the vinegar scent can be strong.
- Eye Protection: While relatively mild, it’s always a good idea to wear eye protection to prevent splashes, especially when scrubbing.
- Gloves: If you have sensitive skin or open cuts, wear rubber gloves to protect your hands from prolonged contact with vinegar, which can be drying.
- Test First: Always test the solution on a small, inconspicuous area of the surface you plan to clean to ensure no adverse reactions or discoloration occur. This is particularly important for newer or less common finishes.
- Keep Away from Children and Pets: Store all cleaning ingredients and solutions out of reach of children and pets. Although natural, they are not meant for consumption.
- Never Mix: Never mix vinegar with bleach or ammonia-based cleaners. This can create dangerous, toxic fumes. Stick to the ingredients listed in this recipe.
Expert Tips
- Regular Maintenance is Key: To prevent severe buildup, wipe down your faucets regularly after each use with a dry cloth. A quick spray of a diluted vinegar solution once a week can keep new stains from forming.
- Use Warm Water: Warm water helps vinegar work more effectively by slightly increasing its acidity and aiding in the dissolution of minerals.
- Patience is a Virtue: For very tough stains, don’t rush the process. Let the solution dwell for the full recommended time, or even longer if needed. You can even reapply and let it sit overnight in extreme cases (using the soaking method).
- Enhance with Lemon: Fresh lemon juice can be substituted for essential oil or added to the vinegar solution for an extra boost of acidity and a pleasant scent.
- Consider a Softener: If hard water stains are a constant battle throughout your home, consider investing in a water softener system. This is a long-term solution that addresses the root cause.
- Detailing with Cotton Swabs: For intricate areas around faucet handles or crevices, a cotton swab dipped in the vinegar solution can help you reach and clean those difficult spots.
- Microfiber is Best: Always use microfiber cloths for cleaning and polishing. They are highly absorbent, lint-free, and effective at buffing without scratching.
- Baking Soda Paste for Extra Power: For extremely thick scale, make a paste of baking soda and a tiny bit of water. Apply it to the stain, then spray with vinegar. The fizzing action helps lift the grime.
Storage Instructions
Since this solution is made primarily with vinegar and water, it’s best to prepare it fresh for each use. While a vinegar and water mixture can technically be stored in a spray bottle for a few weeks, the addition of baking soda creates a reaction that means it’s most effective when used immediately.
- Shelf Life: It is recommended to make a fresh batch for optimal effectiveness, especially if including baking soda. A pure vinegar and water solution can be stored for up to 2-3 weeks.
- Best Storage Container: If storing a pure vinegar/water solution, use a clean, clearly labeled spray bottle.
- Storage Location: Keep in a cool, dark place away from direct sunlight.
- Signs the Solution Should Be Discarded: If you notice any mold, unusual odor, or significant separation (beyond normal settling if you added essential oils), it’s time to discard the solution and mix a fresh batch. For solutions with baking soda, it loses its fizzing power quickly, so use immediately.
Frequently Asked Questions
- Can I use this solution on all faucet finishes?
While generally safe for chrome and stainless steel, always test on an inconspicuous area for newer or specialty finishes like matte black, brushed nickel, or oil-rubbed bronze. Avoid natural stone or unsealed brass/bronze. - How often should I clean my faucets this way?
For maintenance, a weekly wipe-down with a diluted vinegar spray is great. For deep cleaning severe stains, repeat as needed, perhaps once a month or every few months, depending on your water hardness. - What if the stains are really stubborn?
Increase the dwelling time (up to several hours or overnight with the soaking method). You can also apply a baking soda paste directly to the stain, then spray with vinegar for an extra fizzing action before scrubbing. - Is the vinegar smell strong, and how do I get rid of it?
The vinegar smell can be noticeable but dissipates quickly as it dries. Ensuring good ventilation helps. Adding a few drops of lemon essential oil or fresh lemon juice to your solution can also help mask the scent and leave a fresh aroma. - Can I use lemon juice instead of vinegar?
Yes, lemon juice is also acidic and effective at dissolving hard water stains. You can substitute it directly for vinegar in equal parts. It leaves a lovely fresh scent! - Will this method damage my plumbing?
No, the mild acidity of vinegar used for surface cleaning will not harm your plumbing system. It’s often used as a natural drain cleaner in diluted forms too. - What’s the best way to prevent future hard water stains?
The best prevention is consistency. Wipe down faucets and shower walls after each use to remove water before it dries. A squeegee for shower doors and a quick dry with a microfiber cloth for faucets can make a huge difference. Consider a water softener if your hard water issues are pervasive. - Can I use steel wool or abrasive scrubbers?
No, avoid steel wool, abrasive sponges, or harsh scrubbers, especially on chrome or plated finishes, as they can scratch and permanently damage the surface. Stick to soft cloths and old toothbrushes. - Can I use hot vinegar?
Warm water is good to mix with vinegar, as it helps activate it slightly. However, heating vinegar alone on a stovetop can produce strong fumes and is generally not recommended for home cleaning. - Why did my solution fizz when I added baking soda?
Baking soda (a base) reacts with vinegar (an acid) to produce carbon dioxide gas, which causes the fizzing. This reaction helps to agitate and lift stains, making them easier to scrub away.
Conclusion
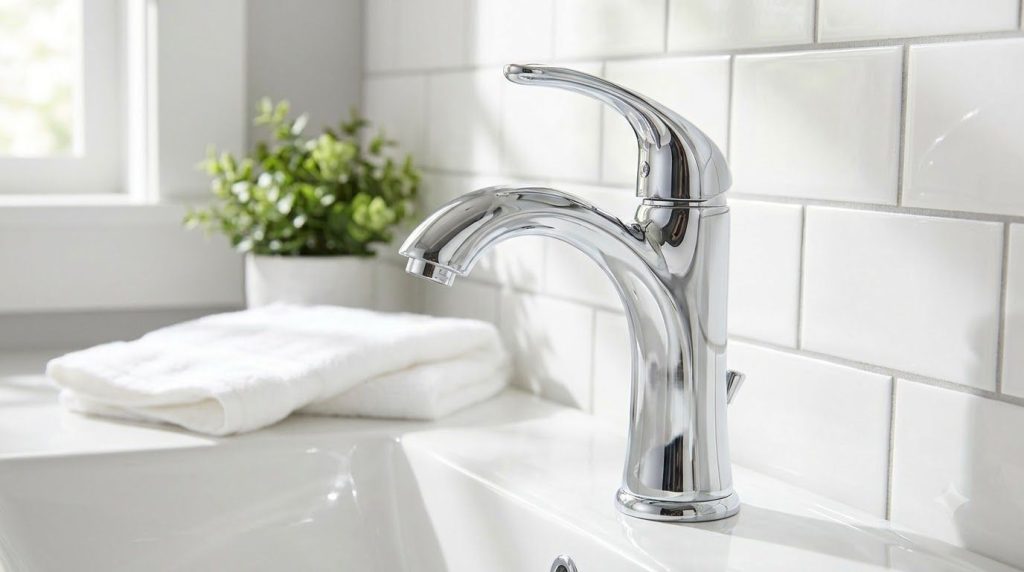
Saying goodbye to unsightly hard water stains on your faucets doesn’t have to be a challenging or chemical-laden chore. With just a few common household ingredients like white vinegar and baking soda, you have a powerful, natural, and budget-friendly solution at your fingertips. This simple DIY method not only restores the sparkle and shine to your fixtures but also empowers you to maintain a cleaner, healthier home environment without relying on harsh chemicals.
Remember, consistency is your best friend when it comes to preventing future buildup. A quick wipe-down after each use and a regular deep clean using this guide will ensure your faucets remain dazzling. So go ahead, gather your ingredients, follow these easy steps, and prepare to be amazed at how effortlessly your home can gleam. Happy cleaning!