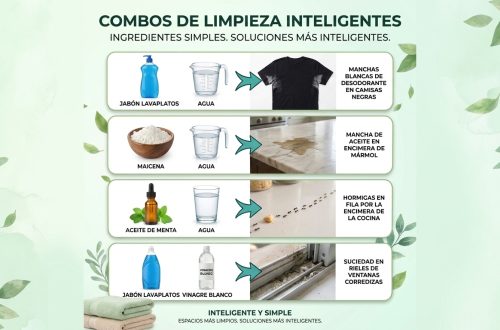
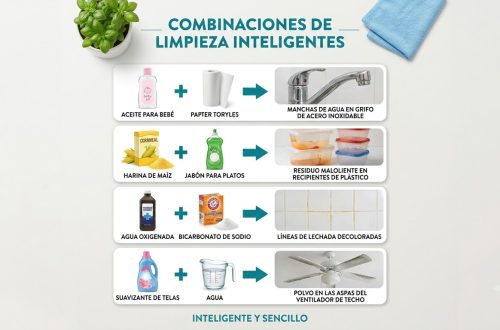
Tired of scrubbing with harsh chemicals that leave your home smelling like a laboratory? Do you dream of a sparkling clean space without breaking the bank or compromising your family’s health? You’re in the right place!
Many of us face common cleaning challenges, from stubborn grease in the kitchen to streaks on windows and limescale in the bathroom. The good news is that you don’t need an arsenal of expensive, specialized products to tackle these tasks. The secret often lies in your pantry and under your sink, using simple, natural ingredients that are incredibly effective and surprisingly versatile.
This guide is for anyone looking to embrace a more natural, budget-friendly, and efficient approach to home cleaning. Whether you’re a seasoned DIY enthusiast or just starting your journey into eco-friendly living, you’ll discover practical, easy-to-follow recipes that leverage the power of common household items.
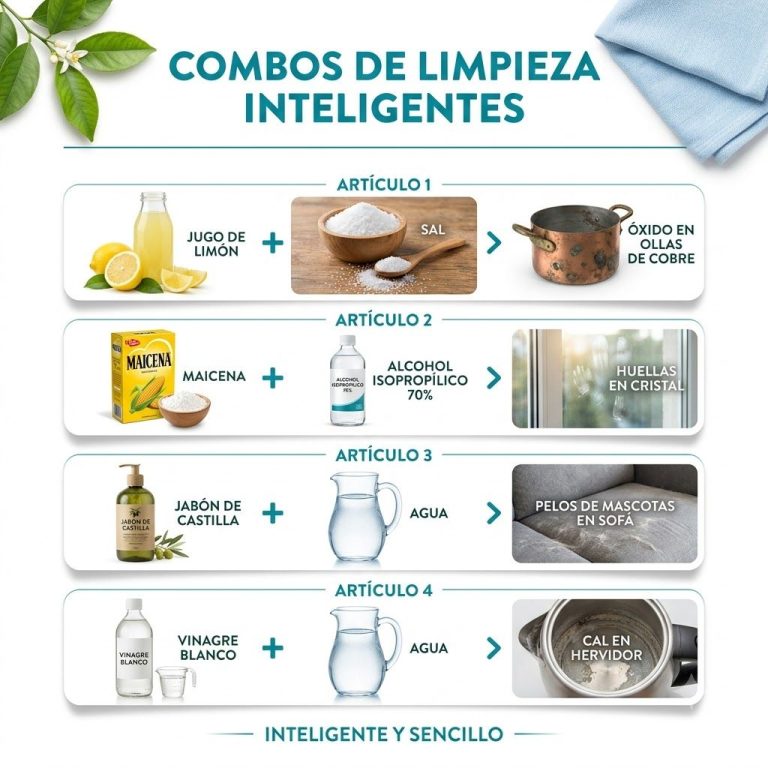
Get ready to transform your cleaning routine, save money, and create a healthier home environment. We’ll walk you through creating smart cleaning combos that make household chores feel less like a burden and more like a simple, satisfying task!
Quick Summary
- Preparation Time: 5-10 minutes per solution
- Application Time: Varies by task, 10-30 minutes for a typical cleaning session
- Difficulty Level: Easy
- Best Uses: All-purpose cleaning, glass & mirror shining, bathroom scrubbing, limescale removal, odor elimination.
- Suitable Surfaces: Countertops (non-porous), sinks, tubs, toilets, glass, mirrors, stainless steel, tiles, sealed floors. (Always test first!)
- Storage Time: 1-3 weeks (vinegar-based), up to 1 month (dry scrubs).
Why You’ll Love These DIY Cleaning Solutions
- Easy to Make: Requires minimal effort and common household skills.
- Budget-Friendly: Uses ingredients you likely already have, saving you money on commercial cleaners.
- Uses Common Household Ingredients: No need for specialized or hard-to-find components.
- Beginner-Friendly: Simple instructions make them accessible for everyone.
- Multipurpose: Many solutions can tackle various cleaning challenges.
- Quick to Prepare: Mix and go, perfect for spontaneous cleaning sessions.
- Eco-Friendly: Reduces chemical exposure and plastic waste.
- Gentle on Surfaces (mostly): When used correctly, they are often less abrasive than commercial options.
DIY Cleaning Combo #1: The All-Purpose Vinegar & Lemon Power Spray
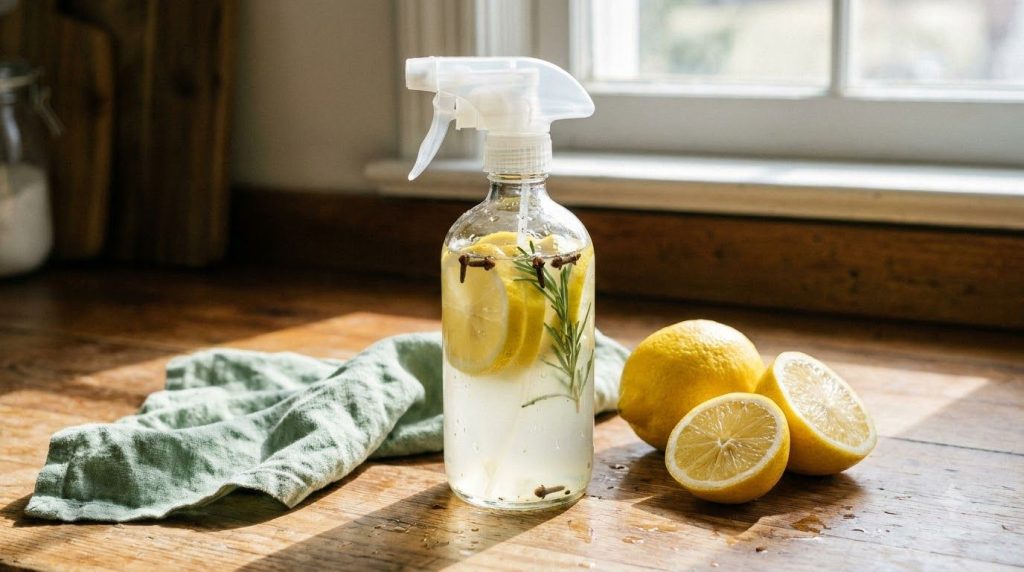
This versatile cleaner is your go-to for daily wipe-downs and general surface cleaning. The vinegar acts as a natural disinfectant and degreaser, while lemon adds a fresh scent and extra cleaning power.
Ingredients / Materials for All-Purpose Spray
- 1 cup white vinegar
- 1 cup warm water
- 10-15 drops lemon essential oil (optional, for scent)
- Peels of 1-2 lemons (optional, for infusing)
Equipment Needed for All-Purpose Spray
- Spray bottle (16 oz or larger)
- Measuring cup
- Funnel
- Microfiber cloth
Step-by-Step Instructions for All-Purpose Spray
- Gather Your Ingredients: Collect your white vinegar, warm water, and lemon essential oil (if using). If infusing with lemon peels, have them ready. (Approximate time: 1 minute)
- Combine Liquids: Using a funnel, pour 1 cup of white vinegar into your spray bottle. Follow with 1 cup of warm water. (Approximate time: 1 minute)
- Add Essential Oil (Optional): If you want a fresh scent and extra degreasing power, add 10-15 drops of lemon essential oil to the mixture. (Approximate time: 30 seconds)
- Infuse with Lemon Peels (Optional): For a deeper lemon scent, you can add fresh lemon peels directly into the bottle and let them sit in the mixture for a few days before use. This naturally infuses the vinegar. (Approximate time: 1 minute)
- Shake Well: Secure the spray bottle top and gently shake to combine all ingredients. The liquid should look clear or slightly cloudy, depending on the ingredients. (Approximate time: 30 seconds)
- Label Your Bottle: Clearly label the bottle “All-Purpose Vinegar & Lemon Cleaner” for safety and easy identification. (Approximate time: 1 minute)
Best Uses for All-Purpose Spray
- Kitchen Counters: Safely cleans and disinfects most non-porous kitchen surfaces.
- Bathroom Sinks & Tubs: Cuts through soap scum and grime.
- Stainless Steel Appliances: Wipes away smudges and fingerprints for a streak-free shine.
- Sealed Floors: Excellent for mopping tile or linoleum.
- High-Touch Surfaces: Door handles, light switches, and remote controls.
DIY Cleaning Combo #2: Streak-Free Glass & Mirror Magic
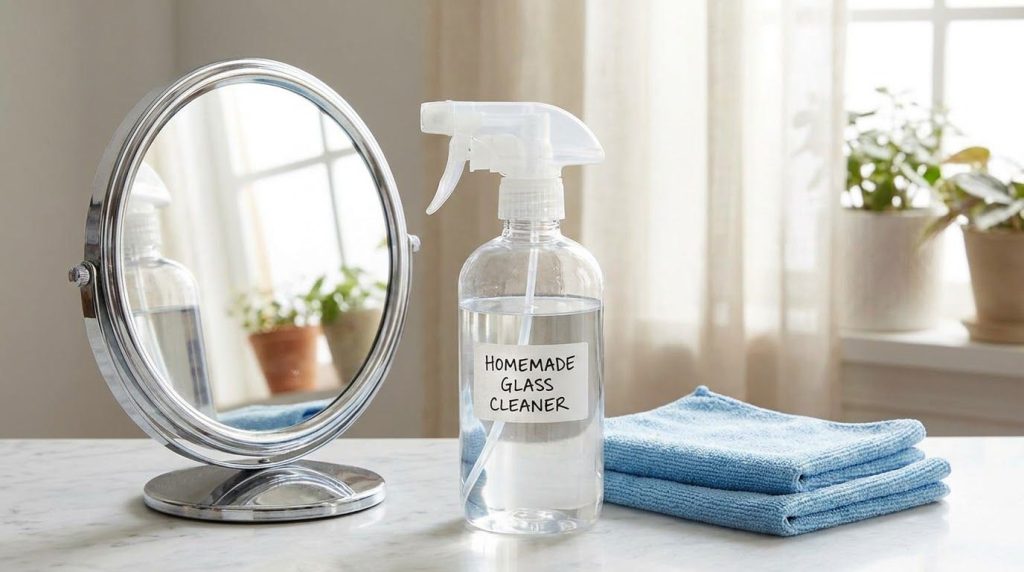
Say goodbye to those frustrating streaks! This simple concoction uses rubbing alcohol to evaporate quickly, leaving your glass sparkling clean without any residue.
Ingredients / Materials for Glass Cleaner
- 1/2 cup isopropyl alcohol (rubbing alcohol, 70% or higher)
- 1/2 cup white vinegar
- 1 cup warm water
- 1-2 drops dish soap (optional, helps with stubborn grime)
Equipment Needed for Glass Cleaner
- Spray bottle (16 oz)
- Measuring cup
- Funnel
- Two microfiber cloths (one for applying, one for buffing)
Step-by-Step Instructions for Glass Cleaner
- Prepare Your Workspace: Ensure you have your spray bottle, measuring tools, and ingredients ready. (Approximate time: 1 minute)
- Combine Alcohol & Vinegar: Pour 1/2 cup of isopropyl alcohol into the spray bottle using a funnel. Add 1/2 cup of white vinegar. (Approximate time: 1 minute)
- Add Water: Carefully add 1 cup of warm water to the mixture. (Approximate time: 30 seconds)
- Include Dish Soap (Optional): If your glass has heavy grime, add just 1-2 drops of liquid dish soap. Do not add more, as it can cause streaks. (Approximate time: 15 seconds)
- Shake Gently: Cap the bottle and gently swirl or shake to mix the ingredients without creating too much foam. (Approximate time: 30 seconds)
- Label Clearly: Label your bottle “Streak-Free Glass Cleaner” to avoid confusion. (Approximate time: 1 minute)
Best Uses for Glass Cleaner
- Windows: For interior and exterior glass, leaving them spotless.
- Mirrors: Perfect for bathroom mirrors and decorative mirrors.
- Glass Tabletops: Removes fingerprints and smudges effortlessly.
- Chrome Fixtures: Adds shine to faucets and showerheads.
DIY Cleaning Combo #3: Baking Soda & Castile Soap Power Scrub
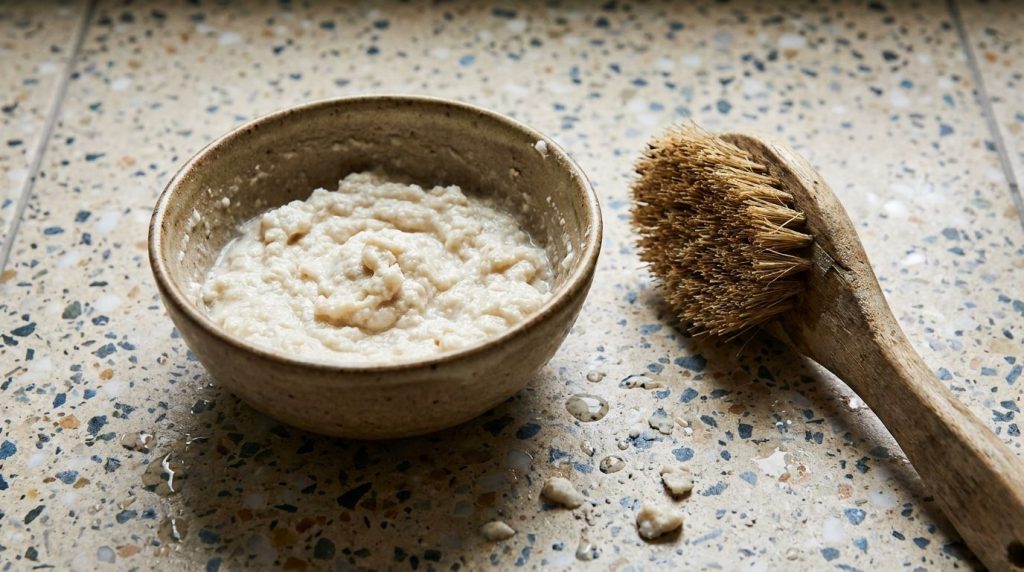
When you need a little more abrasive action, this scrub is fantastic for tackling stubborn stains, grout, and soap scum in bathrooms and kitchens. Castile soap provides gentle cleaning, while baking soda offers natural scrubbing power.
Ingredients / Materials for Power Scrub
- 1/2 cup baking soda
- 2 tablespoons liquid Castile soap (unscented or scented with essential oils)
- 10-15 drops tea tree essential oil (optional, for antimicrobial boost)
- Water (as needed to form a paste)
Equipment Needed for Power Scrub
- Small mixing bowl
- Spoon or spatula
- Airtight container (for storage)
- Scrub brush or sponge
- Gloves (optional, but recommended for extended scrubbing)
Step-by-Step Instructions for Power Scrub
- Measure Baking Soda: Pour 1/2 cup of baking soda into your mixing bowl. (Approximate time: 30 seconds)
- Add Castile Soap: Add 2 tablespoons of liquid Castile soap to the baking soda. (Approximate time: 30 seconds)
- Incorporate Essential Oil (Optional): If desired, add 10-15 drops of tea tree essential oil for its natural antimicrobial properties. (Approximate time: 15 seconds)
- Mix to Form a Paste: Gradually add small amounts of water, stirring continuously with a spoon or spatula, until you achieve a thick, spreadable paste consistency. It should be thick enough to cling to surfaces but not too dry. (Approximate time: 2-3 minutes)
- Transfer and Store: Transfer the scrub into an airtight container for future use. (Approximate time: 1 minute)
- Label Clearly: Label the container “Baking Soda & Castile Soap Scrub.” (Approximate time: 30 seconds)
Best Uses for Power Scrub
- Grout Lines: Excellent for brightening discolored grout.
- Shower Walls & Tubs: Scours away tough soap scum and mildew stains.
- Sinks: Restores shine to ceramic and porcelain sinks.
- Oven Grime: Helps lift baked-on food and grease (apply, let sit, then scrub).
- Toilet Bowls: Sprinkle in, let sit, then scrub for a fresh bowl.
Safety Notes
- Always Test First: Before applying any new solution to a large area, always test it on a small, inconspicuous spot to ensure it doesn’t cause discoloration or damage. This is especially crucial for natural stone (marble, granite) as vinegar can etch it.
- Wear Gloves: While these solutions are natural, prolonged exposure to some ingredients (like vinegar) can irritate sensitive skin. Wearing gloves is always a good practice.
- Ensure Good Ventilation: Even natural cleaners benefit from good airflow. Open windows or use exhaust fans, especially when cleaning bathrooms.
- Keep Away from Children and Pets: Store all cleaning solutions, homemade or commercial, out of reach of children and pets.
- Never Mix Bleach with Vinegar or Ammonia: This is a critical safety rule. Mixing bleach with acidic cleaners (like vinegar) or ammonia-based cleaners creates highly toxic fumes. Our recipes do not contain bleach, but it’s a vital reminder.
- Avoid Porous Surfaces with Vinegar: Do not use vinegar-based solutions on natural stone (marble, granite, travertine), unsealed grout, cast iron, or unsealed wood, as the acidity can cause damage or etching.
Expert Tips
- Maximize Essential Oils: For stronger antimicrobial action or specific scents, tea tree oil, eucalyptus, and lavender are great additions. Just remember to add them to the liquid solutions.
- DIY Infused Vinegar: Instead of essential oils, you can infuse white vinegar with citrus peels (lemon, orange, grapefruit), rosemary, or lavender for a custom-scented cleaner. Let it sit for 1-2 weeks before straining the solids out.
- Use Microfiber Cloths: Invest in good quality microfiber cloths. They are highly absorbent, trap dirt effectively, and leave surfaces streak-free, reducing the need for paper towels.
- Consistency is Key: Regular, quick clean-ups with your DIY solutions are often more effective than infrequent, deep cleans.
- For Extra Scrubbing Power: For extremely tough spots, you can make a paste with baking soda and just a little water, apply it, let it sit for 15-30 minutes, and then scrub.
- Storage Containers Matter: Use dark-colored glass bottles for solutions with essential oils to protect them from light and prolong their efficacy. For scrubs, airtight glass jars are ideal.
- Label Everything Clearly: It prevents accidental misuse and ensures everyone in the household knows what’s inside the bottle or jar.
- Warm Water Boost: Using warm water in your solutions can help dissolve ingredients better and enhance cleaning power, especially for cutting grease.
- Re-purpose Spray Bottles: Wash out and reuse old, empty spray bottles from commercial cleaners. Just make sure they are thoroughly rinsed before adding your DIY solutions.
Storage Instructions
For Liquid Sprays (All-Purpose, Glass Cleaner):
- Shelf Life: Generally, these solutions are best used within 1-3 weeks. Over time, the efficacy of natural ingredients can diminish, especially with essential oils.
- Best Storage Container: Use a clean, labeled spray bottle. Dark glass bottles are preferred if using essential oils, as light can degrade them.
- Storage Location: Store in a cool, dark place away from direct sunlight and heat.
- Signs to Discard: If you notice any significant change in color, smell (e.g., rancid odor), or the appearance of mold/mildew, it’s time to discard and make a fresh batch.
For Pastes/Scrubs (Baking Soda & Castile Soap Scrub):
- Shelf Life: Dry scrubs can last up to 1 month when stored properly. If water is added to make a paste, it’s best to use it within 1-2 weeks, as moisture can encourage bacterial growth.
- Best Storage Container: An airtight glass jar or container is ideal to keep the scrub from drying out or absorbing moisture.
- Storage Location: Keep in a cool, dry pantry or cabinet, away from humidity.
- Signs to Discard: Discard if you see any mold growth, unusual discoloration, or a sour smell. If it hardens completely and can’t be reconstituted, it’s also time to make a new batch.
Frequently Asked Questions
Can I store these homemade cleaning solutions for a long time?
Liquid solutions with vinegar and essential oils are best used within 1-3 weeks. Pastes or scrubs should ideally be used within 1-2 weeks if water has been added, or up to a month if kept dry until use.
Are these DIY cleaners safe for all surfaces?
No. Vinegar-based cleaners are not safe for natural stone (marble, granite, travertine), unsealed grout, or cast iron. Always test on an inconspicuous area first, especially on new or delicate surfaces.
Can I replace white vinegar with apple cider vinegar?
While apple cider vinegar has similar cleaning properties, its distinct odor might not be pleasant for cleaning, and it can leave a slight residue. White vinegar is generally preferred for its neutral scent and high acidity.
What if I don’t have essential oils?
Essential oils are optional. They primarily add scent and some minor antimicrobial benefits. Your solutions will still clean effectively without them. You can use citrus peels to naturally infuse vinegar for a pleasant aroma.
Are these solutions safe around pets and children?
While made from natural ingredients, these solutions should always be stored out of reach of children and pets, just like any commercial cleaner, to prevent accidental ingestion or contact.
Why is my glass cleaner leaving streaks?
Streaks can occur if you used too much dish soap (only 1-2 drops are needed!), if your cloths are dirty, or if you’re cleaning in direct sunlight, which causes the solution to dry too quickly. Use clean microfiber cloths and clean glass in the shade if possible.
Can I use baking soda scrub on stainless steel?
Baking soda can be used on stainless steel, but always make it a paste and scrub gently with a soft cloth or sponge in the direction of the grain to avoid scratching the surface. Rinse thoroughly.
How do I make my homemade cleaners smell better?
Infuse vinegar with citrus peels, fresh herbs like rosemary or lavender, or add your favorite essential oils (e.g., lemon, orange, peppermint, lavender, eucalyptus) to the liquid solutions.
Conclusion
And there you have it – a complete guide to creating your own smart and simple DIY cleaning combos! By harnessing the power of everyday ingredients like vinegar, baking soda, lemon, and Castile soap, you can keep your home sparkling clean, fresh, and free from harsh chemicals. Not only will you save money and reduce waste, but you’ll also enjoy the peace of mind that comes with knowing exactly what’s in your cleaning products.
Remember to always prioritize safety by testing solutions on hidden areas, wearing gloves when needed, and storing your concoctions responsibly. Now, go forth and transform your cleaning routine into an intelligent, simple, and satisfying experience. Happy cleaning!