Tired of cabinets overflowing with expensive cleaning products, each designed for a specific surface? What if you could simplify your cleaning routine, save money, and still achieve sparkling results? The answer might be closer than you think: in your pantry! Crafting your own cleaning solutions is not only incredibly effective but also budget-friendly and gentle on the environment.
This comprehensive guide is designed for anyone looking to ditch harsh chemicals and embrace a more natural, efficient way to clean their home. Whether you’re a seasoned DIY enthusiast or a complete beginner, you’ll discover how easy it is to create a powerful all-purpose cleaner using common household ingredients.
Get ready to tackle everyday messes with confidence, leaving your home feeling fresh, clean, and free from synthetic odors. We’ll walk you through the simple steps to mix up your own ‘magic’ cleaning solution, reveal its best uses, and share expert tips to make your cleaning journey smoother and more sustainable. Say goodbye to clutter and hello to a cleaner, greener home!
Quick Summary
- Preparation Time: 5 minutes
- Application Time: Varies by task
- Difficulty Level: Easy
- Best Uses: Light cleaning, general surface wiping, degreasing, freshening
- Suitable Surfaces: Countertops (laminate, sealed granite, quartz), stainless steel, bathroom fixtures, tile, sealed wood, glass (diluted)
- Storage Time: 2-4 weeks
Why You’ll Love This DIY Solution
- Easy to Make: Requires minimal effort and common kitchen items.
- Budget-Friendly: Significantly cheaper than commercial cleaners.
- Uses Common Household Ingredients: You likely already have everything you need.
- Beginner-Friendly: No complicated steps or special skills required.
- Multipurpose: Effective on a variety of surfaces and messes.
- Quick to Prepare: Mixes up in just minutes for immediate use.
- Reduces Chemical Exposure: A safer choice for your family and pets.
- Eco-Friendly: Less plastic waste from disposable bottles.
Ingredients / Materials
- 1 cup warm water
- 1/2 cup white vinegar
- 1 teaspoon liquid dish soap (biodegradable recommended)
- 10-15 drops essential oil (optional, e.g., lemon, tea tree, lavender for scent and mild antimicrobial properties)
Equipment Needed
- Clean spray bottle (16-24 oz capacity)
- Measuring cups and spoons
- Funnel (optional, but helpful for pouring)
- Microfiber cloths or clean rags
Step-by-Step Instructions
Creating your all-purpose cleaner is a breeze! Follow these simple steps for a fresh batch:
-
Prepare Your Spray Bottle (1 minute)
Ensure your spray bottle is clean and empty. If you’re reusing an old bottle, rinse it thoroughly to remove any residue from previous cleaners. This prevents unwanted chemical reactions and ensures the effectiveness of your DIY solution.
-
Measure the Water (30 seconds)
Using your measuring cup, pour 1 cup of warm water into the clean spray bottle. Warm water helps ingredients dissolve better and can slightly boost cleaning power.
-
Add White Vinegar (30 seconds)
Carefully measure 1/2 cup of white vinegar and add it to the spray bottle. A funnel can be very useful here to prevent spills. White vinegar is a natural disinfectant and degreaser, making it a powerful cleaning agent.
-
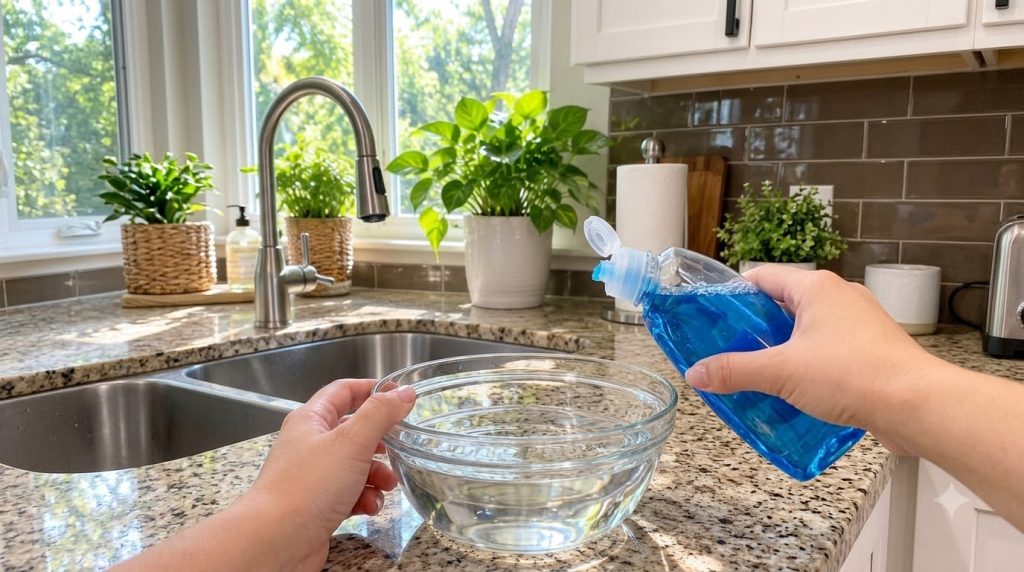
Introduce Dish Soap (30 seconds)
Add 1 teaspoon of liquid dish soap to the mixture. Dish soap acts as a surfactant, breaking down grime and allowing it to be easily wiped away. Choose a gentle, biodegradable option if possible.
-
Include Essential Oils (Optional) (30 seconds)
If desired, add 10-15 drops of your chosen essential oil. Lemon, tea tree, or lavender essential oils are popular choices for their refreshing scents and mild antimicrobial properties. This step is purely for fragrance and can be skipped if you prefer an unscented cleaner.
-
Gently Mix the Solution (1 minute)
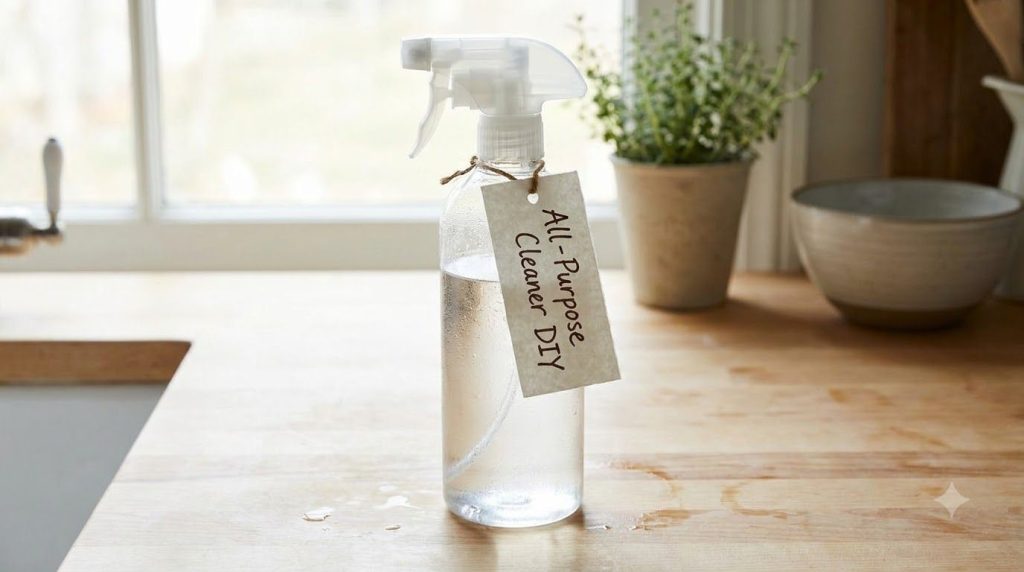
Secure the cap tightly on your spray bottle. Gently swirl or tip the bottle a few times to mix the ingredients thoroughly. Avoid vigorous shaking, as this can create excessive suds from the dish soap. Your homemade all-purpose cleaner is now ready to use!
Best Uses
This versatile DIY cleaning solution is perfect for a wide range of surfaces:
- Kitchen Countertops: Safely cleans laminate, sealed granite, quartz, and stainless steel countertops. Spray, wipe, and enjoy a streak-free shine.
- Bathroom Fixtures: Excellent for sinks, faucets, and shower walls. Helps remove soap scum and water spots.
- Tile Surfaces: Ideal for cleaning ceramic and porcelain tiles in kitchens and bathrooms.
- Stainless Steel Appliances: Use sparingly and buff with a dry cloth for a streak-free finish.
- Glass and Mirrors: For glass, dilute further with water (50/50 ratio) to prevent streaks, then wipe with a clean microfiber cloth.
- Sealed Wood Surfaces: Can be used sparingly on sealed wood tables and cabinets. Always test a small, inconspicuous area first.
- General Dusting and Wiping: A great everyday cleaner for wiping down shelves, tables, and other hard surfaces.
Surface Limitations: Avoid using vinegar-based cleaners on unsealed natural stone (like marble, travertine, or limestone) as the acid can etch the surface over time. Also, be cautious with unsealed grout, as vinegar can degrade it. Always test in an inconspicuous area if unsure.
Safety Notes
While this DIY cleaner uses common household ingredients, it’s essential to follow some safety guidelines:
- Ventilation: Ensure good ventilation when cleaning, especially in smaller spaces like bathrooms.
- Keep Away from Children and Pets: Store all cleaning solutions, homemade or commercial, in a safe place out of reach of children and pets.
- Avoid Eye Contact: In case of contact, rinse eyes thoroughly with water for several minutes.
- Do Not Mix with Bleach: Never mix vinegar or any acidic cleaner with bleach. This can create dangerous chlorine gas, which is toxic.
- Test First: Always test the solution on a small, hidden area of any new surface to ensure compatibility and prevent discoloration or damage.
- Use Gloves: While generally gentle, wearing gloves can protect sensitive skin from prolonged exposure.
Expert Tips
- For Extra Degreasing Power: For tough grease in the kitchen, lightly warm the area with a damp cloth before spraying, then let the cleaner sit for 5 minutes before wiping.
- Streak-Free Glass: For glass and mirrors, use a 1:1 ratio of your cleaning solution and water. Wipe with a clean, dry microfiber cloth or even crumpled newspaper for a perfect shine.
- Customize Your Scent: Experiment with different essential oils like eucalyptus for a spa-like feel, or sweet orange for a burst of freshness.
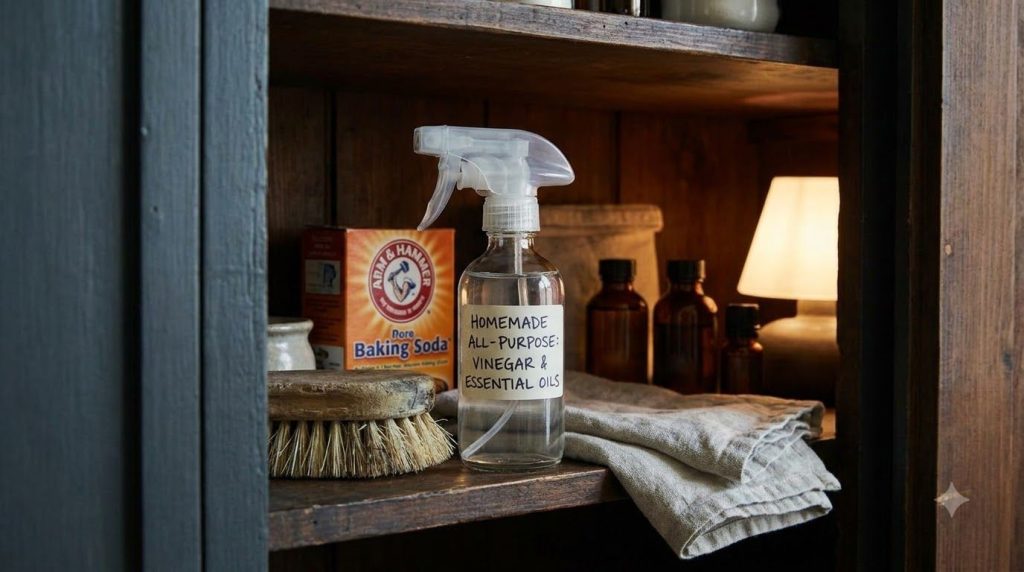
- Add a Label: Always label your homemade cleaning bottles clearly with the contents and date made. This prevents confusion and helps track freshness.
- Use Microfiber: Invest in good quality microfiber cloths. They are highly absorbent, trap dirt effectively, and help achieve a streak-free finish on most surfaces.
- Clean in Sections: When cleaning larger areas, work in small sections to prevent the solution from drying before you wipe it clean.
- Rinse if Needed: On very sensitive surfaces or if you notice any residue, a quick wipe with a damp, clean cloth followed by a dry buff can be beneficial.
- Baking Soda Boost: For tougher grime or stains, sprinkle a little baking soda directly onto the surface, spray with your all-purpose cleaner, let it bubble for a few minutes, then scrub gently with a brush or sponge before wiping.
Storage Instructions
Proper storage ensures your homemade cleaning solution remains effective and safe to use.
- Shelf Life: This DIY all-purpose cleaner is best used within 2-4 weeks. After this period, the effectiveness of the essential oils may diminish, and the solution might become less potent.
- Best Storage Container: Always store in a clean, clearly labeled spray bottle. Glass bottles are excellent for essential oil-based solutions as they prevent oil degradation of plastic over time, but durable plastic spray bottles also work well for shorter storage periods.
- Storage Location: Keep the bottle in a cool, dark place, away from direct sunlight and extreme temperatures. A cabinet under the sink or a utility closet is ideal.
- Signs of Spoilage: If you notice any changes in color, separation of ingredients that doesn’t re-mix with a gentle swirl, or an unpleasant odor, it’s best to discard the solution and mix a fresh batch.
Frequently Asked Questions
Can I store this solution for a long time?
It’s best to use this solution within 2-4 weeks. While it won’t necessarily go ‘bad’ in a dangerous way, its effectiveness, especially the scent from essential oils, can decrease over time.
Can I use this on marble countertops?
No, it’s not recommended. The vinegar (an acid) can etch or dull unsealed natural stone surfaces like marble, granite, or travertine. For these surfaces, use a pH-neutral cleaner specifically designed for them.
Is it safe around pets and children?
While the ingredients are generally non-toxic, it’s always safest to keep all cleaning solutions, homemade or commercial, out of reach of children and pets. Avoid direct spraying onto pet bedding or toys.
Can I replace white vinegar with apple cider vinegar?
While apple cider vinegar has similar acidic properties, it often has a stronger, more distinct odor that some people find less pleasant for cleaning. White vinegar is preferred for its neutral scent and slightly higher acidity.
What if I don’t have essential oils?
Essential oils are completely optional and primarily for scent. The cleaning power comes from the vinegar and dish soap, so feel free to omit them if you don’t have any or prefer an unscented cleaner.
Will this solution disinfect surfaces?
White vinegar has natural antimicrobial properties that can kill some bacteria and viruses. However, for medical-grade disinfection, you might need stronger, EPA-registered disinfectants. This DIY cleaner is excellent for everyday cleaning and sanitizing.
Can I use this on floors?
Yes, for sealed hard floors (like tile or sealed wood), you can use a more diluted version. Add 1/2 cup of your solution to a gallon of warm water for mopping. Again, avoid on unsealed natural stone floors.
Why is my solution sudsy in the bottle?
The dish soap can create suds if shaken vigorously. This is normal and doesn’t affect its cleaning power. Gently swirl the bottle instead of shaking.
Conclusion
There you have it – a simple, effective, and budget-friendly DIY all-purpose cleaner that empowers you to tackle household messes with confidence and peace of mind. By mixing just a few common ingredients, you’re not only saving money and reducing waste but also creating a healthier environment for your home and loved ones.
We encourage you to give this ‘magic’ mixture a try and experience the satisfaction of a sparkling clean home achieved with your own hands. Remember to always prioritize safety, test on new surfaces, and enjoy the refreshing results. Happy cleaning!