Classic Moist Banana Bread Recipe: Perfect for Ripe Bananas
There’s nothing quite like the comforting aroma of freshly baked banana bread wafting through your home. This classic moist banana bread recipe is the ultimate way to transform those overripe bananas sitting on your counter into a truly delicious and satisfying treat. With a tender crumb, rich banana flavor, and just the right amount of sweetness, it’s a timeless favorite that’s surprisingly easy to make.
Whether you’re looking for a delightful breakfast, a satisfying snack, or a simple dessert, this homemade banana bread hits all the right notes. It’s a wonderful recipe for baking novices and seasoned pros alike, promising a reliably delicious loaf every time.
Why You’ll Love This Banana Bread Recipe
- Uses Ripe Bananas: The perfect way to use up those spotty, overripe bananas that are too soft for snacking but ideal for baking.
- Incredibly Moist: Thanks to the mashed bananas and a touch of oil, this bread stays wonderfully moist and tender for days.
- Simple Ingredients: You likely have all the ingredients in your pantry right now!
- Easy to Make: With straightforward instructions, this recipe is perfect for bakers of all skill levels.
- Family-Friendly: A universally loved treat that everyone, from kids to adults, will enjoy.
- Customizable: Easily adapt it with add-ins like nuts, chocolate chips, or spices to suit your taste.
Ingredients
- 2 cups (240 g) all-purpose flour
- 1 teaspoon baking soda
- 1/2 teaspoon salt
- 1/2 cup (113 g) unsalted butter, softened
- 3/4 cup (150 g) granulated sugar
- 2 large eggs, room temperature
- 1 teaspoon vanilla extract
- 3-4 ripe bananas, mashed (about 1 ½ cups)
- 1/4 cup (60 ml) milk or buttermilk
Ingredient Notes
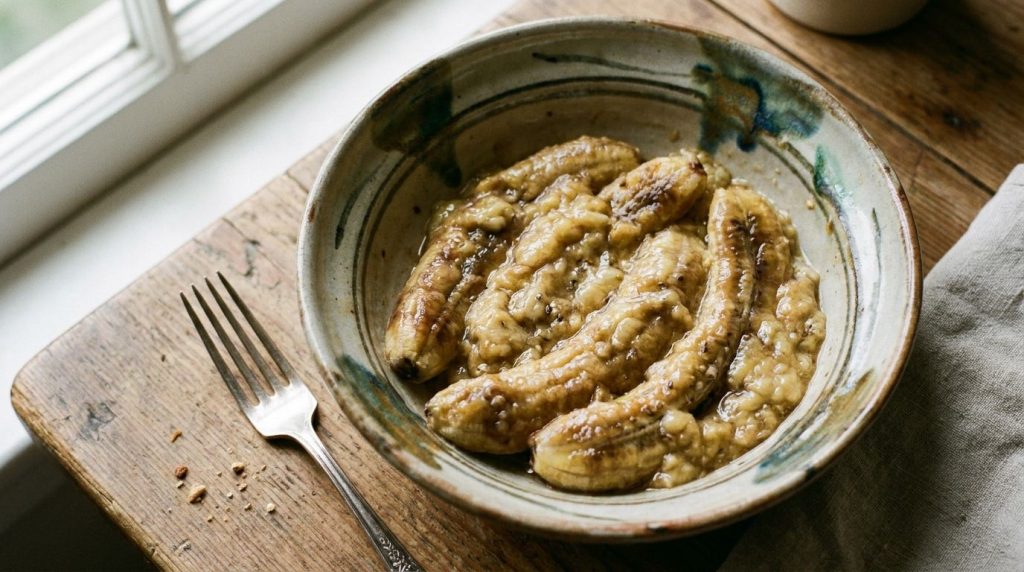
- Ripe Bananas: The key to great banana bread! Look for bananas with plenty of brown spots on the peel, indicating they are sweet and flavorful. Green or yellow bananas won’t yield the same rich taste or moist texture.
- Unsalted Butter: Softened butter creams easily with sugar, creating a light and airy base for the batter. If using salted butter, reduce the added salt to 1/4 teaspoon.
- Room Temperature Eggs: Room temperature eggs incorporate better into the batter, resulting in a more uniform texture. If you forget to take them out ahead of time, place them in a bowl of warm water for 5-10 minutes.
- Milk or Buttermilk: A touch of milk adds moisture. Buttermilk can also be used for an extra tender crumb and subtle tang. If you don’t have buttermilk, you can make your own by adding 1 tablespoon of white vinegar or lemon juice to a measuring cup and filling the rest with regular milk to make 1/4 cup. Let it sit for 5 minutes before using.
Equipment You’ll Need
- Large mixing bowls
- Electric mixer (handheld or stand mixer) or whisk
- Spatula
- Measuring cups and spoons
- Loaf pan (9×5 inch / 23×13 cm)
- Fork or potato masher
How to Make Classic Moist Banana Bread
Get ready to bake a truly comforting loaf of homemade banana bread by following these simple steps.
Step 1: Prepare Your Pan and Oven
Preheat your oven to 350°F (175°C). Grease and flour a 9×5 inch (23×13 cm) loaf pan, or line it with parchment paper, leaving an overhang on the longer sides to easily lift the bread out later.
Step 2: Whisk Dry Ingredients
In a medium bowl, whisk together the all-purpose flour, baking soda, and salt. Set aside. This ensures all the dry ingredients are evenly distributed for consistent baking.
Step 3: Cream Butter and Sugar
In a large mixing bowl, using an electric mixer, cream together the softened butter and granulated sugar until light and fluffy. This usually takes about 2-3 minutes. The mixture should be pale yellow and airy.
Step 4: Add Eggs and Vanilla
Beat in the eggs, one at a time, mixing well after each addition until fully incorporated. Stir in the vanilla extract. The mixture may look a little curdled at this stage, but that’s perfectly normal.
Step 5: Incorporate Bananas and Milk
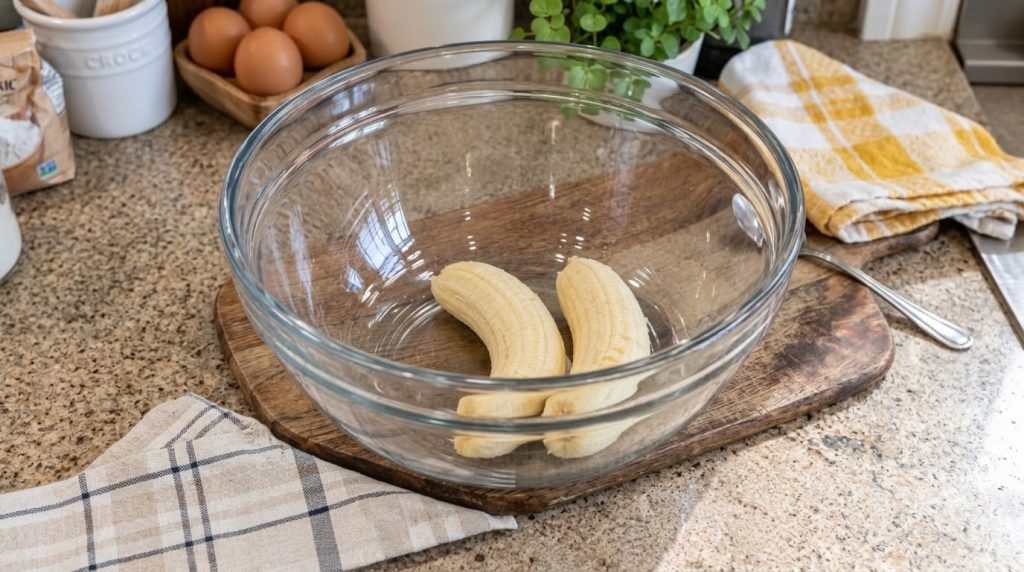
With a fork or potato masher, mash your ripe bananas in a separate bowl until mostly smooth with a few small lumps remaining, if desired. Add the mashed bananas and milk to the wet ingredients in the large bowl, mixing on low speed or by hand until just combined. Be careful not to overmix.
Step 6: Combine Wet and Dry Ingredients
Gradually add the dry ingredient mixture to the wet ingredients, mixing on low speed or by hand until just combined. Mix until no streaks of flour remain, but be careful not to overmix the batter. Overmixing can lead to a tough loaf.
Step 7: Bake the Banana Bread
Pour the batter into your prepared loaf pan and spread it evenly. Bake for 55-65 minutes, or until a wooden skewer or toothpick inserted into the center comes out clean. The top of the bread should be golden brown and feel firm to the touch.
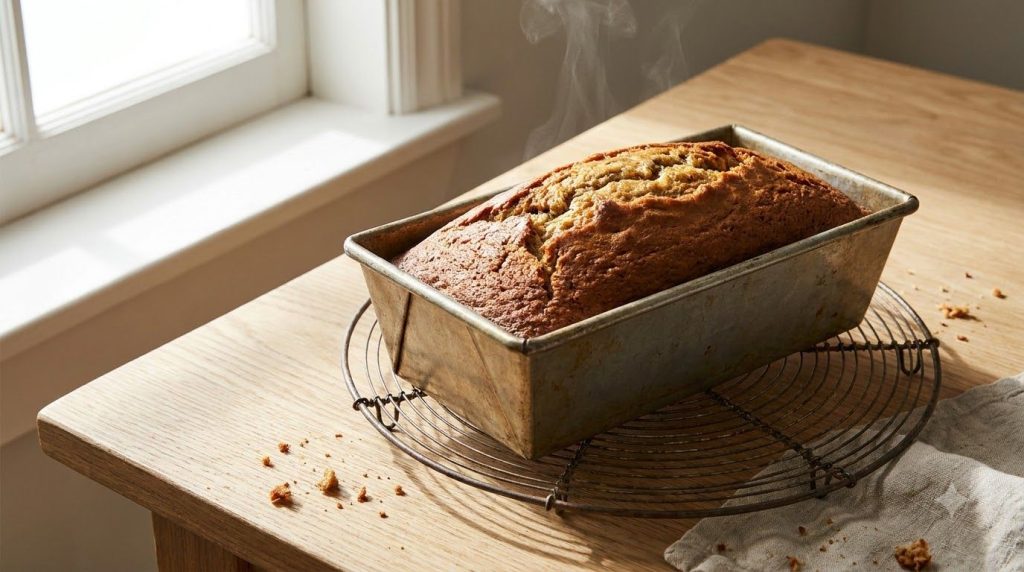
Step 8: Cool and Serve
Once baked, let the banana bread cool in the loaf pan for 10-15 minutes before carefully removing it and transferring it to a wire rack to cool completely. Slicing it while still warm is tempting, but letting it cool allows it to set properly and prevents crumbling.
Pro Tips for the Best Results
- Don’t Skimp on Ripeness: The browner your bananas, the sweeter and more flavorful your bread will be. Don’t use firm, yellow bananas; wait until they’re truly spotty or even black.
- Avoid Overmixing: Once you add the flour, mix only until just combined. Overmixing develops the gluten, leading to a dense and tough bread instead of a moist and tender one.
- Measure Flour Correctly: Spoon your flour into the measuring cup and level it off with a straight edge. Scooping directly can compact the flour, leading to too much flour and a dry loaf.
- Room Temperature Ingredients: Ensure butter and eggs are at room temperature. This allows them to emulsify better, creating a smoother, more uniform batter and a finer crumb.
- Check for Doneness: Use a wooden skewer or toothpick inserted into the thickest part of the loaf. If it comes out clean or with a few moist crumbs, it’s done. If it’s wet with batter, continue baking.
- Tent if Browning Too Quickly: If the top of your banana bread is browning too fast before the inside is cooked, loosely tent it with aluminum foil for the remaining baking time.
Common Mistakes to Avoid
- Using Underripe Bananas: This is the biggest mistake! Underripe bananas lack the sweetness and moisture needed for truly delicious banana bread, resulting in a less flavorful and drier loaf.
- Overmixing the Batter: As mentioned, overmixing develops gluten, which can make your banana bread tough and chewy instead of tender and moist.
- Not Greasing the Pan Properly: A poorly greased pan can lead to your beautiful loaf sticking, making it difficult to remove without damage. Always grease and flour or use parchment paper.
- Opening the Oven Door Too Early: Resist the urge to check on your bread in the first 30-40 minutes of baking, as sudden temperature drops can cause it to sink in the middle.
Variations & Substitutions
- Add-ins: Fold in 1/2 cup of chocolate chips (milk, dark, or semi-sweet), chopped walnuts or pecans, shredded coconut, or dried cranberries for extra flavor and texture.
- Spices: A pinch of cinnamon, nutmeg, or a pumpkin pie spice blend can enhance the warm flavors of the banana bread. Add 1/2-1 teaspoon to the dry ingredients.
- Brown Sugar: For a deeper, more caramel-like flavor, you can substitute half or all of the granulated sugar with light brown sugar.
- Dairy-Free Option: Substitute unsalted butter with a plant-based butter alternative and use a plant-based milk (like almond or oat milk).
- Extra Banana Flavor: For an even stronger banana taste, consider adding 1/2 teaspoon of banana extract along with the vanilla.
Serving Suggestions
This classic moist banana bread is fantastic on its own, but it’s even better with a few simple additions. Serve slices warm with a pat of butter, a dollop of cream cheese frosting, or a drizzle of honey. It pairs perfectly with a morning cup of coffee or tea, or as a comforting snack any time of day. For a more decadent treat, serve it with a scoop of vanilla ice cream.
Storage & Reheating
Refrigerator Storage: Store leftover banana bread in an airtight container at room temperature for up up to 3 days, or in the refrigerator for up to 1 week. Placing a paper towel in the container can help absorb excess moisture and prevent sogginess.
Freezer Suitability: Banana bread freezes beautifully! Once completely cooled, wrap the entire loaf or individual slices tightly in plastic wrap, then again in aluminum foil. Store in a freezer-safe bag for up to 3 months.
Reheating Method: To reheat, thaw frozen slices at room temperature or in the refrigerator overnight. Warm individual slices in the microwave for 15-30 seconds, or toast them lightly in a toaster oven. A whole loaf can be warmed in a 300°F (150°C) oven for about 10-15 minutes, wrapped in foil.
FAQ
Can I use frozen bananas for banana bread?
Absolutely! Frozen ripe bananas work perfectly. Thaw them completely (you can even microwave them for a minute or two), then drain any excess liquid before mashing. The liquid tends to darken, but it’s fine to use the mashed banana.
Why did my banana bread sink in the middle?
This can happen for a few reasons: opening the oven door too early, overmixing the batter, using too much leavening (baking soda), or underbaking. Ensure your oven temperature is accurate and that the bread is fully baked before removing it.
How can I make my banana bread even more moist?
Using very ripe bananas is key. You can also add an extra tablespoon or two of milk or sour cream to the batter, or try swapping some of the butter for a neutral oil, which can contribute to a softer, more moist crumb.
Can I make this banana bread gluten-free?
Yes, you can often substitute the all-purpose flour with a 1:1 gluten-free baking flour blend that contains xanthan gum. Follow the package directions for any specific usage notes.
How do I ripen bananas quickly for banana bread?
If your bananas aren’t ripe enough, you can bake them unpeeled on a baking sheet at 300°F (150°C) for 15-30 minutes, or until the peels are black and shiny. Let them cool before peeling and mashing.
Recipe Card
Recipe Name: Classic Moist Banana Bread
Short Description: A perfect recipe for transforming ripe bananas into a tender, flavorful, and incredibly moist homemade banana bread.
Prep Time: 15 minutes
Cook Time: 55-65 minutes
Total Time: 1 hour 10 minutes – 1 hour 20 minutes
Servings: 10-12 slices
Course: Breakfast, Snack, Dessert
Cuisine: American
Cooking Method: Baking
Ingredients:
- 2 cups (240 g) all-purpose flour
- 1 teaspoon baking soda
- 1/2 teaspoon salt
- 1/2 cup (113 g) unsalted butter, softened
- 3/4 cup (150 g) granulated sugar
- 2 large eggs, room temperature
- 1 teaspoon vanilla extract
- 3-4 ripe bananas, mashed (about 1 ½ cups)
- 1/4 cup (60 ml) milk or buttermilk
Instructions:
- Prepare Your Pan and Oven: Preheat your oven to 350°F (175°C). Grease and flour a 9×5 inch (23×13 cm) loaf pan, or line it with parchment paper.
- Whisk Dry Ingredients: In a medium bowl, whisk together the all-purpose flour, baking soda, and salt. Set aside.
- Cream Butter and Sugar: In a large mixing bowl, cream together the softened butter and granulated sugar until light and fluffy (2-3 minutes).
- Add Eggs and Vanilla: Beat in the eggs, one at a time, mixing well after each addition. Stir in the vanilla extract.
- Incorporate Bananas and Milk: Add the mashed ripe bananas and milk to the wet ingredients, mixing on low speed or by hand until just combined.
- Combine Wet and Dry Ingredients: Gradually add the dry ingredient mixture to the wet ingredients, mixing until just combined and no streaks of flour remain. Do not overmix.
- Bake the Banana Bread: Pour the batter into your prepared loaf pan. Bake for 55-65 minutes, or until a wooden skewer inserted into the center comes out clean.
- Cool and Serve: Let the banana bread cool in the pan for 10-15 minutes, then transfer to a wire rack to cool completely before slicing and serving.
Notes:
For the best flavor and moisture, always use very ripe bananas with plenty of brown spots. Avoid overmixing the batter to ensure a tender crumb. This recipe is easily adaptable with additions like chocolate chips or nuts.
Storage:
Store at room temperature in an airtight container for up to 3 days, or refrigerate for up to 1 week. Can be frozen, well-wrapped, for up to 3 months.
Nutrition:
Nutrition information is an estimate and may vary depending on the ingredients and brands used.