You know the feeling. One moment you’re cooking up a delicious meal, the next you’re distracted, and suddenly, your favorite pan is a charred, smoky mess. That thick layer of burnt-on food can feel impossible to tackle, leaving you wondering if it’s time to just toss the pan and buy a new one. But hold on! Before you declare defeat, we’re here to share a powerful, budget-friendly home cleaning hack that can bring even the most stubbornly burnt stainless steel pan back to life.
Using a simple trio of everyday kitchen ingredients – baking soda, dish soap, and white vinegar – you can harness a chemical cleaning reaction that breaks down the toughest grime. It’s a method trusted by homeowners for its effectiveness and affordability.
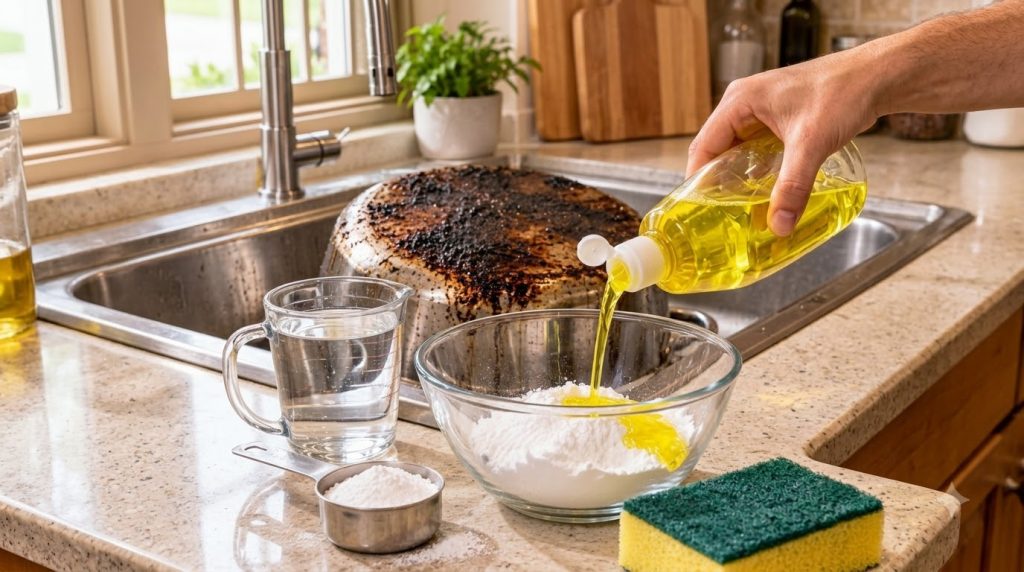
The Problem: Why Burnt Pans Seem Impossible to Clean
When food burns onto a pan, it undergoes a process called pyrolysis, where organic materials decompose under high heat, leaving behind a carbonized, sticky residue. This residue bonds incredibly strongly to the metal surface of your pan, making it resistant to regular scrubbing. Traditional dish soap and water often aren’t enough to penetrate these tough, baked-on layers.
Your Secret Weapon: The Power Trio for Burnt Pans
Don’t despair! The solution often lies in your pantry. A combination of baking soda, dish soap, and white vinegar creates a potent cleaning concoction that tackles burnt-on messes head-on.
Why This Combination Works Wonders
- Baking Soda (Sodium Bicarbonate): This mild alkali and gentle abrasive works by breaking down acidic food residues and providing a scrubbing action without scratching the pan’s surface. Its crystalline structure helps to physically lift stubborn particles.
- Dish Soap: A powerful degreaser and surfactant, dish soap helps to cut through greasy residues, emulsify oils, and lift food particles, allowing them to be rinsed away more easily. It also helps the baking soda paste adhere to the pan.
- White Vinegar (Acetic Acid): When combined with baking soda, vinegar creates a fizzy chemical reaction. The acetic acid reacts with the sodium bicarbonate to produce carbon dioxide gas, which helps to loosen and lift the burnt debris from the pan’s surface. It also acts as a natural disinfectant and cuts through lingering odors.
DIY Burnt Pan Cleaner: Recipe & Instructions
Ready to reclaim your pan? Here’s how to do it!
What You’ll Need (Ingredients & Tools)
- 1/2 cup to 1 cup baking soda (adjust for pan size and burn severity)
- 1-2 tablespoons yellow dish soap
- 1/4 cup white vinegar (distilled white vinegar is ideal)
- Warm water
- Non-abrasive scrub sponge or brush
- Plastic scraper (optional, for very thick burnt layers)
- Rubber gloves (optional, for sensitive skin)
Step-by-Step Guide to Restoring Your Pan
- Rinse & Dampen: First, remove any loose food particles from the pan. Rinse the burnt pan with warm water to dampen the affected areas.
- Apply Baking Soda: Sprinkle a generous layer of baking soda directly over all the burnt areas on the bottom and sides of the pan. Make sure it’s well covered.
- Add Dish Soap: Squirt 1-2 tablespoons of dish soap over the baking soda. You can gently mix it with your finger to create a loose paste.
- Activate with Vinegar: Slowly pour the white vinegar over the baking soda and dish soap mixture. You’ll immediately notice a fizzing and bubbling reaction. This is the magic happening!
- Let It Soak: Allow the mixture to sit in the pan for at least 15-30 minutes for moderate burns, or several hours (even overnight) for very stubborn, heavily burnt messes. The longer it soaks, the more time the reaction has to work on loosening the grime.
- Scrub Away: After soaking, use your non-abrasive scrub sponge or brush to vigorously scrub the burnt areas. You should find that the carbonized food and grime lift away much more easily than before. For extremely tough spots, a plastic scraper can help gently dislodge larger pieces.
- Rinse & Repeat: Rinse the pan thoroughly with warm water. If some burnt spots remain, you can repeat the process with a fresh application of baking soda, dish soap, and vinegar until your pan is sparkling clean.
- Final Wash: Once the burnt areas are gone, give your pan a final wash with regular dish soap and water, then dry it completely.
Important Tips for Best Results
- Patience is Key: Don’t rush the soaking time. For severe burns, overnight soaking can make a huge difference.
- Warm Water Helps: Starting with a warm, damp pan can help the baking soda stick and penetrate better.
- Avoid Metal Scrubbers: For stainless steel, a non-abrasive scrub sponge is usually sufficient and prevents scratching. Definitely avoid steel wool or harsh abrasive pads on non-stick or coated pans, as it will damage the surface.
- Ventilation: While non-toxic, the vinegar and baking soda reaction can release a faint odor. Ensure good ventilation if you are sensitive.
Preventative Measures: Keeping Your Pans Pristine
Once your pan is restored, here are a few tips to prevent future burnt messes:
- Monitor Heat: Always use appropriate heat settings for your cooking.
- Don’t Overcrowd: Overcrowding a pan can lead to uneven cooking and burning.
- Stir Frequently: Especially with sauces or foods prone to sticking.
- Clean Promptly: The sooner you clean a pan after use, the easier it will be.
Next time you face a burnt pan disaster, remember this powerful DIY solution. It’s a true home cleaning hack that saves your cookware and your wallet! What are your go-to pan cleaning secrets? Share them in the comments below!