Grow Your Own Chili Garden with DIY Self-Watering Bottles!
There’s nothing quite like the satisfaction of growing your own food, and when it comes to chili peppers, the heat and flavor you get from homegrown varieties are truly unmatched! But what if you have limited space, struggle with consistent watering, or just want a sustainable way to garden? Look no further than a DIY self-watering plastic bottle garden! This ingenious method is perfect for beginners and seasoned gardeners alike, offering a low-maintenance way to enjoy a bountiful harvest of spicy peppers.
At Garden – L. Quyên, we love sharing practical, eco-friendly gardening solutions, and this self-watering system ticks all the boxes. It’s easy to set up, reuses plastic waste, and provides a consistent water supply for your plants, ensuring they stay hydrated even if you forget a day or two. Let’s dive into how you can create your very own chili haven!
Why Choose a Self-Watering Bottle Garden?
- Sustainable: Repurpose plastic bottles, reducing waste.
- Water-Efficient: Plants take up water as needed from a reservoir, minimizing evaporation and waste.
- Low Maintenance: Less frequent watering is required, perfect for busy schedules.
- Space-Saving: Ideal for balconies, patios, windowsills, or any small space.
- Healthy Plants: Consistent moisture helps prevent root stress and promotes vigorous growth.
Materials You’ll Need:
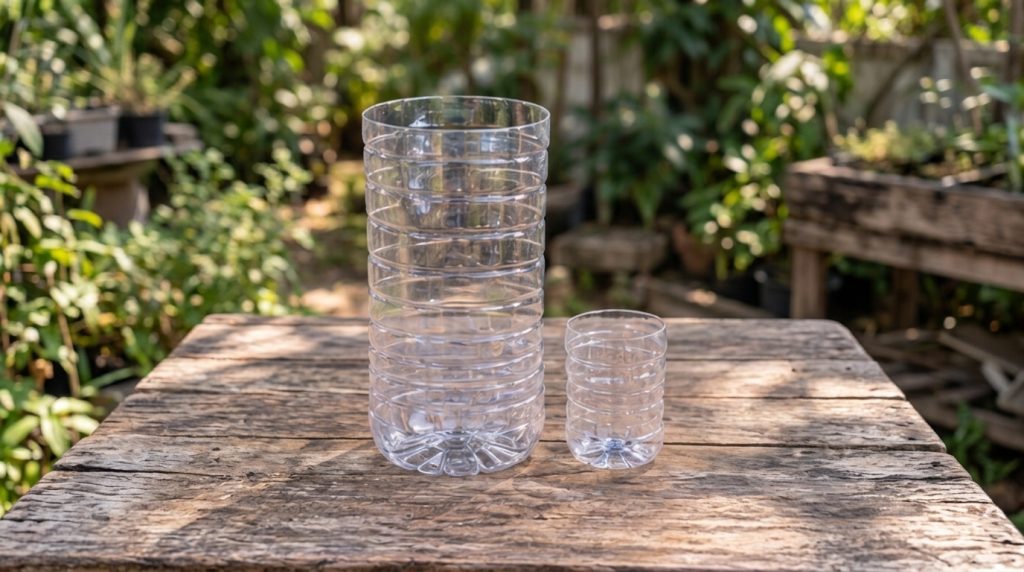
- Two clean plastic bottles (1.5-2 liter size, like soda or water bottles) per plant
- Sharp scissors or a utility knife
- Twine, shoelace, or a strip of old cotton fabric (for the wick)
- Drill or pushpin (to make a hole for the wick)
- Potting mix (good quality, well-draining)
- Chili seeds or small chili plant seedlings
- Water
Step-by-Step Guide to Building Your Chili Garden:
1. Prepare Your Bottles
Take one plastic bottle and cut it about one-third of the way down from the top. The top part will hold your plant and soil, and the bottom part will be the water reservoir. Make sure the cut is clean.
2. Create the Wick Hole
Remove the bottle cap from the top section. Using a drill or a pushpin, make a small hole in the center of the cap. This hole needs to be just large enough for your wick material to pass through.
3. Thread the Wick
Cut a piece of twine or cotton strip about 8-10 inches long. Thread one end of the wick through the hole in the bottle cap. Make sure a few inches of the wick extend above the cap and a longer portion hangs below.
4. Assemble the Planter
Screw the cap (with the wick threaded through it) back onto the neck of the top bottle section. Now, invert this top section and place it into the bottom section of the bottle. The top section should sit snugly, with the wick extending down into the bottom reservoir.
5. Add Soil and Plant
Fill the inverted top section with your potting mix. Make sure the wick is fully surrounded by soil. Plant your chili seeds or seedling into the soil. If using seeds, follow the package instructions for depth and spacing. If using a seedling, gently loosen the roots before placing it.
6. Fill the Reservoir
Pour water into the bottom reservoir section of your self-watering bottle until it’s about two-thirds full. The wick will draw water up into the soil, keeping it consistently moist. You’ll see the water level drop over time, indicating when it’s time to refill.
Caring for Your Chili Plants:
Sunlight
Chili peppers are sun-lovers! Place your self-watering garden in a spot that receives at least 6-8 hours of direct sunlight per day. A south-facing window or a sunny balcony works wonderfully.
Watering
The beauty of this system is that it handles most of the watering. Simply check the water level in the reservoir every few days and refill it as needed. Avoid letting the reservoir dry out completely for extended periods.
Nutrients
While potting mix provides initial nutrients, chili plants are heavy feeders. Consider adding a balanced liquid fertilizer diluted to half strength every 2-4 weeks, especially once the plants start producing flowers and fruit.
Pest Control
Keep an eye out for common garden pests like aphids or spider mites. A gentle spray of neem oil solution or insecticidal soap can help if an infestation occurs. Healthy plants are often more resistant to pests.
Harvesting
Depending on the variety, your chili peppers will be ready to harvest in 60-90 days from planting. Pick them when they reach their mature color (red, green, yellow, etc.) and desired size. Harvesting regularly encourages the plant to produce more peppers!
Growing your own chili peppers using this DIY self-watering method is a rewarding experience. Not only will you enjoy fresh, flavorful chilies, but you’ll also contribute to a more sustainable lifestyle. Give it a try and transform your space into a vibrant, productive chili garden!