Imagine biting into a juicy, sun-ripened tomato picked fresh from your own garden. What if we told you that achieving this dream could be as simple as slicing a tomato? Yes, you read that right! Growing tomatoes from slices is an incredibly easy and rewarding gardening hack perfect for beginners and seasoned green thumbs alike. Forget about fiddling with tiny seeds; this method uses the seeds already embedded in your favorite tomato to kickstart a bountiful harvest. Let’s dig in!
Why Try Growing Tomatoes from Slices?
This ingenious method isn’t just a fun experiment; it offers several fantastic benefits:
- Simplicity: No need for intricate seed-starting trays or germination kits.
- Cost-Effective: You’re essentially using a grocery store tomato to grow more, saving on seed packets.
- High Germination Rate: Tomatoes naturally have many seeds, increasing your chances of success.
- Quick Start: Seeds are already mature within the fruit, often sprouting faster than dried seeds.
- Engaging for All Ages: A wonderful project for families and children to witness the magic of growth.

What You’ll Need:
- One ripe tomato (heirloom varieties often work best, but any good quality tomato will do!)
- A shallow pot or container (at least 6-8 inches in diameter) with drainage holes
- Good quality potting mix
- A watering can or spray bottle
- A sunny spot!
Step-by-Step Guide: Grow Your Own Tomatoes from Slices
Step 1: Choose Your Tomato and Prepare Slices
Select a healthy, ripe tomato. Organic tomatoes are often recommended as they are less likely to be hybridized to produce sterile seeds. Slice the tomato into approximately 1/4 to 1/2-inch thick rounds. Each slice should contain several visible seeds.
Step 2: Prepare Your Potting Mix
Fill your chosen pot with a good quality, well-draining potting mix. Leave about an inch or two of space from the rim. Gently moisten the soil, making sure it’s damp but not waterlogged.
Step 3: Lay the Tomato Slices
Place 2-3 tomato slices on top of the moist soil in your pot. If using a larger pot, you can space them a few inches apart. Don’t overlap them too much, as this can lead to overcrowding later.
Step 4: Cover with Soil
Lightly cover the tomato slices with about 1/2 inch of potting mix. Don’t press down too hard. The goal is to provide enough cover for the seeds to germinate without burying them too deeply.
Step 5: Water Gently and Place in a Sunny Spot
Water lightly again, using a spray bottle or a watering can with a fine rose to avoid disturbing the seeds. Place your pot in a warm spot that receives at least 6-8 hours of direct sunlight daily. A sunny windowsill, patio, or greenhouse is ideal.
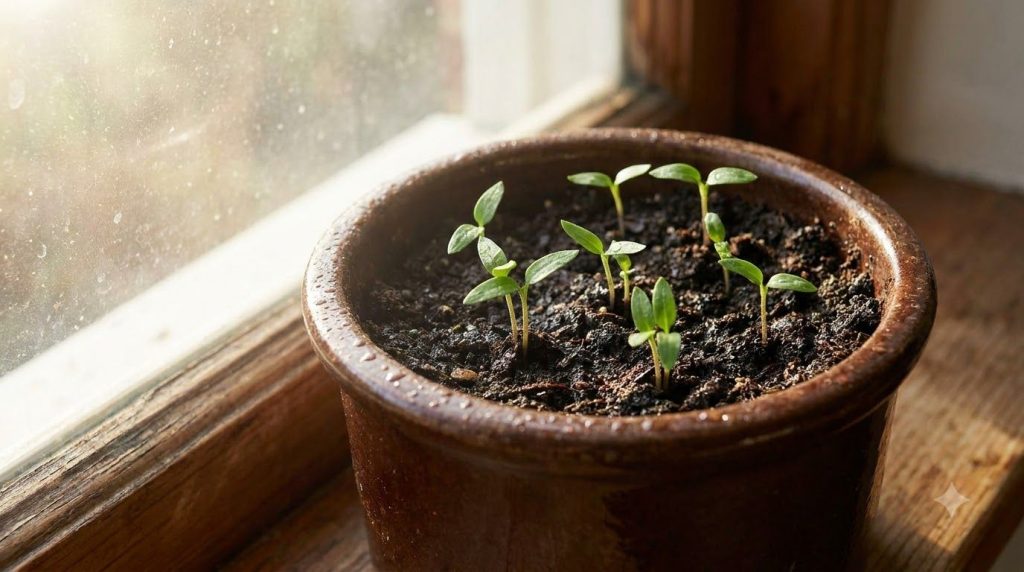
Step 6: Monitor and Maintain Moisture
Keep the soil consistently moist but never soggy. You should see seedlings emerge within 7-14 days. This is an exciting part!
Step 7: Thin Out Seedlings
Once your seedlings have grown a few sets of true leaves (the second set of leaves to appear), it’s time to thin them. Carefully select the strongest 1-2 seedlings per pot and gently snip the others at the soil line with small scissors. This gives the remaining plants enough space and nutrients to thrive.
Step 8: Transplant (If Necessary)
If you started in a smaller pot, once your seedlings are robust and about 4-6 inches tall, it’s time to transplant them into larger individual pots or directly into your garden bed. Ensure your garden soil is well-prepared with compost and nutrients.
Tips for a Bountiful Harvest
- Sunlight is Key: Tomatoes are sun-loving plants, so ensure they get ample direct sunlight.
- Consistent Watering: Water deeply and regularly, especially during dry spells and when fruits are forming. Avoid overhead watering to prevent fungal diseases.
- Provide Support: As your plants grow, they’ll need support. Use stakes, cages, or trellises to keep them upright and prevent them from sprawling.
- Fertilize: Once flowers appear, feed your plants with a balanced fertilizer designed for tomatoes, following package instructions.
- Pest Patrol: Regularly inspect your plants for signs of pests or diseases. Address issues promptly with organic solutions if possible.
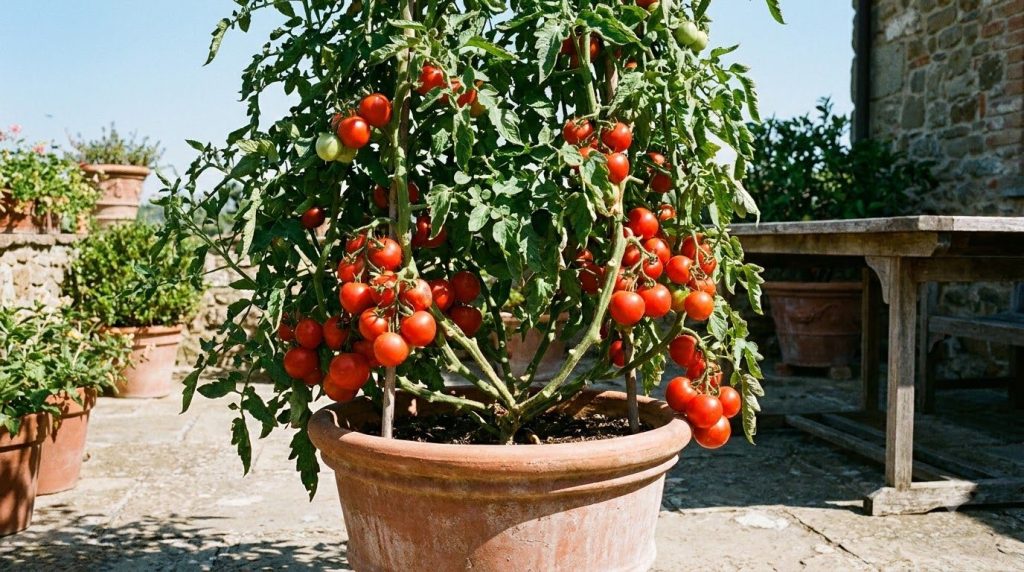
Enjoy Your Homegrown Tomatoes!
There’s nothing quite like the taste of a homegrown tomato. With this simple slice-planting method, you can easily enjoy fresh, delicious tomatoes right from your patio or garden. So, next time you’re enjoying a juicy tomato, remember its potential to become many more! Happy gardening!