Unlock the sweet potential of ripe bananas by transforming them into versatile homemade banana puree! This simple, one-ingredient wonder is a kitchen staple that can elevate everything from baby food to your favorite baked goods. If you’ve ever found yourself with a bunch of overly ripe bananas on the counter, this recipe is your golden ticket to reducing food waste and creating something truly delicious and nutritious.
Making banana puree at home is incredibly straightforward, requiring minimal effort and no fancy equipment. The natural sweetness and creamy texture of ripe bananas make for a naturally wholesome ingredient that’s perfect for infants, a healthy addition to smoothies, or a flavorful binder in vegan baking. Get ready to turn those speckled yellow beauties into a smooth, delightful puree that you’ll use again and again!
Why You’ll Love This Homemade Banana Puree Recipe
- Extremely Easy Preparation: With just one main ingredient and basic tools, you can whip up fresh banana puree in minutes.
- Just One Ingredient (Plus Optional Enhancements): Focus on the natural goodness of bananas without unnecessary additives.
- Incredibly Versatile: Perfect for baby food, adding to smoothies, enhancing baked goods, or even as a simple, healthy snack.
- Healthy & Natural: A wholesome option that’s naturally sweet, packed with nutrients, and free from processed sugars.
- Great for Meal Prep: Easily make a larger batch and store it in the refrigerator or freezer for future use.
- Reduces Food Waste: A fantastic way to utilize those ripe bananas before they go bad, saving money and reducing waste.
Ingredients
- 2-3 large ripe bananas (yellow with plenty of brown spots)
- Optional: 1-2 teaspoons (5-10 ml) water, breast milk, or formula (for baby food consistency)
- Optional: 1/4 teaspoon (1.25 ml) lemon juice (to prevent browning if storing)
Ingredient Notes
- Ripe Bananas: The key to sweet, smooth puree is using bananas that are very ripe. Look for bananas with numerous brown spots on the skin; they will be softer, sweeter, and easier to mash. Green or firm yellow bananas will not yield the desired flavor or texture.
- Water/Breast Milk/Formula: If you’re making puree for infants, a small amount of liquid can help achieve a smoother, more palatable consistency. Adjust the amount to your baby’s preference.
- Lemon Juice: While optional, a tiny squeeze of lemon juice can help prevent the puree from browning when stored. It won’t significantly alter the flavor.
Equipment You’ll Need
- A medium-sized mixing bowl
- A fork or potato masher
- Optional: Blender or food processor (for an extra smooth consistency)
- Airtight containers or ice cube trays (for storage)
How to Make Homemade Banana Puree
Making delicious banana puree is incredibly simple. Just follow these steps:
-
Select and Prepare Your Bananas
Choose 2-3 large ripe bananas. They should have yellow skins with plenty of brown spots, indicating maximum sweetness and softness. Peel the bananas and break them into smaller pieces directly into your mixing bowl. If you’re working with multiple bananas, you can peel them all at once.
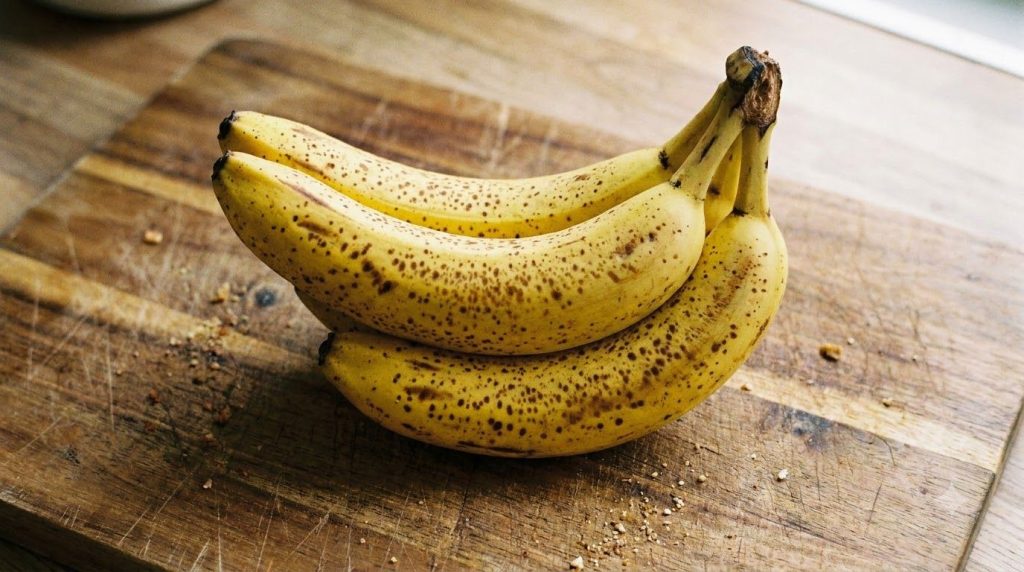
A cluster of ripe yellow bananas with brown spots ready for mashing -
Mash by Hand for Texture
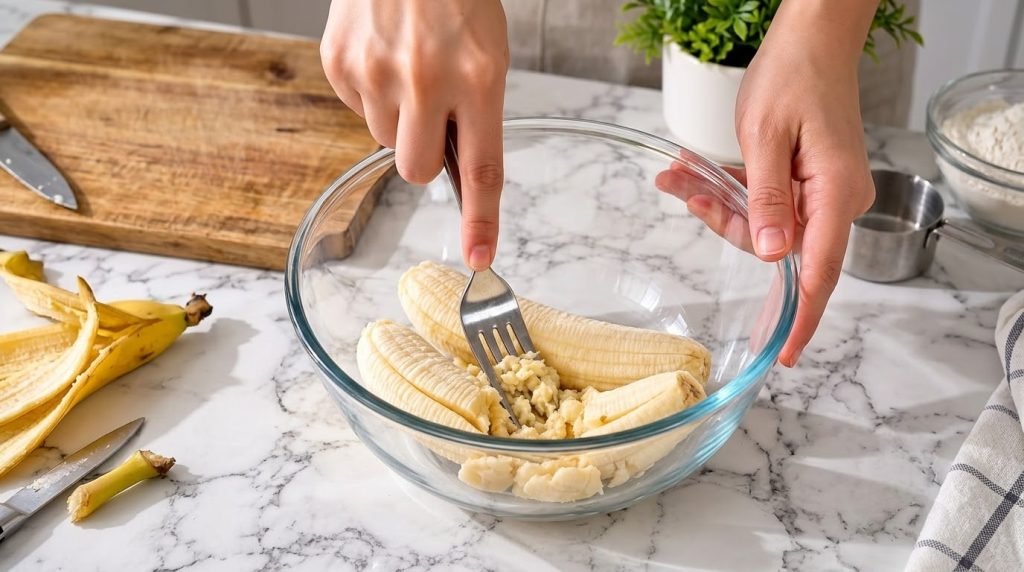
Using a fork or a potato masher, begin mashing the banana pieces. Press down firmly and repeatedly until the bananas break down into a soft, consistent pulp. Continue mashing until you reach your desired consistency. For a slightly chunky puree (great for older babies or baking), a fork works perfectly. For a smoother texture, keep mashing until most lumps are gone.
-
Blend for a Silky Smooth Puree (Optional)
If you prefer an exceptionally smooth, silky puree (ideal for younger babies or smoothies), transfer the mashed bananas to a blender or food processor. Process on high speed for 30-60 seconds, or until completely smooth. You may need to scrape down the sides of the blender once or twice to ensure everything is incorporated.
-
Adjust Consistency (Optional)
If the puree is too thick for your preference or intended use (especially for baby food), add 1-2 teaspoons of water, breast milk, or formula, stirring or blending until it reaches your desired texture. Add liquid a little at a time to avoid making it too thin.
-
Add Lemon Juice (Optional, for Storage)
If you plan to store the banana puree for more than an hour, stir in 1/4 teaspoon of lemon juice. This helps to prevent oxidation and keeps the puree from turning brown. The small amount won’t affect the flavor significantly.
-
Serve or Store
Your homemade banana puree is now ready to use! Serve it immediately or prepare it for storage according to the instructions below.
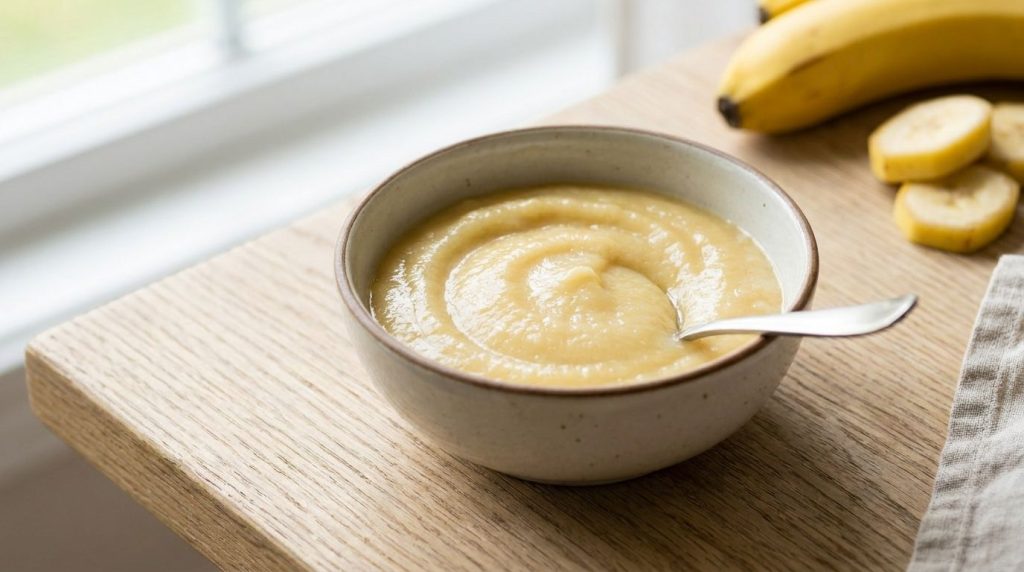
A bowl of smooth creamy homemade banana puree ready to be used
Pro Tips for the Best Results
- Use Very Ripe Bananas: This is the most crucial tip! Overly ripe bananas (yellow with many brown spots) are naturally sweeter, softer, and easier to mash, resulting in a superior puree.
- Control the Texture: Decide if you want a chunky, slightly textured puree (great with a fork or masher) or a perfectly smooth one (achieved with a blender or food processor) based on your intended use.
- Add Liquid Gradually: If thinning the puree for baby food, add water, breast milk, or formula in small increments (1 teaspoon at a time) to prevent it from becoming too runny.
- Prevent Browning with Lemon Juice: A tiny splash of lemon juice is your secret weapon against oxidation if you plan to store the puree. It won’t affect the taste but will keep it looking fresh.
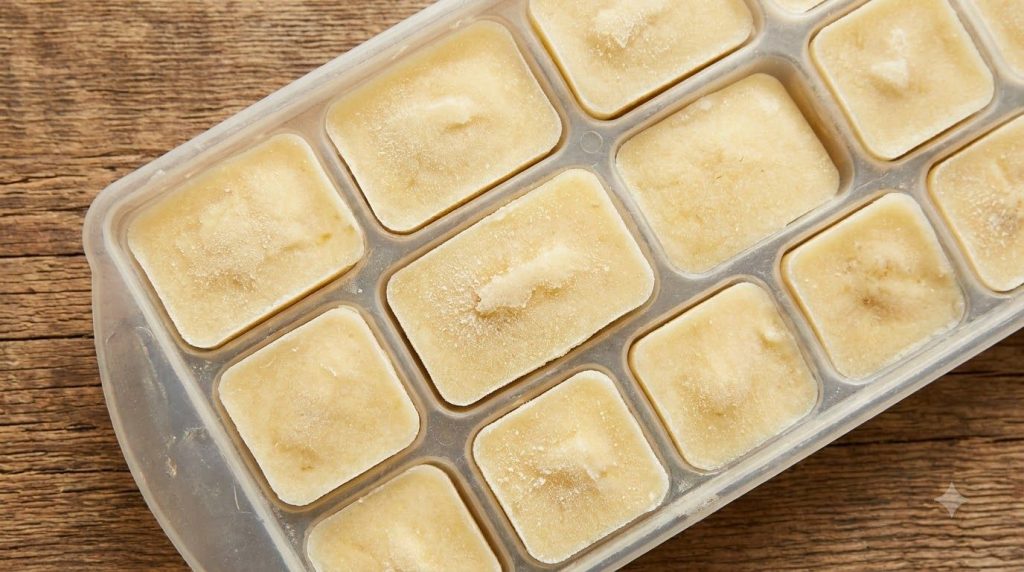
- Portion Before Freezing: For easy meal prep or baby food, portion the puree into ice cube trays before freezing. Once solid, transfer the cubes to a freezer-safe bag.
- Consider Organic for Baby Food: If making puree for infants, opting for organic bananas can be a good choice to minimize pesticide exposure.
- Don’t Over-Process (Unless Desired): If using a blender, blend only until smooth. Over-processing can sometimes incorporate too much air, leading to a lighter, foamier texture that might not be ideal for all uses.
Common Mistakes to Avoid
- Using Under-Ripe Bananas: This is the biggest pitfall. Under-ripe bananas are starchy, less sweet, and harder to mash, leading to a less flavorful and lumpier puree.
- Not Mashing Enough: If you’re going for a smooth texture, ensure you mash or blend thoroughly. Lumps can be unappealing, especially for babies.
- Adding Too Much Liquid: If you’re thinning the puree, adding too much liquid too quickly can make it watery and dilute the flavor. Always add gradually.
- Improper Storage: Leaving banana puree exposed to air will cause it to brown quickly. Always store it in an airtight container or freeze promptly.
Variations & Substitutions
- Spice It Up: For baking or adult snacks, a pinch of cinnamon, nutmeg, or a tiny dash of vanilla extract can add wonderful warmth and flavor.
- Fruity Blends: Combine banana puree with other fruit purees like apple, pear, or cooked sweet potato for a more complex flavor and nutritional profile, especially for baby food.
- Creamy Additions: For a richer puree, especially for adults or older children, consider blending in a tablespoon of full-fat yogurt, avocado, or a nut butter for added healthy fats and protein.
- Textural Variety: If using for baking, you might leave some small chunks of banana for added texture in muffins or bread.
Serving Suggestions
Homemade banana puree is incredibly versatile!
- For Babies: Serve plain as a first food (around 6 months), or mix with baby cereal, breast milk, or formula.
- In Smoothies: Freeze portions in ice cube trays and add to your favorite smoothie recipes for natural sweetness and creaminess.
- Baking: A fantastic natural sweetener and binder for banana bread, muffins, pancakes, waffles, and even vegan baked goods.
- Breakfast Topping: Swirl into oatmeal, yogurt, or spread on toast for a healthy and satisfying breakfast.
- Healthy Snack: Enjoy it on its own, perhaps topped with a sprinkle of chia seeds or granola for added crunch.
Storage & Reheating
- Refrigerator: Store homemade banana puree in an airtight container in the refrigerator for up to 3-4 days. Adding a tiny bit of lemon juice can help prevent browning.
- Freezer: Banana puree freezes beautifully for longer storage. Spoon it into ice cube trays and freeze until solid (about 2-4 hours). Once frozen, transfer the cubes to a freezer-safe bag or container. It will keep for up to 3 months.
- Reheating: Thaw frozen banana puree cubes in the refrigerator overnight. For quicker thawing, place a cube in a small bowl and microwave in 15-second intervals, stirring in between, until defrosted and gently warmed.
FAQ
How ripe should bananas be for puree?
Bananas should be very ripe, with plenty of brown spots on their yellow skin. This ensures maximum sweetness, a soft texture, and easy mashing.
How long does homemade banana puree last?
It lasts about 3-4 days in an airtight container in the refrigerator and up to 3 months in the freezer.
Can I freeze banana puree?
Yes, absolutely! Freezing in ice cube trays is an excellent way to portion and store it. Once frozen, transfer the cubes to a freezer-safe bag.
Why did my banana puree turn brown?
Banana puree browns due to oxidation when exposed to air. Adding a small amount of lemon juice and storing it in an airtight container can help prevent this.
What can I use banana puree for?
It’s great for baby food, smoothies, baking (banana bread, muffins, pancakes), mixing into oatmeal or yogurt, or enjoying as a healthy snack.
Do I need to cook bananas for puree?
No, ripe bananas are soft enough to be pureed raw. Cooking is not necessary unless a specific recipe or dietary recommendation requires it (e.g., some methods of baby food preparation for very young infants might involve steaming for extra digestibility, but it’s not standard for banana puree).
Can I use a food processor instead of a fork?
Yes, a food processor or blender will create a much smoother, silkier puree, which is often preferred for baby food or very smooth smoothies.
Recipe Card: Homemade Banana Puree
Discover how easy it is to make versatile homemade banana puree, perfect for babies, baking, and smoothies. A healthy, natural, and simple recipe!
Prep Time: 5 minutes
Cook Time: 0 minutes
Total Time: 5 minutes
Servings: Varies (depending on bananas used)
Course: Snack, Baby Food, Ingredient
Cuisine: American
Cooking Method: Mashing, Blending
Ingredients:
- 2-3 large ripe bananas (yellow with plenty of brown spots)
- Optional: 1-2 teaspoons (5-10 ml) water, breast milk, or formula
- Optional: 1/4 teaspoon (1.25 ml) lemon juice
Instructions:
- Select & Peel: Choose 2-3 very ripe bananas. Peel them and break them into smaller pieces into a mixing bowl.
- Mash: Using a fork or potato masher, mash the banana pieces until you reach your desired consistency – chunky for texture or smooth for purees.
- Blend (Optional): For a super smooth puree, transfer to a blender or food processor and blend until silky, scraping down sides as needed.
- Adjust Consistency (Optional): If too thick, add 1-2 teaspoons of water, breast milk, or formula, stirring or blending until desired consistency is achieved.
- Prevent Browning (Optional): Stir in 1/4 teaspoon of lemon juice if storing to help prevent oxidation and browning.
- Serve or Store: Use immediately or store in an airtight container.
Notes:
Always use very ripe bananas for the sweetest flavor and best texture. Adjust liquid amounts to suit the intended use of the puree.
Storage:
Refrigerate in an airtight container for 3-4 days. Freeze in ice cube trays for up to 3 months; transfer frozen cubes to a freezer-safe bag.
Nutrition:
Nutrition information is an estimate and may vary depending on the ingredients and brands used.