There’s nothing quite like the simple pleasure of mashing ripe bananas, the sweet start to so many delicious treats! If you have a few spotty bananas ripening on your counter, don’t let them go to waste. Transform them into a warm, fragrant loaf of Easy Classic Banana Bread. This timeless recipe is a beloved comfort food, known for its incredible moistness, rich banana flavor, and comforting sweetness that makes any day feel a little cozier.
This classic banana bread recipe is designed for ease and guaranteed deliciousness. It brings together simple pantry staples with those wonderfully overripe bananas to create a tender, flavorful loaf that’s perfect for breakfast, a snack, or even a simple dessert. Get ready to fill your kitchen with the irresistible aroma of homemade baking!
Why You’ll Love This Easy Classic Banana Bread Recipe
This isn’t just another banana bread recipe; it’s the one you’ll come back to again and again:
- Simple Ingredients: Uses everyday pantry staples you likely already have.
- Perfectly Moist: Thanks to ripe bananas and a touch of oil or butter, this bread is consistently tender and never dry.
- Irresistible Flavor: The sweetness of ripe bananas deepens during baking, creating a rich, comforting taste.
- Quick to Prepare: With minimal prep time, you can have this loaf in the oven in under 15 minutes.
- Great for Ripe Bananas: It’s the ultimate way to use up those brown-spotted bananas, turning them into a delicious treat.
- Family Favorite: A universally loved treat that disappears quickly!
Ingredients
To make this wonderfully moist and flavorful banana bread, you will need:
- 3 medium ripe bananas, mashed (about 1 cup or 240g)
- 1 ½ cups (180 g) all-purpose flour
- ¾ cup (150 g) granulated sugar
- 1 large egg
- ¼ cup (57 g / 60 ml) unsalted butter, melted, or vegetable oil
- 2 tablespoons (30 ml) milk (any kind)
- 1 teaspoon baking soda
- ½ teaspoon salt
- 1 teaspoon vanilla extract
Ingredient Notes
- Ripe Bananas: The riper, the better! Look for bananas with plenty of brown spots or even fully brown peels. These contain more natural sugars and are easier to mash, leading to a sweeter, more flavorful, and moister bread.
- Flour: All-purpose flour is ideal for a tender crumb. You can use a 1:1 gluten-free baking flour blend if you need a gluten-free option.
- Sugar: Granulated sugar provides the primary sweetness. For a richer flavor, you can substitute half of it with brown sugar.
- Fat: Melted unsalted butter adds a richer flavor, while vegetable oil (like canola or sunflower) yields a slightly lighter and often moister bread. Choose what you prefer!
- Milk: A small amount of milk helps to adjust the consistency of the batter, ensuring a perfectly moist loaf. Any type of milk works.
Equipment You’ll Need
- 9×5 inch (23×13 cm) loaf pan
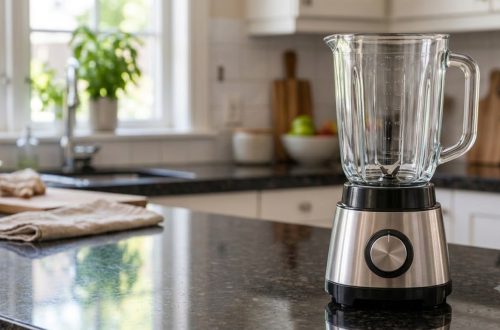
- Large mixing bowl
- Medium mixing bowl
- Fork or potato masher
- Whisk
- Rubber spatula
- Measuring cups and spoons
How to Make Easy Classic Banana Bread
Follow these simple steps for a perfect loaf:
- Preheat Oven & Prep Pan: Preheat your oven to 350°F (175°C). Grease and flour a 9×5 inch (23×13 cm) loaf pan, or line it with parchment paper, leaving an overhang on the longer sides for easy removal.
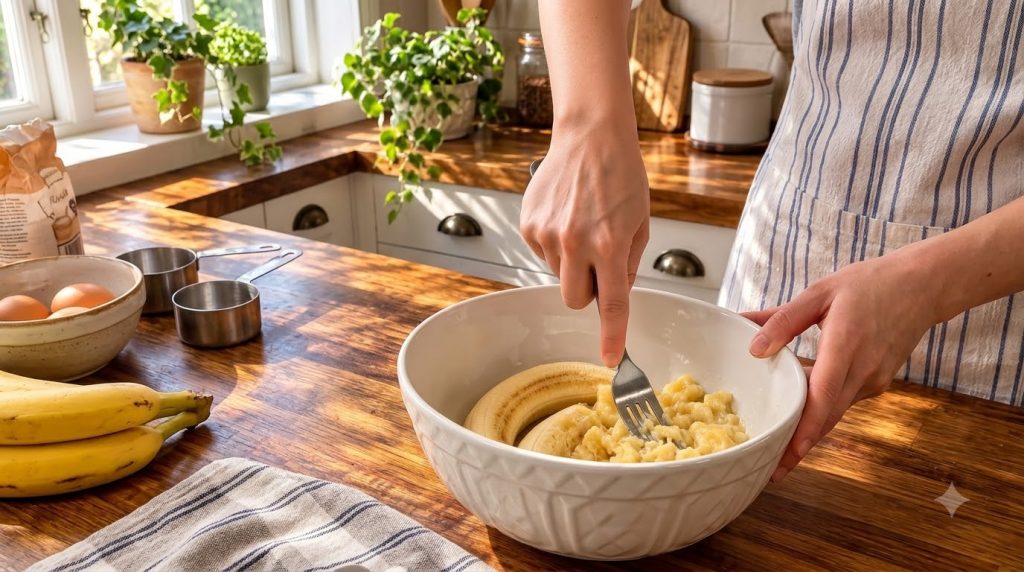
- Mash Bananas: In a large mixing bowl, mash the ripe bananas with a fork or potato masher until mostly smooth with a few small lumps remaining.
- Combine Wet Ingredients: Add the melted butter (or oil), egg, milk, and vanilla extract to the mashed bananas. Whisk until well combined.
- Combine Dry Ingredients: In a separate medium bowl, whisk together the flour, granulated sugar, baking soda, and salt.
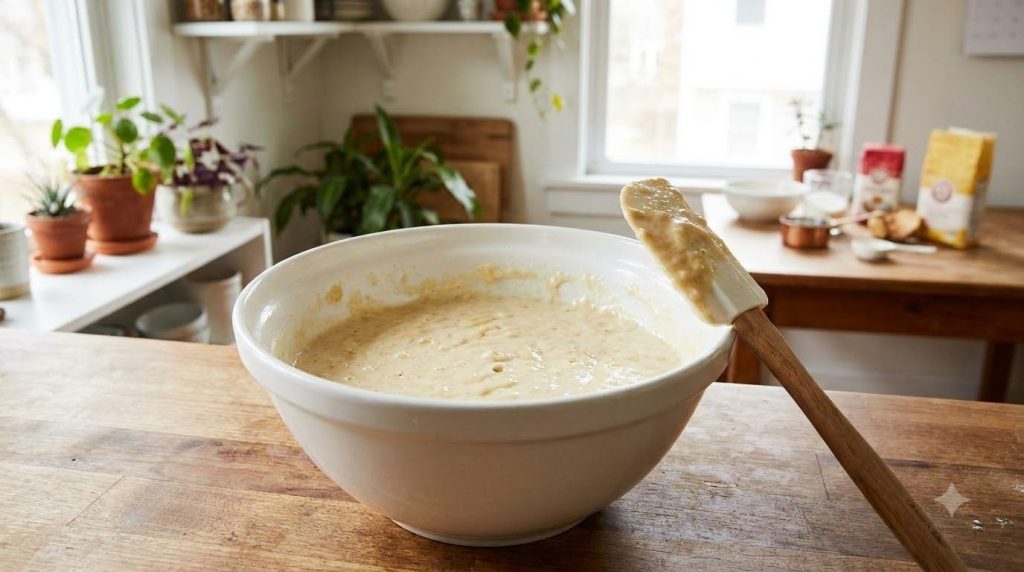
- Combine Wet and Dry: Pour the dry ingredients into the wet ingredients. Using a rubber spatula, mix just until combined. Be careful not to overmix; a few lumps of flour are fine. Overmixing can lead to a tough bread.
- Pour into Pan: Pour the batter into the prepared loaf pan and spread evenly.
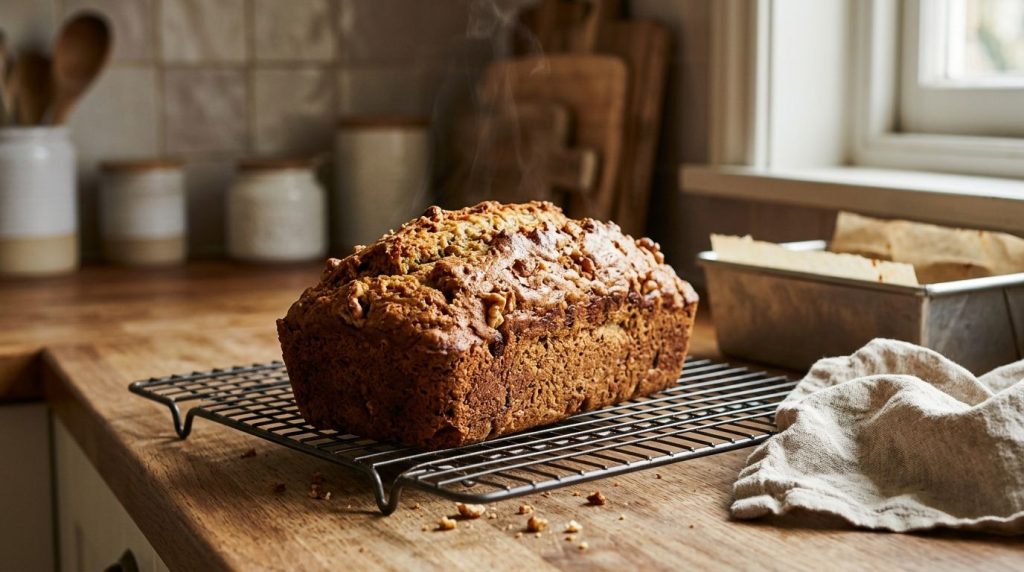
- Bake: Bake for 50-65 minutes, or until a wooden skewer or toothpick inserted into the center comes out clean or with a few moist crumbs attached. The top should be golden brown.
- Cool: Let the banana bread cool in the pan on a wire rack for 10-15 minutes before carefully lifting it out by the parchment paper overhang or inverting it onto the rack. Allow it to cool completely before slicing for the best texture.
Pro Tips for the Best Results
- Use Very Ripe Bananas: This is key! The brown spots indicate higher sugar content and more intense banana flavor. Don’t be shy about using bananas that look past their prime.
- Don’t Overmix: Overmixing develops the gluten in the flour, leading to a dense, tough bread. Mix the wet and dry ingredients just until no streaks of flour remain.
- Avoid Overbaking: Overbaking will dry out your banana bread. Start checking for doneness around the 50-minute mark. A slightly moist crumb on the toothpick is perfect; a completely clean toothpick means it’s likely overdone.
- Cool Completely: While tempting to slice warm, banana bread continues to cook and set as it cools. Cooling completely on a wire rack ensures a firm structure and prevents a gummy texture.
- Even Baking: If your oven tends to bake unevenly, rotate the loaf pan halfway through the baking time.
Common Mistakes to Avoid
- Using Underripe Bananas: Green or yellow bananas won’t provide the sweetness, moisture, or deep flavor needed for a truly great banana bread.
- Skipping the Grease/Parchment: Banana bread can be sticky. Always properly grease and flour your pan or use parchment paper to prevent sticking.
- Adding Too Many Mix-ins: While delicious, too many heavy mix-ins (like nuts or chocolate chips) can cause them to sink to the bottom of the loaf. If adding, toss them lightly with a tablespoon of flour first to help them suspend.
- Cutting While Hot: This can cause the bread to crumble and appear gummy. Patience is a virtue here!
Variations & Substitutions
Customize your banana bread with these ideas:
- Nuts: Add ½ cup of chopped walnuts or pecans to the batter for a delightful crunch.
- Chocolate Chips: Stir in ½ cup of semi-sweet chocolate chips for a sweeter treat.
- Spices: A pinch of cinnamon or nutmeg (¼ to ½ teaspoon) can enhance the warm flavors.
- Sweetener Swap: Substitute half or all of the granulated sugar with light brown sugar for a deeper, molasses-like flavor.
- Dairy-Free: Use a plant-based milk (almond, soy, oat) and vegetable oil instead of butter for a dairy-free version.
- Muffins: Pour the batter into a greased muffin tin and bake for 20-25 minutes at 375°F (190°C) for banana muffins.
Serving Suggestions
Easy Classic Banana Bread is fantastic on its own, but here are some ways to enjoy it:
- With Coffee or Tea: A slice of banana bread is the perfect accompaniment to your morning coffee or an afternoon cup of tea.
- Toasted with Butter: For an extra indulgence, toast a slice and spread it with a pat of butter.
- Cream Cheese Frosting: Turn it into a dessert by adding a simple cream cheese frosting.
- Fruit & Yogurt: Serve alongside fresh berries and a dollop of Greek yogurt for a wholesome breakfast.
Storage & Reheating
- Refrigerator: Store leftover banana bread in an airtight container at room temperature for up to 3-4 days. For longer storage, keep it in the refrigerator for up to a week.
- Freezer: Banana bread freezes beautifully! Once completely cooled, wrap the entire loaf or individual slices tightly in plastic wrap, then place in a freezer-safe bag or container. It will keep for up to 3 months.
- Reheating: Thaw frozen slices at room temperature or warm gently in the microwave or toaster oven until heated through. For a whole loaf, thaw overnight in the refrigerator before reheating.
FAQ
Why is my banana bread dry?
Dry banana bread is usually a result of overbaking or overmixing the batter. Ensure you mix just until the ingredients are combined and check for doneness around the 50-minute mark, pulling it from the oven when a toothpick comes out with moist crumbs, not completely clean.
Can I use frozen bananas for banana bread?
Absolutely! Frozen ripe bananas are perfect for banana bread. Thaw them completely (you can do this in the microwave or at room temperature), then drain any excess liquid before mashing and using in the recipe.
How do I ripen bananas quickly?
If your bananas aren’t ripe enough, you can place them on a baking sheet and bake them at 300°F (150°C) for 15-30 minutes until their skins are black and shiny. Let them cool completely before mashing.
Can I make this recipe into muffins?
Yes! Simply divide the batter into a greased 12-cup muffin tin. Bake at 375°F (190°C) for 20-25 minutes, or until a toothpick inserted into the center comes out clean.
What can I substitute for butter or oil?
You can use an equal amount of unsweetened applesauce or plain Greek yogurt as a healthy alternative, though the texture might be slightly denser.
How do I know when the banana bread is done?
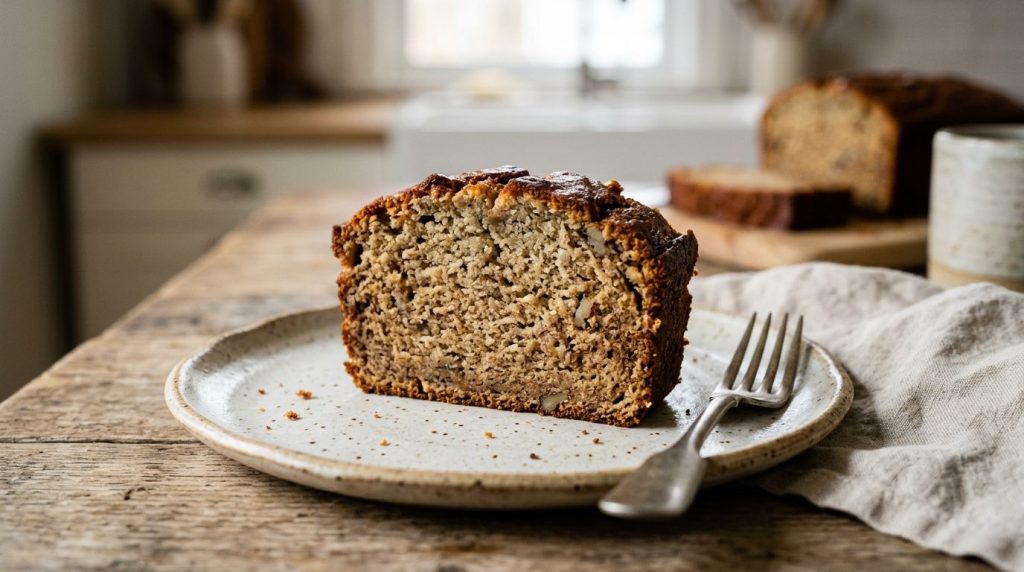
The best way is to insert a wooden skewer or toothpick into the center of the loaf. If it comes out clean or with a few moist crumbs attached, it’s done. The top should also be golden brown and spring back lightly when touched.
Recipe Card
Recipe Name: Easy Classic Banana Bread
Short Description: A simple and delicious recipe for moist, flavorful banana bread, perfect for using up ripe bananas.
Prep Time: 10 minutes
Cook Time: 50-65 minutes
Total Time: 1 hour 10 minutes
Servings: 8-10 slices
Course: Breakfast, Snack, Dessert
Cuisine: American
Cooking Method: BakingIngredients:
- 3 medium ripe bananas, mashed (about 1 cup or 240g)
- 1 ½ cups (180 g) all-purpose flour
- ¾ cup (150 g) granulated sugar
- 1 large egg
- ¼ cup (57 g / 60 ml) unsalted butter, melted, or vegetable oil
- 2 tablespoons (30 ml) milk (any kind)
- 1 teaspoon baking soda
- ½ teaspoon salt
- 1 teaspoon vanilla extract
Instructions:
- Preheat Oven & Prep Pan: Preheat your oven to 350°F (175°C). Grease and flour a 9×5 inch (23×13 cm) loaf pan, or line it with parchment paper, leaving an overhang on the longer sides for easy removal.
- Mash Bananas: In a large mixing bowl, mash the ripe bananas with a fork or potato masher until mostly smooth with a few small lumps remaining.
- Combine Wet Ingredients: Add the melted butter (or oil), egg, milk, and vanilla extract to the mashed bananas. Whisk until well combined.
- Combine Dry Ingredients: In a separate medium bowl, whisk together the flour, granulated sugar, baking soda, and salt.
- Combine Wet and Dry: Pour the dry ingredients into the wet ingredients. Using a rubber spatula, mix just until combined. Be careful not to overmix; a few lumps of flour are fine. Overmixing can lead to a tough bread.
- Pour into Pan: Pour the batter into the prepared loaf pan and spread evenly.
- Bake: Bake for 50-65 minutes, or until a wooden skewer or toothpick inserted into the center comes out clean or with a few moist crumbs attached. The top should be golden brown.
- Cool: Let the banana bread cool in the pan on a wire rack for 10-15 minutes before carefully lifting it out by the parchment paper overhang or inverting it onto the rack. Allow it to cool completely before slicing for the best texture.
Notes:
For best results, use very ripe bananas with plenty of brown spots. Do not overmix the batter to ensure a tender loaf. Cool completely before slicing.Storage:
Store in an airtight container at room temperature for 3-4 days, or in the refrigerator for up to a week. Freeze for up to 3 months.Nutrition:
Nutrition information is an estimate and may vary depending on the ingredients and brands used.