Ready to transform your skin with natural ingredients? In a world of endless beauty products, sometimes the best solutions are found right in our pantries. People are rediscovering the power of simple, homemade remedies for achieving that sought-after youthful and radiant complexion. Today, we’re diving into the wonderful world of DIY toners, specifically focusing on three popular natural ingredients: rice, cloves, and flaxseeds.
These natural wonders are not just for cooking; they’re packed with benefits that can help you achieve smoother, brighter, and more refreshed-looking skin. Forget complicated routines and expensive bottles – let’s explore how these humble ingredients can become your new secret for a fresh, healthy glow.
Why Use a Toner in Your Skincare Routine?
Toners are often overlooked, but they play a crucial role in a balanced skincare routine. They help to remove any residual dirt, oil, or cleanser left on the skin, preparing it to better absorb serums and moisturizers. A good toner can also help balance the skin’s pH, minimize the appearance of pores, and add an extra layer of hydration. When you use natural ingredients, you’re also infusing your skin with gentle, beneficial nutrients.

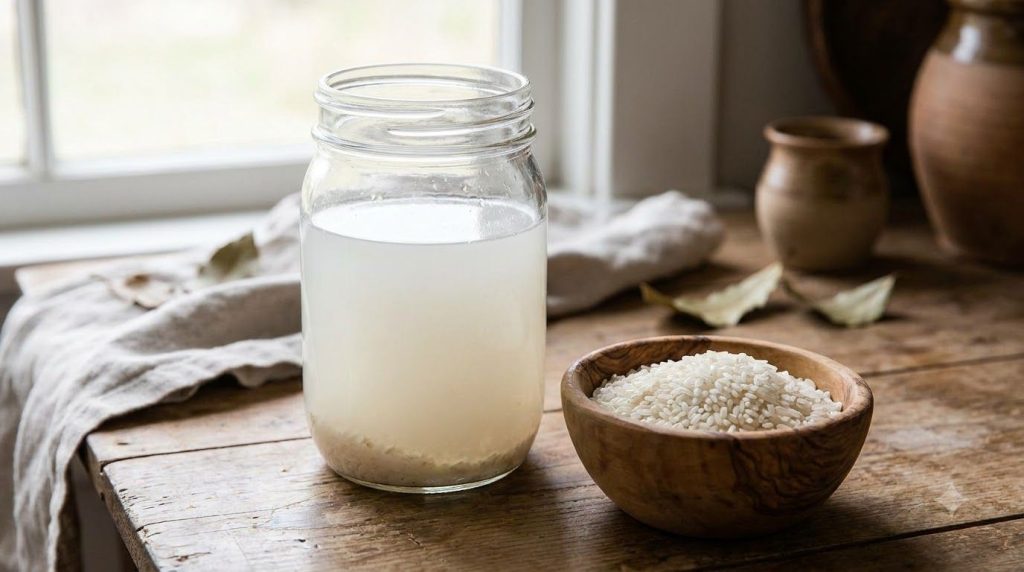
1. The Radiance Booster: DIY Rice Water Toner
Rice water has been a cherished beauty secret in Asian cultures for centuries, and for good reason! It’s known to be rich in vitamins, minerals, and amino acids, making it an excellent natural ingredient for skin brightening and smoothing.
Benefits of Rice Water for Skin:
- Brightening: Helps to even out skin tone and reduce the appearance of dark spots.
- Smoothing: Can contribute to a softer, smoother-looking skin texture.
- Soothing: Known to calm irritated skin and reduce redness.
- Antioxidants: Contains compounds that may help protect skin from environmental stressors.
How to Make Rice Water Toner:
There are a few ways to prepare rice water, but the fermented version is often favored for its enhanced benefits.
Ingredients:
- ½ cup organic rice (white or brown)
- 2-3 cups filtered water
Preparation Steps:
- Rinse the Rice: Place the rice in a fine-mesh sieve and rinse thoroughly under running water to remove any impurities.
- Soak: Transfer the rinsed rice to a clean bowl and add 2 cups of filtered water. Let it soak for 30 minutes to 1 hour, or until the water turns cloudy.
- Strain: Strain the rice water into a clean, airtight glass jar. You can save the rice for cooking!
- Ferment (Optional but Recommended): For more potent benefits, cover the jar and let the rice water ferment at room temperature for 12-24 hours. You’ll notice a slightly sour smell when it’s ready. If you prefer, you can skip fermentation and use it directly after soaking.
- Dilute (if fermented): If you fermented the rice water, dilute it with an equal amount of fresh filtered water before use.
How to Use and Store:
After cleansing, apply the rice water toner to your face using a cotton pad or by gently patting it in with your fingertips. Follow with your favorite serum and moisturizer. Store in the refrigerator for up to 5-7 days.
2. The Clarifying & Refreshing Gem: DIY Clove Toner
Cloves are more than just a fragrant spice; they contain powerful compounds that make them interesting for skincare. They are rich in antioxidants and have properties that can help clarify and refresh the skin.
Benefits of Clove Water for Skin:
- Clarifying: May help to purify the skin and minimize the appearance of pores.
- Antioxidant Boost: Rich in antioxidants that can help protect the skin from environmental stressors.
- Soothing: Can help calm the skin and reduce the look of redness.
How to Make Clove Toner:
This simple infusion creates a stimulating and refreshing toner.
Ingredients:
- 1 tablespoon whole cloves
- 1 cup filtered water
Preparation Steps:
- Boil Water: Bring 1 cup of filtered water to a boil in a small saucepan.
- Add Cloves: Once boiling, remove from heat and add the whole cloves.
- Steep: Cover the saucepan and let the cloves steep in the hot water for at least 30 minutes, or until the water has cooled completely and taken on a light amber hue and distinct aroma.
- Strain: Strain the liquid into a clean, airtight glass bottle, discarding the cloves.
How to Use and Store:
After cleansing, apply the clove toner using a cotton pad. Avoid direct contact with eyes. This toner can be particularly refreshing. Store in the refrigerator for up to 7-10 days.

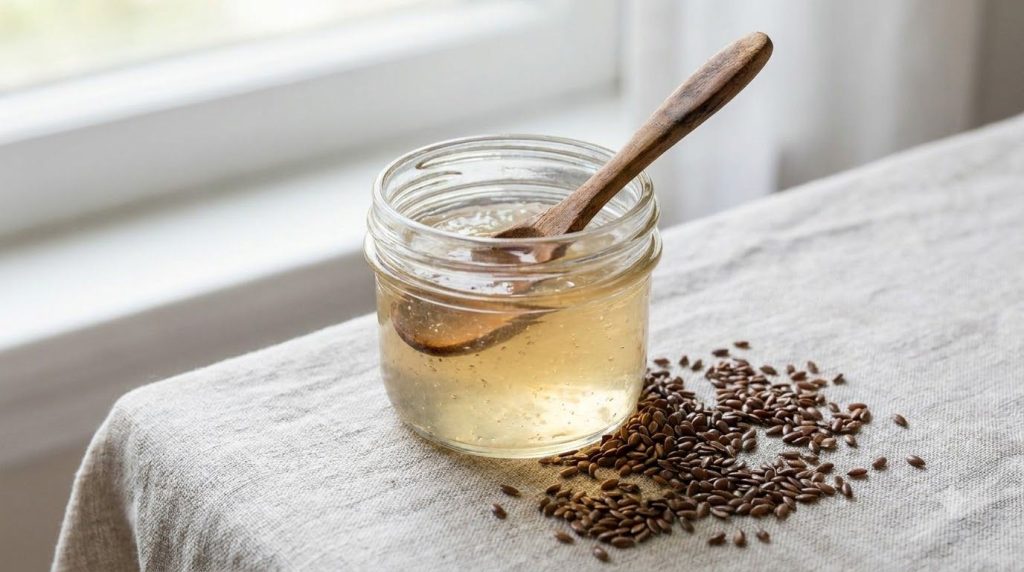
3. The Hydrating & Plumping Treat: DIY Flaxseed Gel Toner
Flaxseeds are nutritional powerhouses, and when turned into a gel, they become an incredible skin hydrator. Flaxseed gel is rich in omega-3 fatty acids and antioxidants, which can contribute to skin feeling supple and looking plump.
Benefits of Flaxseed Gel for Skin:
- Hydration: Provides deep moisture, helping the skin feel soft and hydrated.
- Plumping Effect: Can temporarily give the skin a smoother, fuller-looking appearance, reducing the visibility of fine lines.
- Soothing: Its gel-like consistency is very gentle and can be soothing for the skin.
- Antioxidants: Helps protect the skin from environmental damage.
How to Make Flaxseed Gel Toner:
Making flaxseed gel is surprisingly easy and yields a wonderful, natural product.
Ingredients:
- 2 tablespoons whole flaxseeds
- 1 cup filtered water
Preparation Steps:
- Combine: In a small saucepan, combine the flaxseeds and filtered water.
- Simmer: Bring the mixture to a boil, then reduce heat to low and simmer for 7-10 minutes, stirring occasionally. The mixture will start to thicken and resemble an egg white consistency. Be careful not to let it get too thick.
- Strain: Immediately strain the mixture through a fine-mesh sieve into a clean, airtight glass jar. This step is crucial and must be done while the gel is hot, as it will thicken significantly as it cools, making it harder to strain.
- Cool: Allow the flaxseed gel to cool completely before using.
How to Use and Store:
After cleansing, gently pat a small amount of flaxseed gel onto your face. It can feel a bit sticky initially, but it absorbs beautifully, leaving your skin feeling soft and hydrated. Store in the refrigerator for up to 7-10 days.
Important Tips for Using DIY Toners
- Patch Test: Always perform a patch test on a small, inconspicuous area of your skin (like behind your ear or on your inner arm) before applying any new DIY product to your entire face. This helps check for any sensitivities.
- Freshness is Key: Since these toners are made with natural ingredients and no harsh preservatives, they have a limited shelf life. Always store them in the refrigerator and discard if you notice any changes in smell, color, or texture.
- Cleanliness: Use clean, sterilized containers and utensils when preparing your toners to prevent bacterial growth.
- Listen to Your Skin: Everyone’s skin is unique. If any toner causes irritation, discontinue use immediately.
Embrace Your Natural Glow!
Embracing DIY beauty can be a rewarding journey towards healthier-looking skin. These simple toners, made with rice, cloves, and flaxseeds, offer an affordable and natural way to enhance your skincare routine, helping you achieve smoother, brighter, and more hydrated-looking skin. Give them a try and discover which popular beauty routine could be your new secret for a fresh glow!