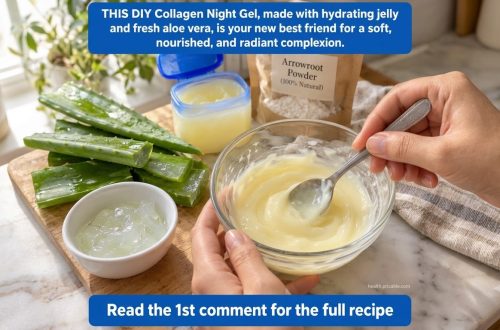
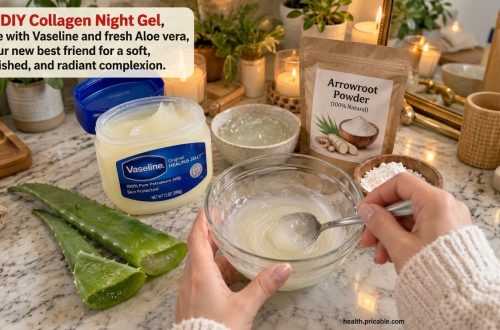
Looking for a simple way to support a youthful-looking complexion? This DIY collagen-supporting gel is a popular home remedy for those seeking to enhance skin’s appearance, potentially helping it feel smoother and more supple. It’s an easy-to-make gel that can be incorporated into your regular beauty routine.
Quick Recipe
Prep time: 10 minutes (plus 2 hours chilling)
Best for: Supporting skin elasticity, promoting a smoother-looking complexion, addressing visible fine lines.
Use type: Topical Gel
Main ingredients:
- Unflavored Gelatin or Agar-Agar Powder
- Aloe Vera Gel
- Rose Water
- Vitamin E Oil
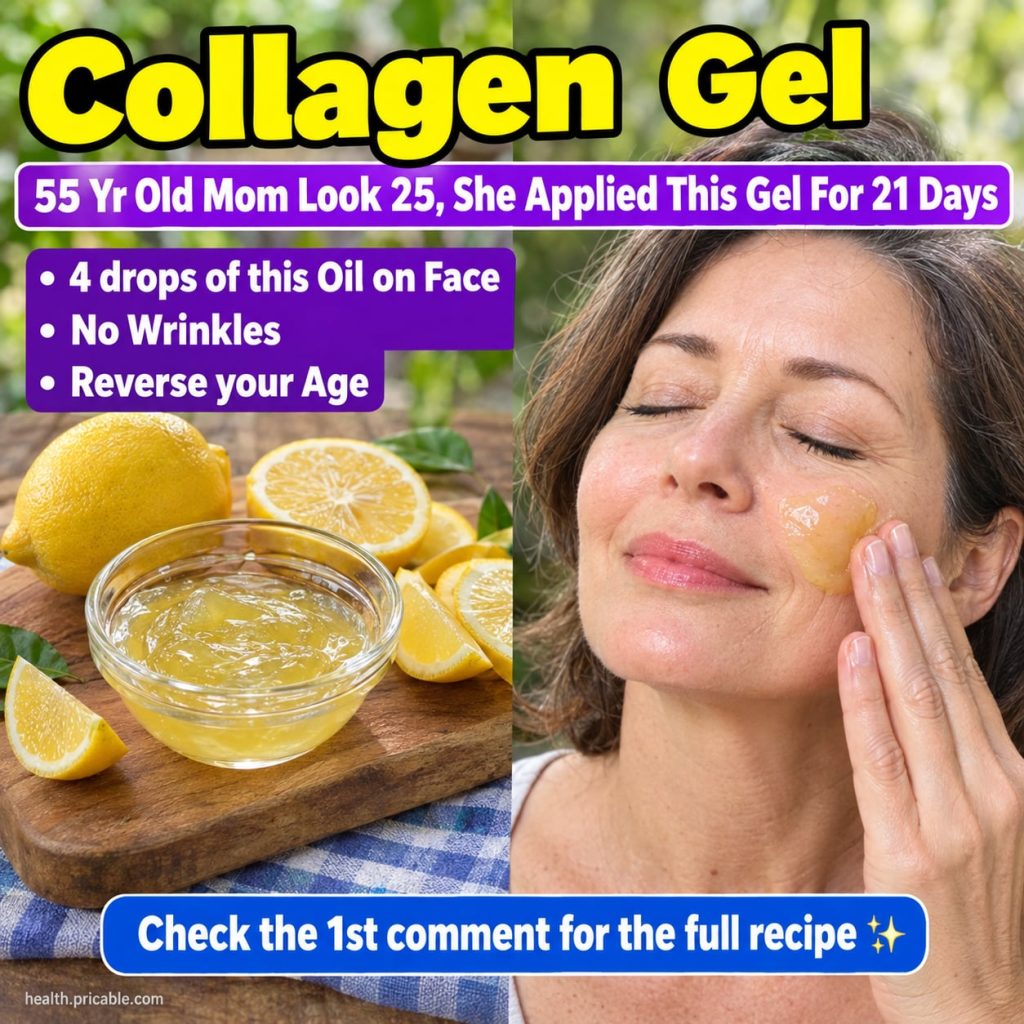
Ingredients
- 1 teaspoon unflavored gelatin powder (or agar-agar powder for a vegan option)
- 1/4 cup hot water (not boiling)
- 1/2 cup pure aloe vera gel
- 1 teaspoon rose water
- 1/2 teaspoon liquid vitamin E oil (from capsules or a bottle)
How to Make It
- Dissolve the Gelatin: In a small, heat-safe bowl, sprinkle the gelatin powder over the hot water. Stir continuously for 2-3 minutes until the gelatin is completely dissolved and no clumps remain. If using agar-agar, bring water to a simmer, whisk in agar-agar, and simmer for 1-2 minutes until dissolved.
- Cool Slightly: Allow the gelatin mixture to cool down for about 5 minutes, ensuring it’s still liquid but not too hot.
- Combine with Other Ingredients: Add the aloe vera gel, rose water, and vitamin E oil to the slightly cooled gelatin mixture. Whisk well until all ingredients are thoroughly combined and the mixture is smooth.
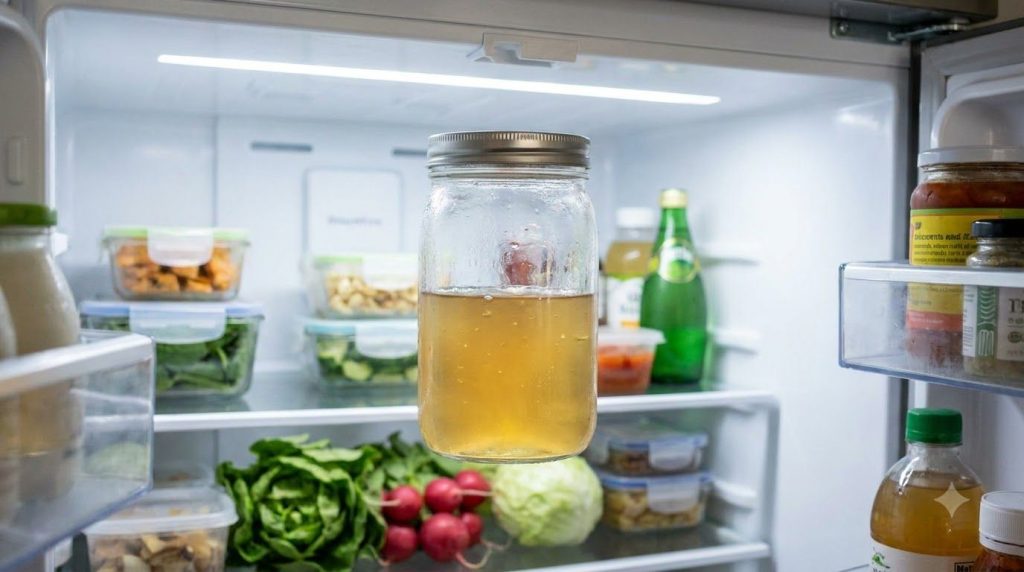
- Transfer and Chill: Pour the mixture into a clean, airtight glass jar or container. Place it in the refrigerator for at least 2 hours, or until it sets into a soft, jelly-like consistency.
How to Use It
- Cleanse Skin: Start with a freshly cleansed face, ensuring all makeup and impurities are removed.
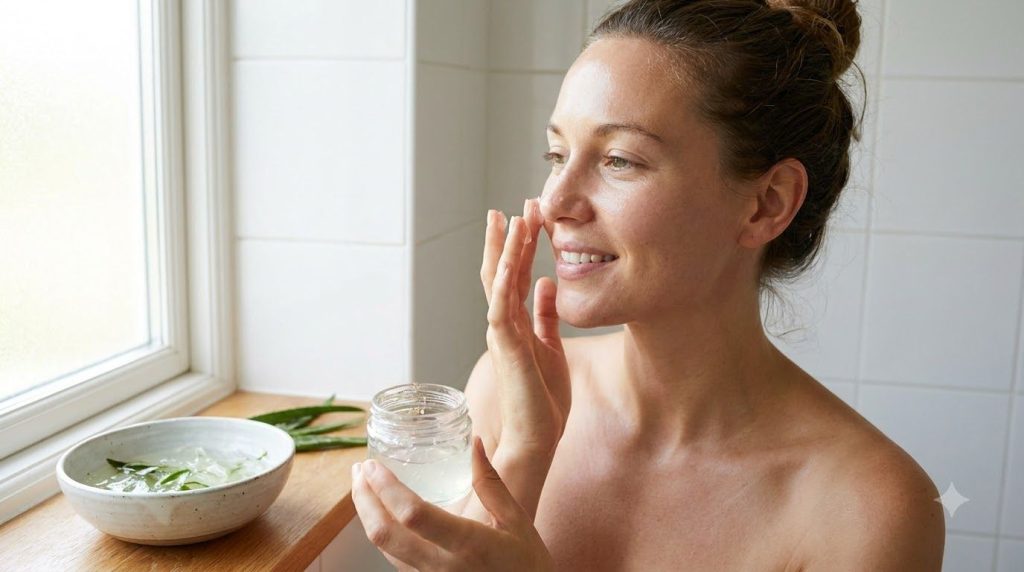
- Apply the Gel: Using clean fingertips or a soft brush, gently apply a thin, even layer of the DIY collagen gel to your face, neck, and décolletage. Avoid the immediate eye area.
- Relax and Absorb: Leave the gel on for 15-20 minutes to allow your skin to absorb the beneficial ingredients.
- Rinse Off: Gently rinse your face with lukewarm water, patting your skin dry with a soft towel.
How Often to Use It
For best results, use this DIY collagen gel 2-3 times per week as part of your evening skincare routine. Consistent use may help to maintain a fresh, smooth-looking appearance.
Why These Ingredients Are Used
Gelatin or Agar-Agar
Unflavored gelatin is primarily made of collagen, and while it’s not absorbed as human collagen when applied topically, it can form a film on the skin that helps to temporarily tighten and smooth its appearance. It’s often used in DIY remedies for its potential to support skin’s texture. Agar-agar provides similar gelling properties for a vegan option.
Aloe Vera Gel
Known for its soothing and hydrating properties, aloe vera gel is a fantastic base for any DIY skincare recipe. It’s rich in vitamins, enzymes, and antioxidants that can help calm irritated skin and provide a boost of moisture, leaving skin feeling refreshed.
Rose Water
Rose water is traditionally used in beauty routines for its mild astringent and anti-inflammatory properties. It helps balance skin’s pH, hydrate, and give a subtle, refreshing scent to the gel, contributing to a radiant-looking complexion.
Vitamin E Oil
A powerful antioxidant, vitamin E oil is revered for its skin-nourishing benefits. It can help protect skin cells from environmental damage and deeply moisturize, potentially reducing the appearance of dry, dull skin and supporting a supple feel.
What Results to Expect
With regular use, this DIY collagen gel may help your skin appear more hydrated, softer, and smoother to the touch. It can support a more refreshed and youthful-looking complexion, potentially diminishing the visible appearance of fine lines and helping skin feel firmer. Remember that individual results can vary, and consistency is key for seeing potential benefits.
Safety Notes
- Patch Test First: Always apply a small amount of the gel to an inconspicuous area of your skin (like behind the ear or on your inner arm) and wait 24 hours to check for any redness, irritation, or allergic reaction before applying to your face.
- Use Gently: Apply the gel with gentle motions and avoid vigorous rubbing.
- Avoid Irritated or Broken Skin: Do not apply the gel to skin that is cut, abraded, sunburned, or irritated.
- Stop Using If Discomfort Occurs: If you experience any burning, itching, excessive redness, or discomfort, discontinue use immediately and rinse your skin thoroughly.
- Storage: Keep the gel refrigerated to maintain its freshness and efficacy. Discard if you notice any changes in color, scent, or texture.
- Consult a Professional: If you have sensitive skin, existing skin conditions, or are pregnant or breastfeeding, consult with a dermatologist or healthcare professional before trying new DIY remedies.
FAQ
Can I use this gel every day?
While generally mild, it’s recommended to use this gel 2-3 times per week to allow your skin to adjust and prevent potential overload. Listen to your skin’s needs.
How long does the DIY collagen gel last?
When stored in an airtight container in the refrigerator, this homemade gel typically lasts for up to one week. Always check for any signs of spoilage before use.
Can I add other essential oils to this gel?
It’s best to stick to the recipe as given, especially for facial use. If you wish to add essential oils, ensure they are skin-safe, properly diluted, and always perform a patch test first. Certain essential oils can be irritating to sensitive facial skin.
Final Thoughts
Embracing natural beauty solutions can be a rewarding journey. This DIY collagen-supporting gel offers a simple, accessible way to pamper your skin and work towards a more vibrant, smooth-looking complexion. Give it a try and share your experience with our community!