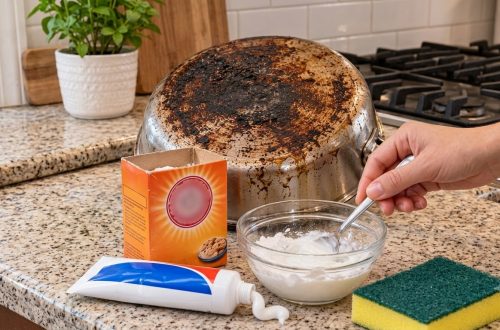
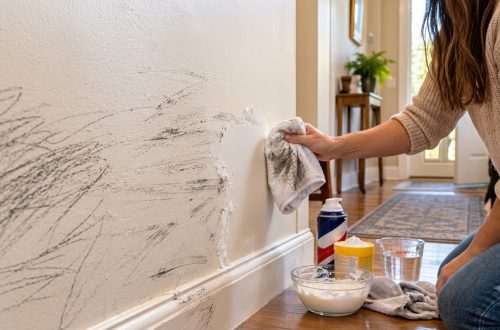
Ugh, wall marks. Whether it’s a scuff from moving furniture, a stray crayon masterpiece, or just everyday grime, those unsightly blemishes can make your home feel less than fresh. You don’t always need to reach for harsh chemicals or plan a full repaint just yet! There’s a surprisingly simple, effective, and gentle DIY solution that can make many common wall marks disappear, leaving your surfaces looking neat and clean.
This easy hack uses common household ingredients to tackle those stubborn spots, helping you maintain a spotless home with minimal effort.
What You’ll Need
- 1/2 cup baking soda
- 1/4 cup warm water (or as needed)
- Small mixing bowl
- Soft, clean cloth or sponge (for applying)
- Separate clean, damp cloth (for rinsing)
- Dry cloth
Why This DIY Can Be Useful
This DIY relies on the power of baking soda, a well-known natural cleaner. Baking soda (sodium bicarbonate) is a mild abrasive that can gently scrub away grime without damaging many surfaces. When mixed with water, it forms a paste that can lift marks and absorb odors, making it an excellent, non-toxic choice for light wall cleaning.
How to Make It
- Pour 1/2 cup of baking soda into your small mixing bowl.
- Gradually add 1/4 cup of warm water, stirring constantly.
- Continue to mix until you achieve a thick, spreadable paste. It should resemble toothpaste in consistency. If it’s too thick, add a few more drops of water; if it’s too runny, add a tiny bit more baking soda.
How to Use It
- Patch Test First: Always test the paste on an inconspicuous area of your wall (like behind a picture or in a closet) to ensure it doesn’t discolor or damage the paint. Wait a few minutes, then wipe it off and let the area dry completely before proceeding.
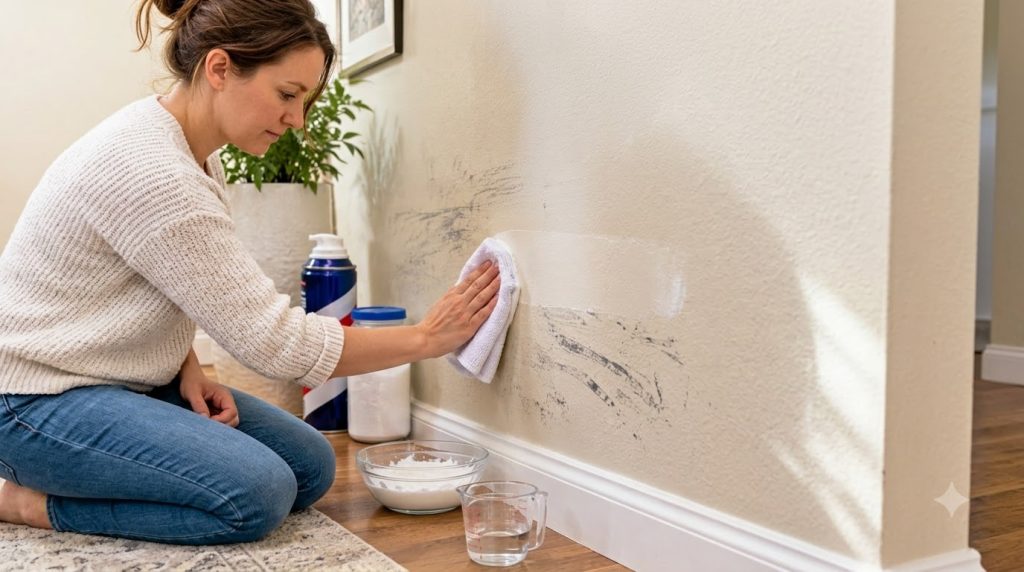
- Apply the Paste: Take a small amount of the baking soda paste on your clean, soft cloth or sponge.
- Gently Rub the Mark: Lightly rub the paste onto the wall mark using small, circular motions. Apply only minimal pressure. The goal is to let the gentle abrasive action of the baking soda do the work, not brute force.
- Wipe Clean: Once the mark has disappeared or significantly faded, use a separate clean, damp cloth to carefully wipe away any residual paste from the wall.
- Dry the Area: Finish by gently blotting the area with a dry cloth to remove excess moisture and prevent water spots.
What to Expect
You can expect a significant reduction or complete removal of many common marks and scuffs from your walls. This method works particularly well on crayon marks, pencil smudges, light scuffs, and general surface dirt. Heavily stained or deeply embedded marks may require more aggressive cleaning methods or professional attention, but for everyday wear and tear, this baking soda paste is surprisingly effective at restoring a clean look to your walls.
Helpful Tips
- Work in Small Sections: When tackling multiple marks or a larger area, work in small sections to prevent the paste from drying on the wall before you can wipe it away.
- Fresh Paste is Best: Make a fresh batch of paste each time you clean for the best results. While you can store leftover paste in an airtight container, it may dry out or harden over time.
- Avoid Excessive Moisture: Walls, especially those with flat or matte finishes, can be sensitive to too much moisture. Always use damp, not soaking wet, cloths and dry thoroughly.
Important Notes / Safety
- This DIY is best suited for painted walls that are washable. Be cautious with delicate finishes, wallpaper, or unpainted surfaces, as they might be more susceptible to damage or discoloration.
- Never scrub aggressively, as this can remove paint or damage the wall surface. Gentle rubbing is key.
- Ensure good ventilation when cleaning, even with natural products.
- Keep the paste out of reach of children and pets.