Unlock Your Garden’s Potential: Air Layering Made Easy with a Plastic Bottle!
Are you looking for a simple yet incredibly effective way to propagate your favorite plants and expand your garden without buying new ones? Air layering is a time-tested technique that allows you to root new plants directly from the stem of an existing one. And guess what? You can make it even easier and more sustainable by using a common household item: a plastic bottle!
Here at Garden – L. Quyên, we love sharing practical, beginner-friendly gardening tips that help you grow a thriving garden. Air layering, especially with this DIY plastic bottle method, is a fantastic way to create strong, healthy new plants with a high success rate.
Why Choose Air Layering for Plant Propagation?
While taking cuttings is a popular method, air layering offers several distinct advantages:
- Higher Success Rate: The developing new plant remains attached to the mother plant, receiving continuous nourishment and moisture, which significantly increases the chances of successful rooting.
- Stronger Root System: Plants propagated via air layering often develop a more robust and established root system before being separated, leading to faster growth once potted.
- Larger New Plants: You can create a new plant that is already a good size, rather than starting from a small cutting.
- Ideal for Woody Plants: This method is particularly effective for woody shrubs and trees that can be challenging to root from cuttings.
What You’ll Need for Your DIY Air Layering Project:
- A healthy mother plant with a sturdy stem (at least pencil-thick)
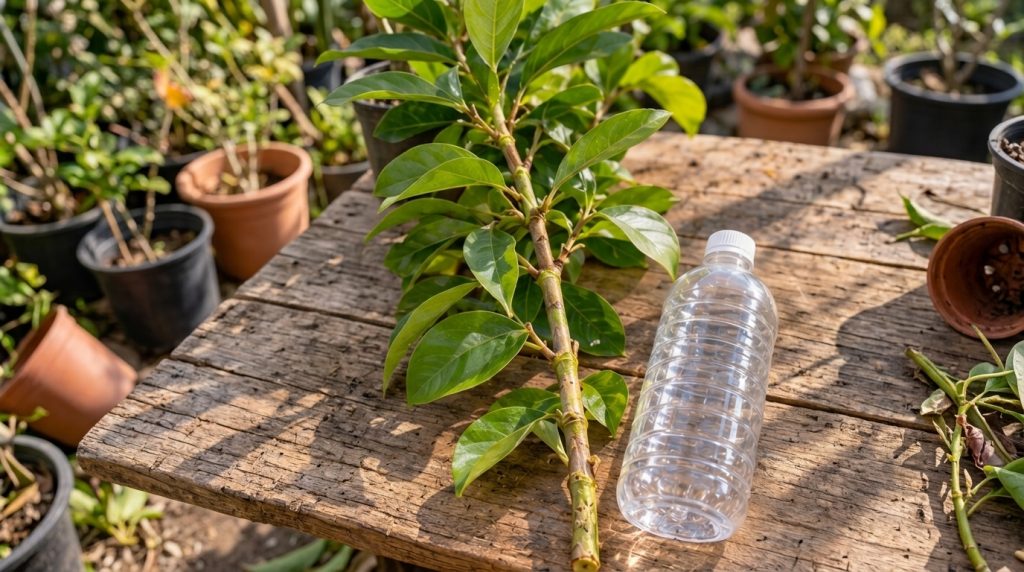
- A clean, empty plastic bottle (e.g., a soda or water bottle)
- Sharp, sterilized knife or pruning shears
- Rooting hormone (optional, but recommended for faster results)
- Moist sphagnum moss, coco coir, or a light potting mix
- String, zip ties, or electrical tape to secure the bottle
- Gloves (optional)
Step-by-Step Guide: Air Layering with a Plastic Bottle
Step 1: Select Your Stem
Choose a healthy, vigorous stem on your mother plant that is at least a year old. Avoid new, soft growth or very old, woody branches. A pencil-thick stem is usually ideal.
Step 2: Prepare the Stem (Girdling)
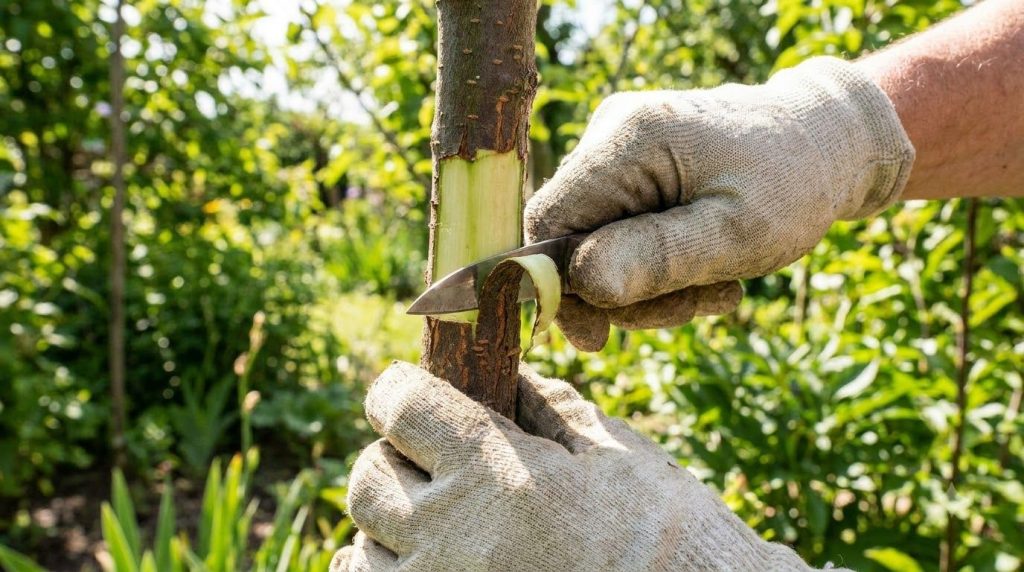
About 6-12 inches from the tip of your chosen branch, use a sharp, sterilized knife to carefully make two parallel cuts around the stem, about 1 inch apart. Gently remove the bark between these two cuts, exposing the green inner cambium layer. Scrape away any remaining green tissue to ensure the plant cannot heal itself and will be forced to produce roots above the cut.
Step 3: Apply Rooting Hormone (Optional)
If using, apply a thin layer of rooting hormone powder or gel to the upper cut edge of the exposed cambium area. This can stimulate faster and stronger root development.
Step 4: Prepare Your Plastic Bottle
Take your plastic bottle and carefully cut it in half lengthwise. You want to create two halves that can be easily wrapped around the stem. Make sure the cut is clean and doesn’t leave sharp edges that could damage the stem.
Step 5: Attach the Bottle and Growing Medium
Moisten your sphagnum moss, coco coir, or potting mix thoroughly, ensuring it’s damp but not dripping wet. Take one half of your cut plastic bottle, position it around the girdled section of the stem, and fill it with the moist growing medium, packing it gently but firmly around the exposed area. Then, place the second half of the bottle over the first, completely encasing the medium and the cut stem section.
Step 6: Secure the Bottle
Use string, zip ties, or electrical tape to firmly secure the two halves of the plastic bottle together and to the stem. Ensure there are no gaps where moisture can easily escape. The goal is to create a mini-greenhouse effect around the girdled area.
Step 7: Monitor and Maintain
Over the next several weeks to months, regularly check the bottle. If you’ve used a clear bottle, you’ll eventually see roots forming inside the moist medium! Ensure the medium remains consistently moist. If it looks dry, you can carefully inject a small amount of water using a syringe or by briefly loosening the top seal.
Step 8: Sever and Pot
Once you see a good network of roots (usually 1-3 inches long) filling the bottle, it’s time to separate your new plant. Carefully cut the stem just below the rooted section, detaching the new plant from the mother. Gently remove the plastic bottle and pot your new plant into a suitable container with fresh potting mix. Water it well and place it in a partially shaded location for a few weeks to allow it to acclimate before moving it to its permanent spot.
Tips for Air Layering Success:
- Patience is Key: Rooting can take anywhere from a few weeks to several months, depending on the plant species and environmental conditions.
- Maintain Moisture: Consistent moisture within the rooting medium is crucial for root development.
- Choose the Right Season: Many plants root best when they are actively growing, typically in spring or early summer.
- Sterilize Tools: Always use clean, sterilized tools to prevent the spread of diseases.
Air layering with a plastic bottle is a rewarding and sustainable way to expand your plant collection. It’s a fantastic project for any gardener, from beginner to experienced, looking to propagate favorite plants with confidence. Give it a try and watch your garden flourish!