Ever walk into a room and feel like something’s just a little off, even after you’ve tidied up? Often, the culprit is hidden dust in those hard-to-reach places – ceiling corners, crown molding, and the tops of curtain rods. These forgotten spots can accumulate a surprising amount of dust, detracting from your home’s freshness and potentially affecting air quality.
The good news is that tackling these high areas doesn’t require a wobbly ladder or acrobatic skills. With an extendable duster, you can easily reach and refresh these spots, making your home feel noticeably cleaner and more inviting with minimal effort. It’s a simple, practical solution for a quick and thorough home refresh.
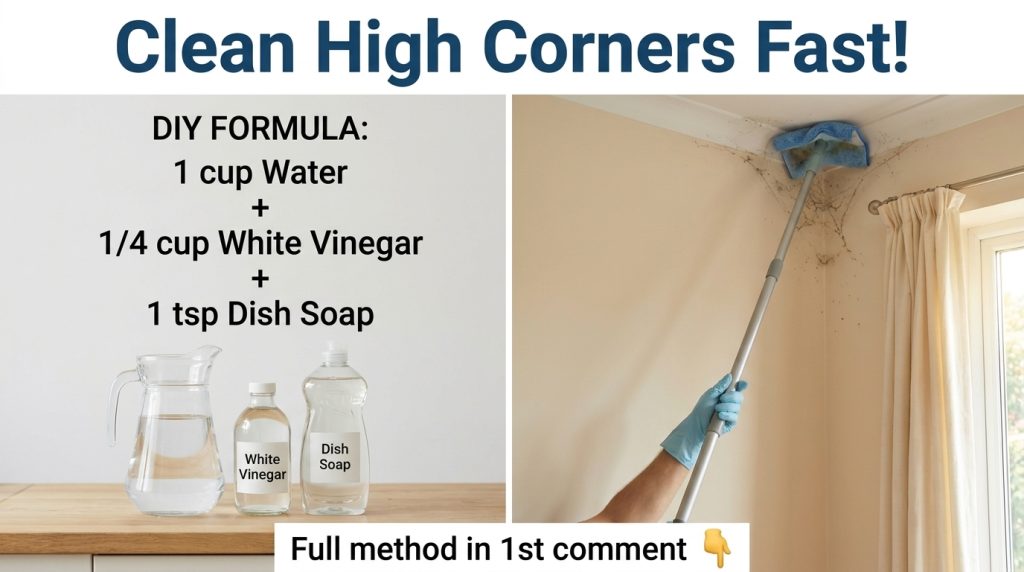
What You’ll Need
- An extendable duster (preferably one with a fluffy, electrostatic, or microfiber head)
- Optional: A clean microfiber cloth for any follow-up wiping
Why This DIY Can Be Useful
Dust isn’t just unsightly; it’s a mix of dead skin cells, pet dander, pollen, and other tiny particles that can contribute to indoor allergens. While you might regularly dust visible surfaces, high areas like ceiling lines, crown molding, curtain rods, and the tops of tall furniture often get overlooked. An extendable duster provides the reach you need to clean these forgotten spots effectively.
By regularly clearing away this accumulated dust, you’re not only improving the visual cleanliness of your home but also helping to reduce airborne irritants. It’s a quick and efficient way to maintain a healthier and more pleasant living environment without the hassle of moving heavy furniture or balancing on unstable chairs.
How to Get Started
- Assemble Your Duster: If your duster came in pieces, connect the head to the pole according to the manufacturer’s instructions.
- Check the Head: Ensure the duster head is clean and fluffed up, ready to trap dust effectively. If it’s washable, make sure it’s dry.
- Extend to Length: Extend the pole to a comfortable length that allows you to easily reach your target areas without overstretching or losing control.
How to Use It
- Clear the Area: If possible, move any delicate items directly below the area you plan to dust to avoid accidental bumps or falling dust.
- Target High Spots: Begin with the highest points in the room. This includes ceiling corners, where walls meet the ceiling, crown molding, the tops of curtain rods, tall shelves, and even ceiling fan blades (ensure the fan is turned off and completely still before dusting).
- Use Gentle, Sweeping Motions: Guide the duster with light, consistent pressure. Start from one end of a surface and sweep across to the other. For corners, gently push the duster head into the crevice and pull it out slowly to capture trapped dust.
- Clean the Duster Regularly: As you work, dust will accumulate on the duster head. Periodically take the duster outside and shake off the dust. For heavily soiled duster heads, you may need to vacuum them or wash them according to their care instructions.
- Optional Follow-Up: For any stubborn grime or sticky spots that the duster can’t remove, you might carefully wipe the area with a damp microfiber cloth on a pole or a clean mop, if the surface is appropriate for wet cleaning. Always test in an inconspicuous spot first.
What to Expect
After using your extendable duster, you can expect a noticeable reduction in dust and cobwebs in those previously hard-to-reach areas. Your room will feel visually cleaner, brighter, and more refreshed. While it won’t eliminate all airborne dust, regular high-reach dusting contributes significantly to a tidier and potentially more allergen-friendly home. Remember, dusting is an ongoing maintenance task, not a one-time fix.
Helpful Tips
- Dust from Top to Bottom: Always start dusting from the highest points in a room and work your way down. This way, any dust that falls will land on surfaces you haven’t cleaned yet.
- Regular Schedule: Incorporate high-reach dusting into your routine, perhaps once a week or every two weeks, to prevent heavy build-up.
- Different Duster Heads: Some extendable dusters come with interchangeable heads (e.g., microfiber, feather, lambswool). Experiment to find which type works best for different surfaces in your home.
- Ceiling Fans: Use your extendable duster to carefully wipe down ceiling fan blades. Make sure the fan is completely off and has stopped spinning before you begin.
Important Notes / Safety
- Stability: Always ensure the duster pole is securely locked at your desired length before use to prevent it from collapsing unexpectedly.
- Electrical Safety: Never use a wet duster or attempt to clean near exposed electrical wires, outlets, or light fixtures.
- Avoid Over-Extension: Do not over-extend the pole or apply excessive force, which could lead to breakage or loss of control.
- Patch Test: If using any cleaning solutions on a duster head for a specific surface, always patch test in an inconspicuous area first.
- Storage: Store your duster in a clean, dry place to prevent dust and debris from accumulating on the head between uses.