Most people ignore or even toss out perfectly good avocados once they pass that prime ‘eating window.’ You know the ones – a little too soft, perhaps a slight bruise, but otherwise full of life. What if we told you these ‘less-than-perfect’ avocados hold a secret that can transform your skincare and hair routine?
Instead of regretting that overripe avocado, get ready to see it as a golden opportunity. We’re talking about extracting your very own, potent avocado oil right in your kitchen. This isn’t just about zero waste; it’s about harnessing a powerful natural remedy that many pay a premium for.
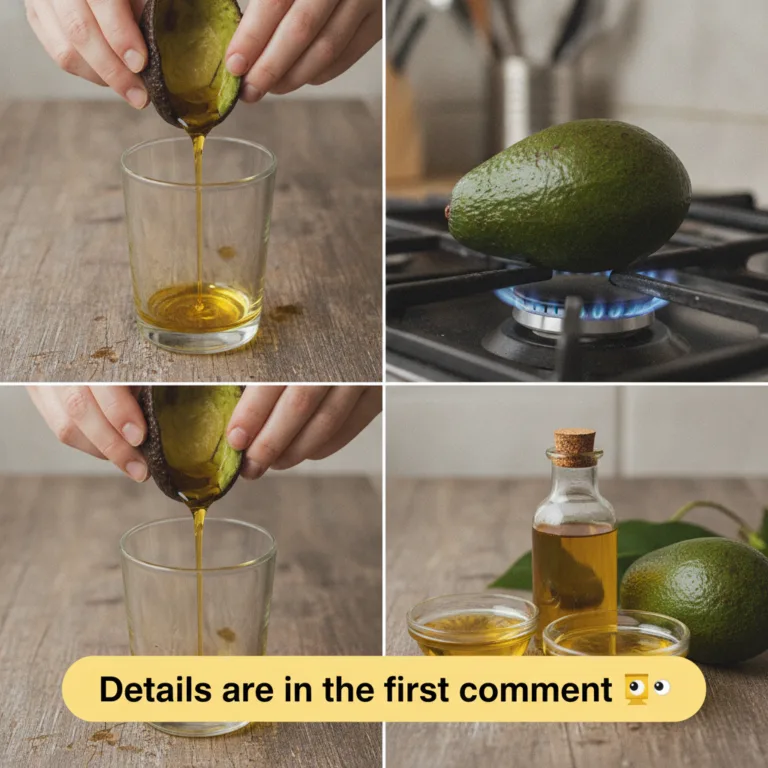
What is DIY Avocado Oil?
DIY Avocado Oil is a homemade extraction of the rich, emollient oil from avocado flesh. Unlike commercial processes that often use solvents or high heat, this method focuses on a gentler approach to separate the oil from the fruit’s pulp. The goal is a pure, unrefined oil packed with the natural vitamins, minerals, and fatty acids avocados are famous for, perfect for topical applications.
Ingredients You’ll Need
The beauty of this remedy is its simplicity. You only need one core ingredient:
- Ripe to Overripe Avocados: These are ideal because their flesh is softer, making it easier to mash and process. The oil content also tends to be higher when the fruit is fully mature. Avoid any avocados with mold or a sour smell.
Approximate Measurements
The yield of avocado oil is relatively low, so don’t expect a huge batch from just one or two fruits. You’ll typically need:
- 5-7 medium-sized avocados to yield approximately 1-2 tablespoons (15-30 ml) of oil. The exact amount will vary based on the avocado variety and ripeness.
Formula / Recipe: Simple Homemade Avocado Oil
The process is straightforward, focusing on careful preparation and gentle heat.
Step-by-Step Method
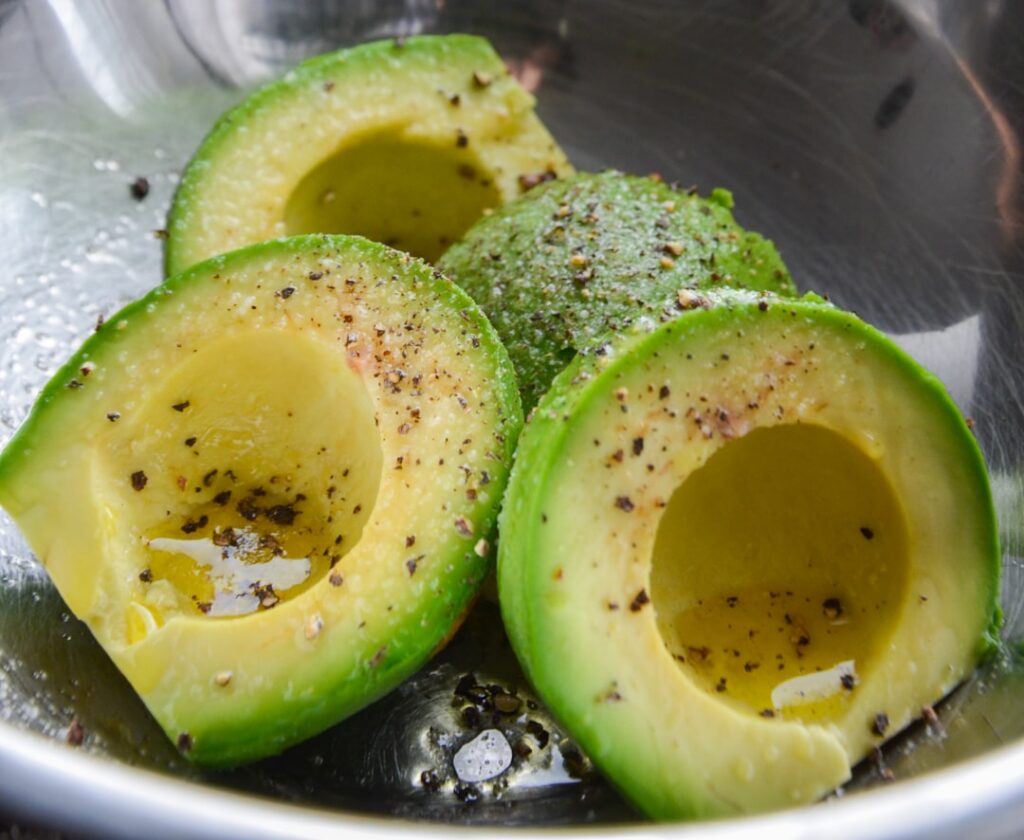
- Prepare the Avocados: Wash your avocados thoroughly. Cut them in half, remove the pits, and scoop out all the flesh into a large bowl. Discard the skin and pits.
- Mash the Pulp: Using a fork or potato masher, thoroughly mash the avocado flesh into a smooth paste. Break down any lumps to expose more surface area.
- Gentle Dehydration: Transfer the mashed avocado pulp into a large, non-stick pan. Place the pan over very low heat on your stove. The goal here is to slowly evaporate the water content from the avocado flesh, not to cook or fry it.
- Stir Continuously: Stir the avocado paste almost constantly for 30-60 minutes. As water evaporates, the paste will darken in color, turning from light green to a deeper green, then eventually a brownish-green. It will also start to thicken and clump together. You’ll notice oil beginning to separate and pool around the edges of the paste.
- Continue until Dry: Keep stirring until the avocado pulp looks very dry, crumbly, and dark brown. It should resemble a thick, lumpy paste, and you should see a significant amount of oil collected at the bottom of the pan. This indicates most of the water has evaporated.
- Cool Slightly: Remove the pan from the heat and let the avocado paste cool for about 10-15 minutes until it’s warm but safe to handle.
- Extract the Oil: Place a fine-mesh sieve or a cheesecloth-lined strainer over a clean bowl. Transfer the warm avocado paste into the sieve/cheesecloth. Using a spoon or clean hands, firmly press down on the paste to squeeze out the oil. If using cheesecloth, gather the corners and twist tightly to extract as much oil as possible.
- Filter (Optional but Recommended): For a clearer oil, you can filter it again through a fresh piece of cheesecloth or a coffee filter. This removes any remaining pulp sediment.
- Store: Transfer the extracted avocado oil into a clean, dark, airtight glass bottle.
Here’s the Part Most People Skip: Low Heat is Key
Many eager DIYers rush the heating step, turning up the temperature too high. This can ‘cook’ the oil, reducing its beneficial properties and potentially causing it to burn, leading to a bitter taste and shorter shelf life. Stick to the lowest heat setting and be patient.
How to Use Your Homemade Avocado Oil
This oil is a treasure for topical applications due to its moisturizing and nourishing properties:
- Skin Moisturizer: Apply a few drops directly to clean skin, especially on dry patches, elbows, knees, or as a rich overnight facial oil.
- Hair Treatment: Massage into your scalp to nourish hair follicles or apply to the ends of your hair to combat dryness and frizz. Leave on for 30 minutes before shampooing.
- Nail and Cuticle Care: Rub a tiny amount onto nails and cuticles to strengthen them and keep them hydrated.
- Massage Oil: Use it as a base for a soothing massage oil, either on its own or blended with a few drops of essential oils.
How Often to Use
For skin and hair, homemade avocado oil can be used:
- Daily: As a moisturizer or for targeted dry areas.
- 2-3 times per week: As a hair mask or intensive skin treatment.
How to Buy / How to Choose Avocados
The beauty of this DIY is utilizing avocados that are past their prime for slicing. Look for:
- Very Soft Avocados: Those that yield easily to gentle pressure.
- Slightly Bruised or Discolored: Surface imperfections are fine as long as the flesh inside is not moldy or rotten.
- Discounted ‘Ripe’ Avocados: Many stores sell bags of very ripe avocados at a reduced price, perfect for oil extraction.
Avoid any avocados with visible mold, a strong sour smell, or stringy, black, or rancid-smelling flesh, as these can compromise your oil’s quality and safety.
Storage
Proper storage is crucial for extending the life of your homemade oil:
- Airtight Container: Always store in a clean, dark, airtight glass bottle.
- Cool, Dark Place: Keep it away from direct sunlight and heat (e.g., a pantry or cupboard).
- Refrigeration: While not strictly necessary, refrigerating your homemade oil can extend its shelf life further. It may become cloudy, but this is normal and will clear at room temperature.
Practical Tips for Best Results
- Use a Non-Stick Pan: This prevents the avocado paste from sticking and burning, making stirring and cleanup much easier.
- Patience is a Virtue: The dehydration process takes time. Don’t rush it with high heat, or you’ll compromise the oil’s quality.
- Cleanliness is Key: Ensure all your equipment (bowls, pan, strainers, bottles) is spotlessly clean and dry to prevent contamination and extend shelf life.
- Maximizing Yield: For better extraction, you can gently warm the avocado paste again after the first pressing and press once more.
Common Mistakes to Avoid
- Using Unripe Avocados: They have less oil and are harder to mash and dehydrate effectively.
- Boiling or Frying the Pulp: High heat damages the oil and can lead to a burnt smell or taste.
- Incomplete Dehydration: Leaving too much water in the pulp will cause the oil to spoil quickly. Ensure the paste is truly dry and crumbly.
- Poor Filtering: Leaving avocado solids in the oil can lead to faster spoilage and a cloudy product.
- Improper Storage: Exposure to air, light, and heat will cause the oil to go rancid prematurely.
Cautions / Who Should Avoid It
- Allergies: If you have an avocado allergy, avoid using avocado oil topically.
- Patch Test: Always perform a patch test on a small area of skin before applying liberally, especially if you have sensitive skin.
- Contamination: Homemade oils are not regulated. Ensure extreme cleanliness to prevent bacterial growth. If it smells rancid or off, discard it immediately.
- Consumption: While avocado oil is edible, homemade oil extracted this way may not be sterile or processed to food-grade standards. We recommend using your DIY oil exclusively for topical applications.
Quick Summary: Your Avocado Oil Cheat Sheet
- Best Preparation: Gentle dehydration of mashed, ripe avocado flesh over low heat, followed by pressing.
- Best Use-Case: Topical applications for skin and hair (moisturizer, hair mask, cuticle oil).
- Storage: Dark, airtight glass bottle in a cool, dark place or refrigerated.
- When to Use: Daily for general moisturizing, 2-3 times a week for intensive treatments.
- What to Avoid: High heat during extraction, unripe avocados, consuming homemade oil.
FAQ
- Can I use fresh or dried avocados for this? You should use fresh, ripe to overripe avocados. Dried avocados won’t yield oil with this method.
- How long does homemade avocado oil last? Stored properly, it can last 1-3 months. Refrigeration can extend this. Always check for signs of rancidity (off smell).
- Can I refrigerate it? Yes, refrigeration is recommended to extend its shelf life. It might become cloudy, but this is normal.
- How often should I use it on my skin/hair? Daily for skin, 2-3 times a week for hair treatments, depending on your needs.
- Can I freeze the oil? It’s generally not recommended for homemade oils as it can affect texture and stability. Refrigeration is sufficient.
- What part of the avocado is best for oil? Only the flesh (pulp) is used for oil extraction.
- Why is my oil green? Commercial avocado oil is often refined, which removes color. Homemade oil can retain a greenish tint due to chlorophyll, especially if you don’t filter it multiple times. This is normal for unrefined oil.
- Can I use other pressing methods, like a cold press? While professional cold presses exist, they are not practical for a home kitchen. The low-heat method described is the most accessible DIY approach.
Did You Know? The green color in homemade avocado oil comes from chlorophyll, a natural antioxidant.
You may also like: DIY Herbal Infused Oils: A Beginner’s Guide
Conclusion
Transforming those overlooked, overripe avocados into a versatile, nourishing oil is not just a smart way to reduce waste; it’s an empowering step into natural self-care. With a little patience and the right technique, you’ll have a pure, homemade remedy that rivals store-bought versions for topical benefits. Embrace the power of the avocado and give your skin and hair the natural boost they deserve.
Read more: The Ultimate Guide to Natural Carrier Oils