Homemade samosa wrappers are one of the simplest ways to upgrade a favorite snack. With a basic dough, a rolling pin, and a little patience, you can create the thin, flexible sheets that give samosas their signature crunch. This guide walks through the process from smooth dough balls to paper-thin wrappers, so you can prepare a reliable base for any filling you enjoy.
The best part is that the dough is straightforward to handle. Once you understand how to rest it, divide it, and roll it out, the rest of the recipe becomes much easier to repeat.
Why Homemade Samosa Wrappers Are Worth Making
Store-bought wrappers are convenient, but homemade versions let you control the texture and thickness. Thin sheets fry or bake up light and shatteringly crisp, which is exactly what many people look for in a samosa. Making your own also means you can prepare the wrappers in batches and keep them ready for future meals.
Ingredients for Homemade Samosa Wrapper Sheets
- 2 cups all-purpose flour, plus extra for dusting
- 1/2 teaspoon salt
- 2 tablespoons vegetable oil or melted ghee
- About 3/4 cup warm water, added gradually
Step 1: Make Smooth Dough Balls
Combine the flour and salt in a large bowl. Add the oil and rub it into the flour with your fingertips until the mixture resembles coarse crumbs. Pour in the warm water a little at a time, mixing until a firm dough forms. Knead for about 5 minutes until the dough feels smooth and elastic.
Divide the dough into 8 equal portions and shape each into a smooth, round ball. Cover the balls with a damp cloth or plastic wrap and rest them for at least 20 to 30 minutes. Resting relaxes the gluten, which makes the dough easier to roll thin without tearing.
Step 2: Roll Out Thin Sheets
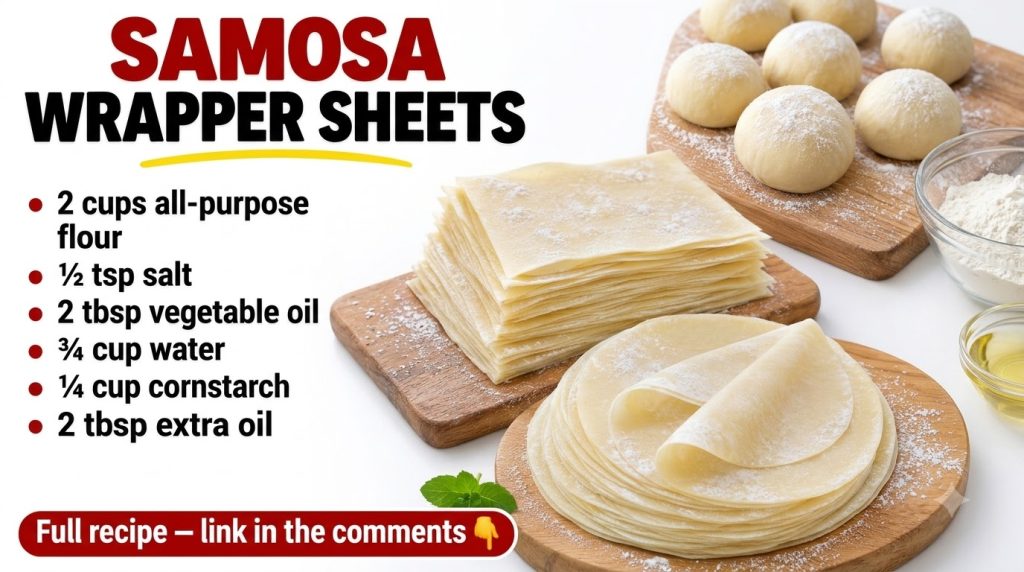
Lightly flour your work surface. Flatten one dough ball with your palm, then roll it outward from the center into a thin round or square, turning the dough often and dusting it with flour only when needed. Aim for sheets thin enough to see the outline of your hand through them, though a few small tears are normal and easy to patch.
Stack the finished sheets with a light dusting of flour between them so they do not stick together. Keep unused dough covered while you work.
Step 3: Shape and Store the Wrappers
For neat square wrappers, trim the edges with a sharp knife or pizza cutter. Stacked, lightly floured sheets can be kept covered at room temperature for a short time while you prepare fillings. For longer storage, layer the sheets with parchment paper, wrap them tightly, and refrigerate for up to 2 days or freeze for up to 1 month.
Tips for Crispy, Flaky Results
- Keep the dough moist enough to roll easily, but not sticky.
- Roll from the center outward to keep the sheets an even thickness.
- Use only as much flour as needed to prevent sticking, since excess flour can make wrappers dry.
- Work with a few balls at a time so the rest of the dough stays covered and supple.
Frequently Asked Questions
Can I use whole wheat flour?
You can blend some whole wheat flour with all-purpose flour, but the sheets may be less pliable and harder to roll very thin. Start with a small portion and adjust the water as needed.
Why do my wrappers tear?
Tearing often happens when the dough has not rested long enough or when it is rolled unevenly. Let the dough rest, keep the rest covered, and patch small holes with a little dough scrap.
Final Thoughts
Homemade samosa wrappers take a little practice, but the process becomes faster and more rewarding each time. Once you have a reliable homemade samosa wrapper dough, you can fill and fry or bake your favorite samosas with a base that is genuinely crisp and delicious.
This article is for general cooking information only and is not a substitute for professional nutrition advice. If you have dietary restrictions or a health condition, consult a qualified healthcare professional.