Many of us want skin that looks soft, smooth, and youthful, but expensive creams do not always fit into everyday budgets. The good news is that a simple homemade cream can offer gentle hydration and a comforting routine you can enjoy at home. In this guide, we will walk through the idea behind a DIY moisturizer, the ingredients people often use, and the tips that help you get the best results safely.
Why Homemade Cream Feels So Good
There is something special about making your own skincare. You know exactly what goes into your bowl, and the process itself can feel like a calming self-care moment. Many people also enjoy the chance to experiment with textures and scents until they find a routine that feels right for their skin.
Homemade creams are usually best thought of as simple moisturizers rather than miracle treatments. Their main job is to help skin feel softer and more comfortable by supporting the skin barrier, which is the outer layer that holds moisture in.
Common Ingredients Used in DIY Moisturizers
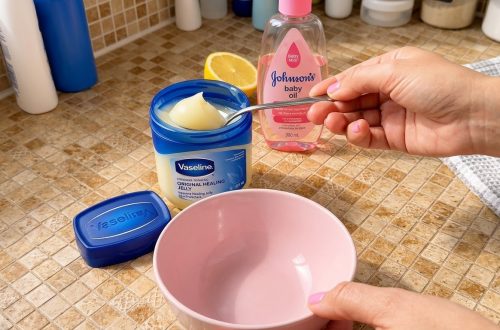
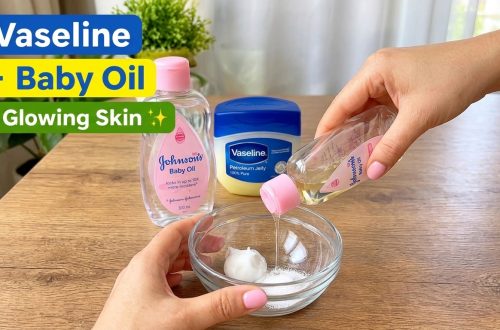
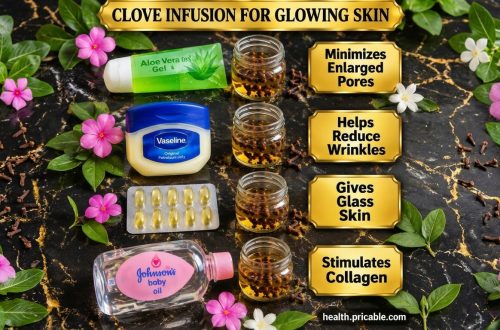
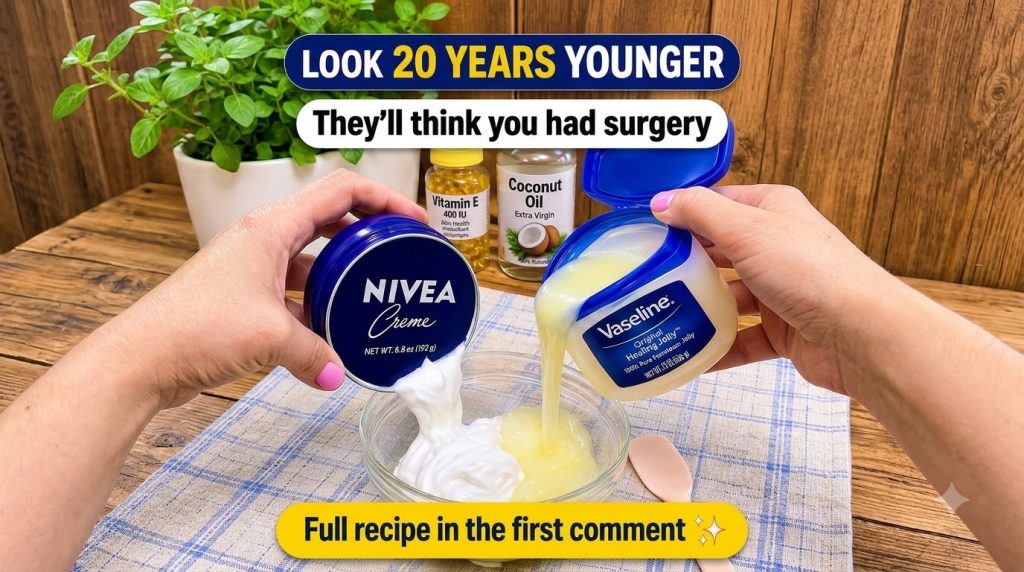
Most home recipes rely on a small group of easy-to-find ingredients. Each one has a different role:
- Petroleum jelly helps lock in moisture and is often used to protect dry areas.
- Rich body creams can add a softer, more cushiony texture.
- Plant oils, such as coconut oil, offer a nourishing feel for many people, though they may not suit everyone.
- Vitamin E oil is a popular addition for its antioxidant reputation and conditioning feel.
Remember that natural does not always mean gentle for every skin type. Ingredients that feel lovely on one person can irritate another.
Simple Steps for a Gentle Homemade Cream
- Choose clean tools, a clear glass bowl, and a spatula that you can wash well.
- Measure your base ingredients in small amounts so you can adjust the texture.
- Mix slowly until the blend looks smooth and even, without whipping air into it.
- Transfer the cream into a clean, airtight jar and store it in a cool place.
- Use a small amount on clean skin, ideally after cleansing and toning.
Safety Tips Before You Start
Before applying any homemade product to your face, do a patch test on a small area of skin, such as the inner arm or behind the ear. Wait at least 24 hours and watch for redness, itching, or swelling. If you have sensitive skin, acne-prone skin, or a medical skin condition, speak with a dermatologist before trying new formulas.
Also keep batches small. Homemade products do not contain the preservatives found in store-bought creams, so it is best to make only what you can use within a few days or as directed by a trusted recipe.
Building a Routine for Softer, Youthful-Looking Skin
A homemade cream works best as part of a complete routine. Gentle cleansing, daily sunscreen, enough water, and a good night of sleep all support healthy-looking skin. Think of your DIY moisturizer as one helpful step rather than the whole solution.
With patience and consistency, many people notice that their skin feels more comfortable and looks more even over time. Enjoy the process, keep your expectations realistic, and treat yourself to a little beauty ritual that feels good.