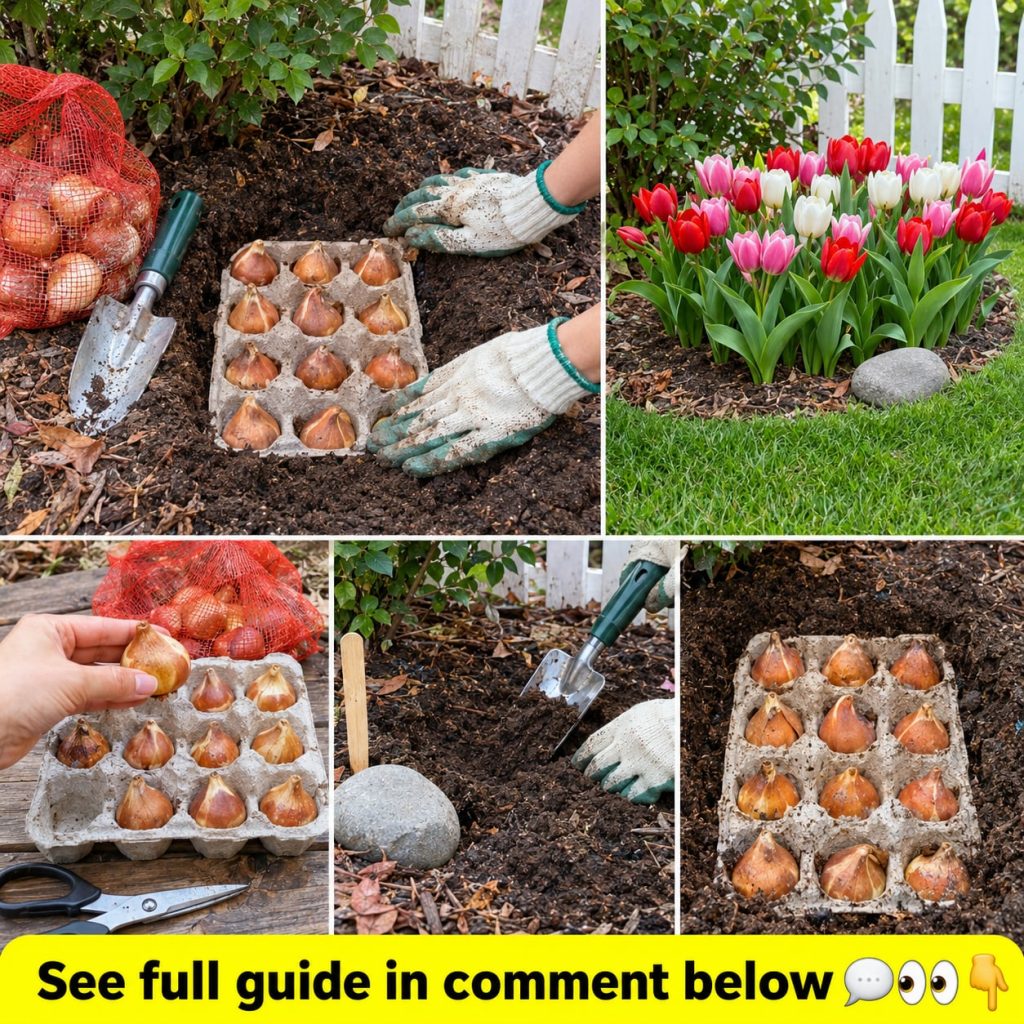
Most people toss the egg carton without a second thought, but that cardboard tray can become one of the simplest planting guides in your garden. Tulips, daffodils, and crocuses are often planted too close together or at uneven depths, which leads to crowded leaves and patchy blooms later. An egg carton gives you a ready-made grid that keeps every bulb in its place before it ever touches soil.
What It Is
This method uses a standard 12-cup cardboard egg carton as a temporary layout tool. Each cup holds one bulb, so spacing stays consistent and you can see the full arrangement before digging. It works well for container planting, small raised beds, and arranging bulbs by color or bloom height.
Ingredients and Supplies
- 1 cardboard egg carton (12-cup size works well)
- Flower bulbs such as tulips, daffodils, crocus, or hyacinth
- Potting mix or garden soil with good drainage
- A small trowel or bulb planter
- A marker or plant tag for labeling colors
- Optional: a handful of coarse sand for drainage
Approximate Measurements
Use this quick reference as a starting point. Bulb sizes vary by variety, so check the packaging for your specific bulbs.
| Bulb Type | Planting Depth | Spacing Between Bulbs |
|---|---|---|
| Tulips | 6 to 8 inches | 4 to 6 inches |
| Daffodils | 6 to 8 inches | 4 to 6 inches |
| Crocus | 3 to 4 inches | 2 to 3 inches |
| Hyacinth | 5 to 6 inches | 4 inches |
A useful rule of thumb is to plant bulbs at a depth of roughly two to three times the bulb’s height, measured from the base to the soil surface.
Formula: The Carton Grid Layout
Treat each cup as one planting hole. The number of bulbs equals the number of cups, and the space needed equals rows multiplied by spacing. For example, a 12-cup carton arranged as 3 rows of 4 bulbs, with 5 inches between bulbs, needs a planting area of about 15 by 20 inches.
Step-by-Step Method
- Choose a planting area and measure its length and width.
- Calculate your grid using the formula above and mark the spacing on the soil with stakes or string.
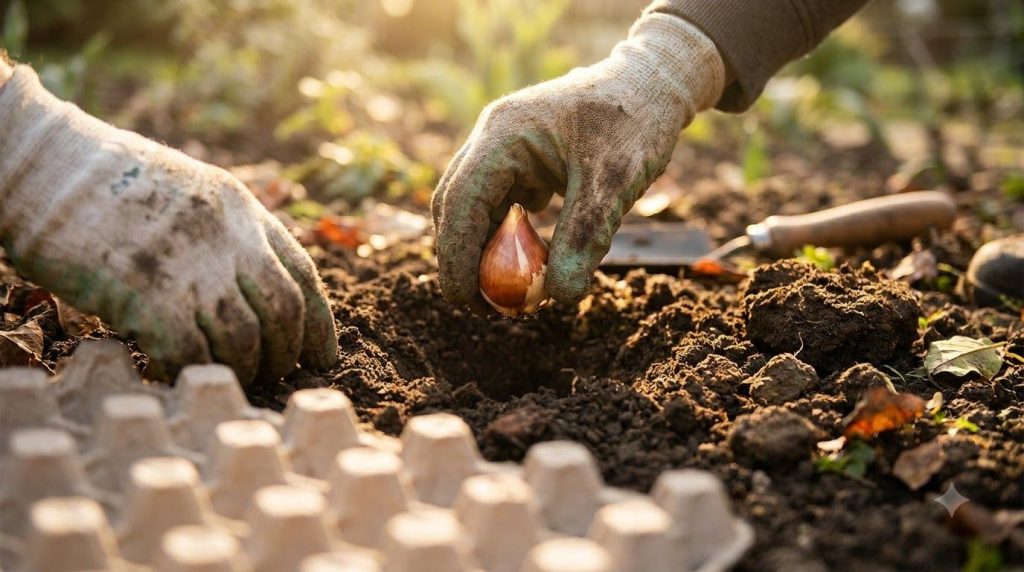
- Place one bulb in each egg carton cup with the pointed end facing up.
- Label the carton by color or variety so the layout stays organized.
- Dig holes to the correct depth, lifting each bulb straight from its cup.
- Set each bulb in the hole, cover with soil, and water lightly to settle the soil.
Quick Tip: Write the bloom color or height on the carton lid. When the flowers come up in spring, you will know exactly what you planted where.
How to Use the Carton
Set the carton on the planting area before you dig, and check that the grid fits the space. Adjust the rows if the bed is narrower than planned. Once bulbs are in the soil, the carton has done its job. Cardboard breaks down when wet, so do not leave it in the ground as a liner.
How Often to Use It
Use this method once per planting season. Most spring-blooming bulbs are planted in fall, typically six to eight weeks before the ground freezes in cold regions. In milder climates, planting can be delayed until late fall or early winter. Bulbs generally need a cold period to bloom well, so timing matters more than frequency.
Common Mistake: Planting bulbs upside down or too shallow. Shallow bulbs can heave out of the soil over winter, and inverted bulbs can take longer to sprout or struggle to bloom.
How to Choose Bulbs
Select bulbs that feel firm and heavy for their size. Avoid bulbs with soft spots, mold, or dry, cracked skins. Larger bulbs usually produce stronger stems and more flowers, so buy the largest size available for each variety.
Carton Grid vs Free Spacing
| Method | Spacing Accuracy | Best Use | Effort Level |
|---|---|---|---|
| Egg carton grid | High | Small beds, containers, color planning | Low |
| Free spacing by eye | Low to medium | Large naturalized areas | Low |
| Marked grid with string | High | Formal beds and borders | Medium |
Storage
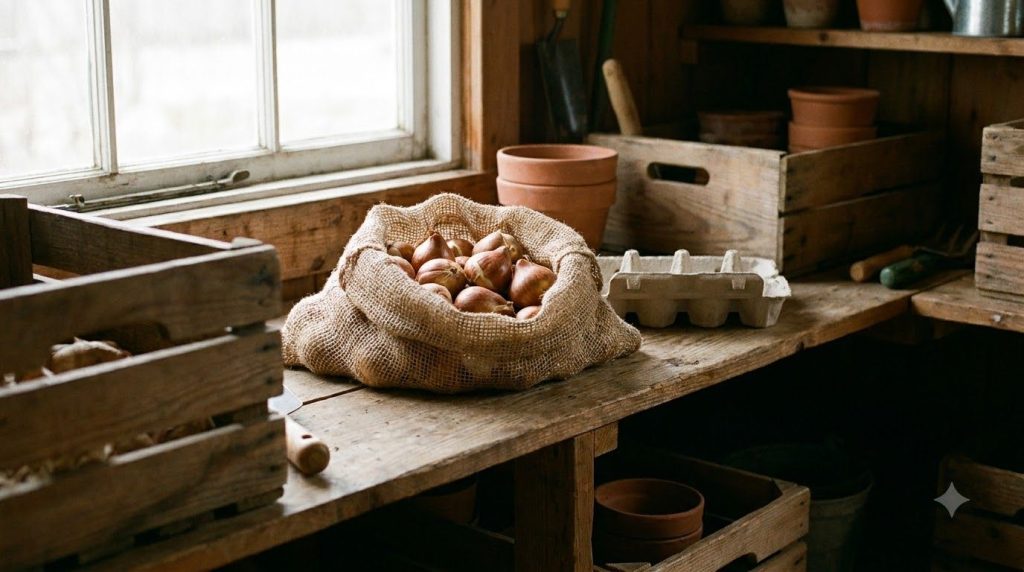
If you are not planting right away, store bulbs in a mesh bag or paper bag in a cool, dry, ventilated room away from fruit, which releases gases that can damage bulbs. Avoid plastic bags, which trap moisture. Keep the egg carton dry too, and discard it after planting if it has become soggy.
Practical Tips
- Use a bulb planter for consistent depth in larger beds.
- Water the bed once after planting, then rely on rainfall unless the soil is very dry.
- Add a light layer of mulch after planting to help regulate soil temperature.
- Plant bulbs in well-drained soil. Waterlogged bulbs are prone to rot.
Did You Know? Many spring bulbs grow roots in fall and send up shoots only after the cold period, so the layout you create now shapes the display months later.
Common Mistakes
- Using a damp or moldy carton, which can spread rot to the bulbs.
- Spacing bulbs too tightly, which leads to crowded flowers and smaller blooms over time.
- Planting in heavy clay without adding drainage material.
- Storing bulbs in warm or humid areas before planting.
- Forgetting to label colors, which makes the spring display harder to plan.
Cautions and Who Should Avoid It
Many common spring bulbs, including tulips, daffodils, and hyacinths, contain compounds that can irritate the skin and be harmful if eaten. Wear gloves when handling them and wash hands afterward. Keep bulbs away from children and pets, and store them out of reach. If you have sensitive skin or a known allergy to plant materials, wear protective gloves and long sleeves while planting.
Quick Summary
- Best preparation: a clean, dry 12-cup egg carton used as a one-time layout grid.
- Best use case: small beds, containers, and color-planned spring displays.
- Storage: cool, dry, ventilated space, away from fruit, in mesh or paper bags.
- When to use: plant in fall, typically six to eight weeks before ground freeze in cold climates.
- What to avoid: damp cartons, shallow planting, and overcrowded spacing.
FAQ
Can I use a foam egg carton instead of cardboard?
Cardboard is the better choice because it holds bulbs securely and is easy to compost after planting. Foam cartons do not break down and are not recommended in the garden.
How long can bulbs sit in the carton before planting?
Keep bulbs in the carton for only a few days. For longer storage, move them to a mesh or paper bag in a cool, dry place.
Can I refrigerate bulbs before planting?
Some bulbs, such as tulips and crocus, benefit from a cold period. Refrigerate them in a paper bag, away from fruit, for about six weeks, and keep them dry. Check the variety guidance first.
Can I freeze bulbs?
Freezing is not recommended. Freezing damages bulb tissue and reduces the chance of healthy blooms.
Can I reuse the egg carton?
You can reuse it for a second layout if it is clean and dry, but avoid using it once it has been in soil or exposed to moisture.
When should I avoid this method?
Skip the carton method for large naturalized areas where precise spacing is not important, or if the carton is wet, moldy, or falling apart.
Conclusion
An egg carton is a simple, low-cost way to plan bulb spacing, depth, and color before the work begins. With the right measurements, clean bulbs, and proper fall timing, you can build a spring display that is organized and easy to maintain.
You may also like: a full guide to fall bulb planting for cold climates.
Read more: how to choose healthy garden soil for container beds.
See the full guide: how to plan a layered spring flower border.