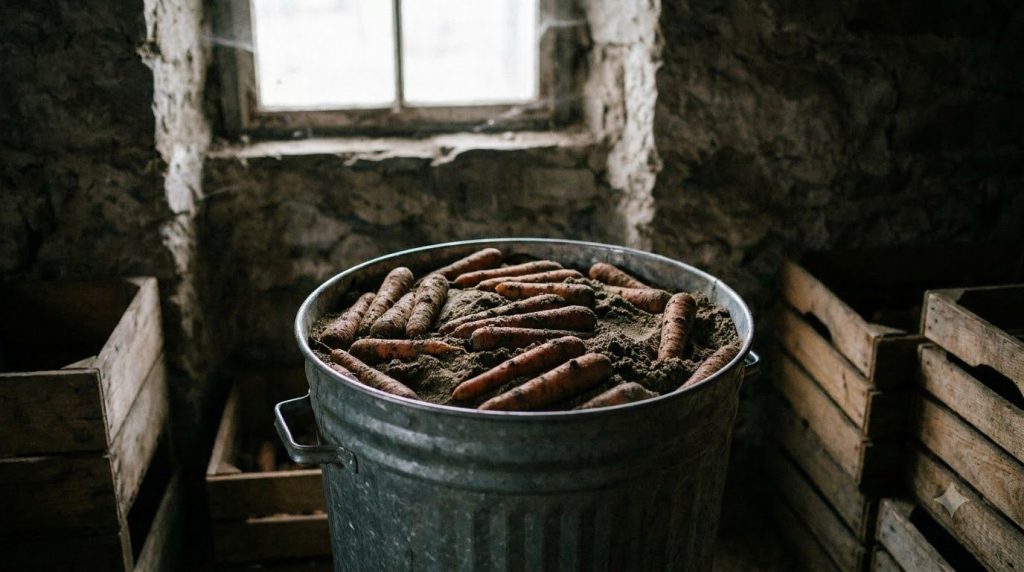
Most gardeners throw away the one container that could keep their harvest edible until spring. A heavy-duty trash can buried in the ground with a tight lid can act as a small root cellar, holding the cool, humid conditions that carrots, potatoes, beets, and cabbage need. The build is simple, but a few details decide whether your produce lasts six weeks or six months.
What It Is
A buried trash can root cellar is a container sunk into the soil so that the ground surrounding it keeps the contents cool and steady. Deeper soil stays near 40 to 50 degrees Fahrenheit in many climates, which slows sprouting, shriveling, and rot. The result is an affordable storage option for cool-season crops that you would otherwise lose to a warm kitchen.
Ingredients and Materials
- One 32 to 44 gallon heavy-duty trash can with a tight-fitting lid
- Drill with a 1/4 inch bit for drainage and ventilation holes
- Clean sand, dry leaves, or straw for layering
- A piece of sheet foam or an old rug to insulate the lid
- Untreated wood board or bricks to keep the lid slightly raised for airflow
Approximate Measurements
| Item | Approximate Amount |
|---|---|
| Burial depth | Rim 2 to 4 inches above ground level |
| Drainage holes | 4 to 6 holes near the base |
| Ventilation holes | Two 1 inch holes in the lid |
| Layering material | 2 to 3 inches between produce layers |
Step-by-Step Method
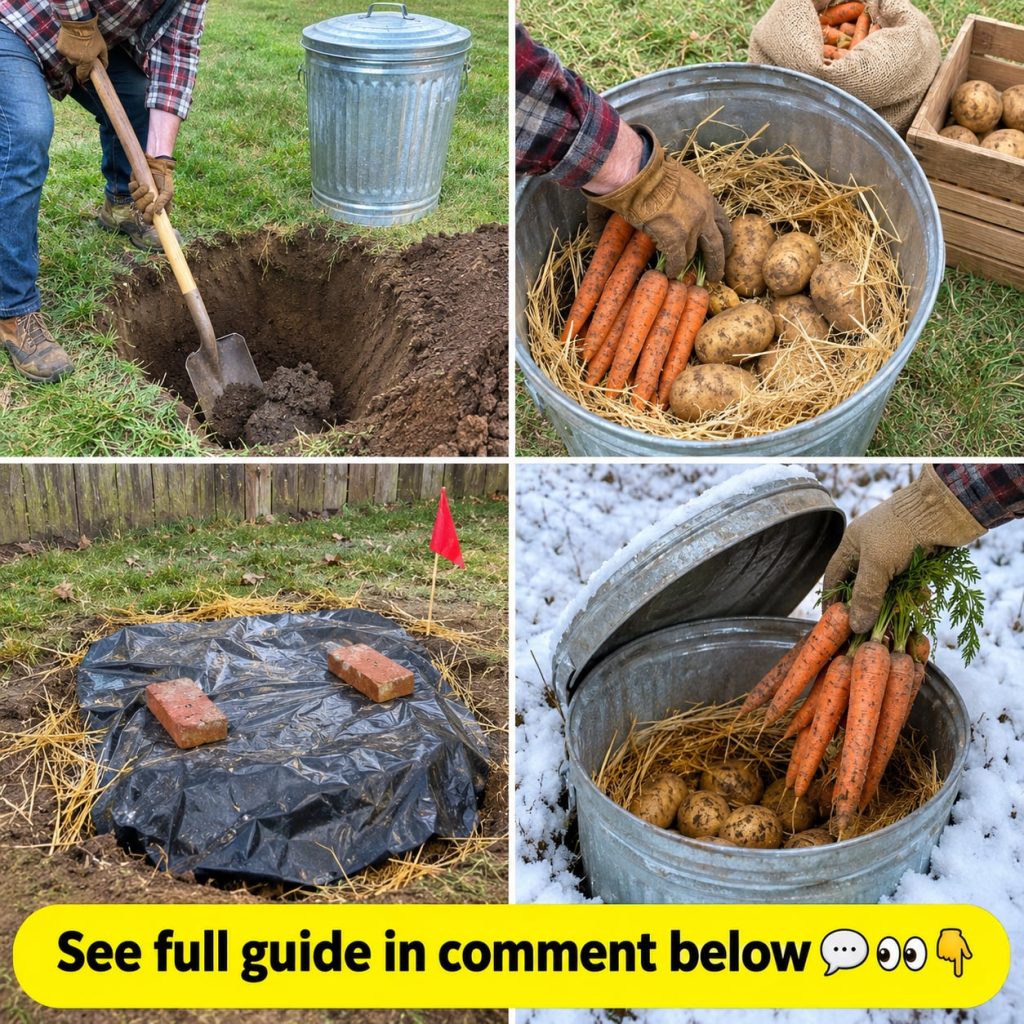
- Choose a shaded, well-drained spot away from downspouts and sprinkler lines.
- Dig a hole slightly wider than the can and deep enough to bury it to the desired rim height.
- Drill drainage holes in the base and ventilation holes in the lid.
- Place 2 inches of dry sand or straw in the bottom to absorb excess moisture.
- Set the can in the hole, backfill with soil, and pack it firmly.
- Add a layer of produce, cover with dry material, and repeat, leaving room below the lid.
- Place the lid, insulate it, and raise it slightly on a board for airflow.
How to Use It
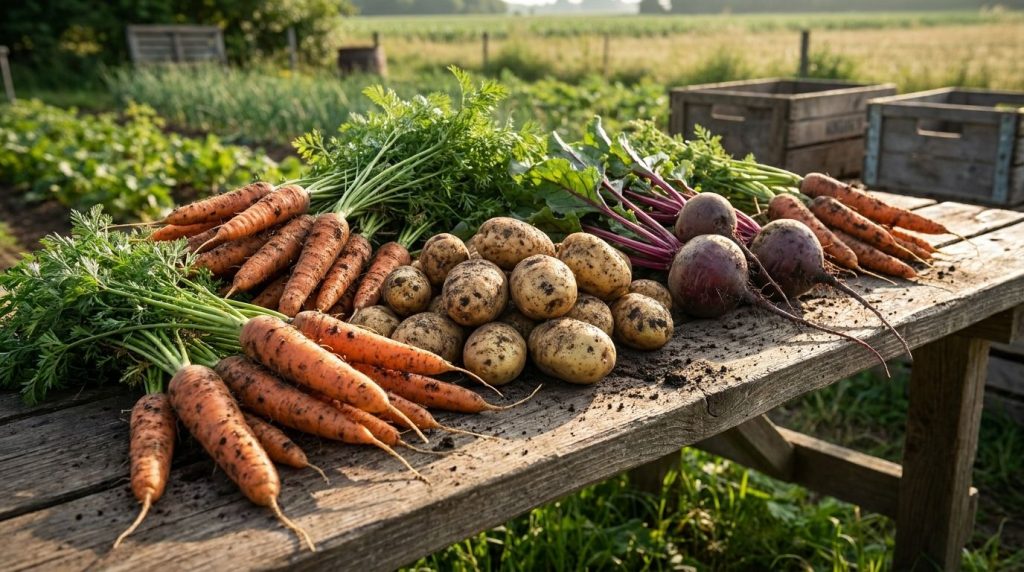
Store only sound, mature produce. Carrots, beets, parsnips, potatoes, turnips, and cabbage do well. Keep apples away from root crops, because apples release ethylene gas that speeds sprouting and softening. Check the cellar when temperatures swing sharply and close the lid during deep freezes to prevent the contents from chilling.
How Often to Check
Inspect the cellar every 2 to 3 weeks during the first month, then once a month through winter. Remove any soft or moldy item immediately, because one rotting vegetable can spread decay to its neighbors.
Fresh vs Stored Produce Quick Reference
| Crop | Ideal Condition | Expected Storage Life |
|---|---|---|
| Carrots | Cool, humid, layered in sand | 4 to 6 months |
| Potatoes | Dark, cool, ventilated | 3 to 5 months |
| Beets | Cool, moist, trimmed tops | 3 to 5 months |
| Cabbage | Cool, wrapped in paper | 2 to 4 months |
Practical Tips
Quick Tip: Label the lid with the date you filled the cellar so you know what to eat first. Before You Bury It: Test the site by digging a small hole and checking whether water pools after rain. Surprisingly, a slightly damp sand layer often works better than dry sand for carrots.
Common Mistakes
- Storing damaged or bruised produce, which rots first
- Washing roots before storage instead of brushing off soil
- Skipping drainage holes, which leads to standing water
- Sealing the lid airtight, which traps moisture and gas
- Burying the can in a low spot that floods in spring
- Storing apples or pears with vegetables
Cautions and Who Should Avoid It
This method is best for people with level, well-drained ground and enough space to dig. If you have a high water table, rodent problems, or very mild winters, consider an indoor cool storage area instead. Keep the lid closed to limit access by pests, and avoid storing anything you cannot easily inspect.
Quick Summary
- Best preparation: Dry, clean, undamaged produce layered in sand or straw
- Best use case: Root crops and cabbage for winter eating
- Storage: Cool, humid, ventilated, and checked monthly
- When to use: After the first hard frost, once soil has cooled
- What to avoid: Wet produce, apples near vegetables, and flooded ground
FAQ
Can I use fresh or dried produce?
Use fresh, mature produce that has been dried of surface soil and moisture. Dried-out produce loses texture quickly, so avoid storing anything that already looks limp.
How long does produce last in a buried trash can?
Most root crops last three to six months, depending on variety, condition at harvest, and how steady the temperature stays.
Can I refrigerate the stored produce?
Refrigeration is not necessary for most root crops, but you can move a small amount indoors for a few days when you need it.
Can I freeze produce from the cellar?
Freezing is a separate process. Blanch vegetables before freezing, since storing them in the cellar does not preserve them for freezing.
How often should I check the cellar?
Check every two to three weeks early in winter, then monthly, removing any soft items right away.
When should I avoid this method?
Avoid it if the site floods, the soil stays waterlogged, or rodents are active in the area.
Conclusion
A buried trash can gives you a practical, low-cost way to hold garden produce through the cold months. Start with sound roots, keep them dry and layered, and check on them regularly. You may also like: our guide on planning a winter vegetable garden. Read more: how to dry and store herbs at home. See the full guide: root crop storage basics for home gardeners.