Elevate any dessert in minutes with a rich, glossy homemade glaze! While a classic chocolate glaze is undeniably a showstopper, the world of glazes offers endless possibilities to add that perfect touch of sweetness and shine to your favorite treats. From fluffy cakes to delicate cupcakes, or even a simple fruit bowl, a well-made glaze can transform an ordinary dessert into something extraordinary.
This article starts with our unbelievably easy and decadent chocolate glaze recipe, then expands into five more simple, versatile glaze variations. Get ready to drizzle, pour, and impress with these quick and delightful toppings!
Quick Overview
- Main topic: Easy homemade dessert glazes and toppings
- Best for: Enhancing cakes, cupcakes, pastries, and other desserts
- Number of recipes: 6
- Prep style: Quick mixing, no-cook
- Reader benefit: Simple ways to add flavor and shine to desserts
Recipe 1: Easy Homemade Chocolate Glaze
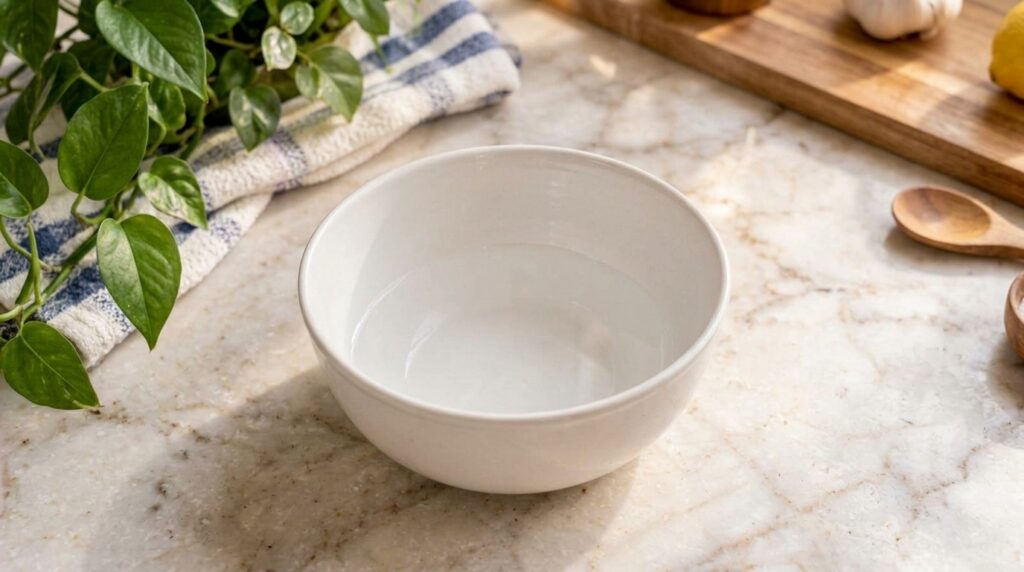
This classic chocolate glaze is incredibly simple to make and adds a luxurious finish to almost any sweet treat. It’s so smooth and shiny, you won’t believe how quickly it comes together!
Servings: Varies (yields about 1 cup)
Prep time: 5 minutes
Cook / chill / rest time: None
Ingredients:
- 1 cup powdered sugar
- 1/4 cup unsweetened cocoa powder
- 2-3 tablespoons milk (or water/cream), plus more if needed
- 1/2 teaspoon vanilla extract
Instructions:
- Sift the powdered sugar and cocoa powder into a medium bowl to remove any lumps.
- Gradually whisk in the milk, one tablespoon at a time, until you reach your desired consistency. Add more or less liquid as needed to achieve a smooth, pourable glaze.
- Stir in the vanilla extract until the glaze is smooth and glossy.
- Drizzle over your favorite dessert immediately!
Storage / Serving / Usage Note:
Use this glaze immediately for best results. If it thickens, you can add a tiny bit more milk or water to thin it out again. Store any leftovers in an airtight container in the refrigerator for up to 3 days, warming slightly before use.
Recipe 2: Simple Vanilla Glaze
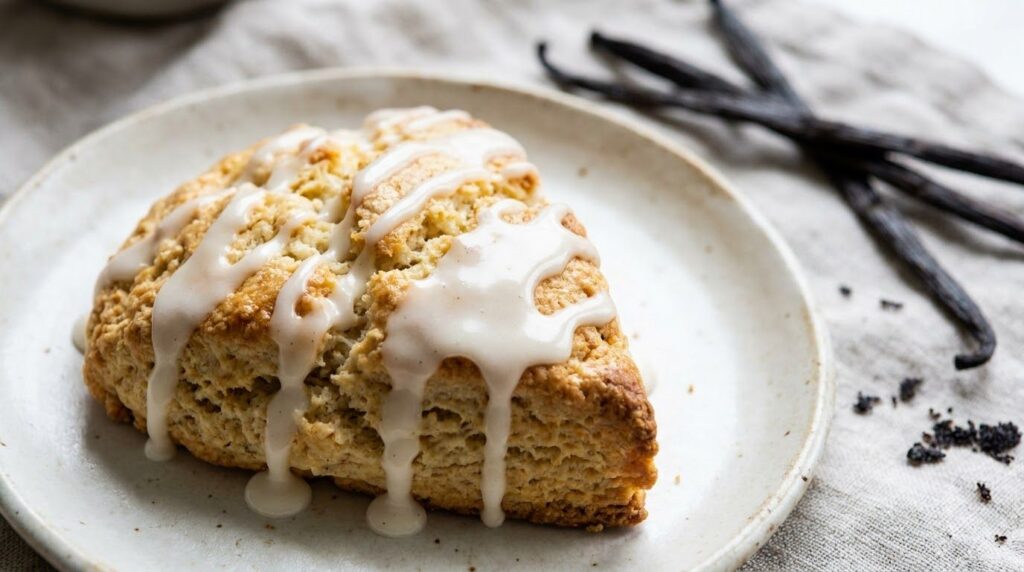
A basic yet essential glaze, this vanilla version is incredibly versatile and perfect for adding a sweet finish to donuts, cinnamon rolls, or even plain sugar cookies.
Servings: Varies (yields about 1 cup)
Prep time: 5 minutes
Cook / chill / rest time: None
Ingredients:
- 1 cup powdered sugar
- 2-3 tablespoons milk (or water), plus more if needed
- 1/2 teaspoon vanilla extract
Instructions:
- Sift the powdered sugar into a medium bowl to ensure a smooth glaze.
- Gradually whisk in the milk, one tablespoon at a time, until the glaze is smooth and reaches your desired consistency.
- Stir in the vanilla extract until fully combined.
- Drizzle over cooled baked goods.
Storage / Serving / Usage Note:
This glaze sets quickly. If it becomes too thick, add a few drops of milk to loosen it. Store covered at room temperature for up to 2 days, or in the refrigerator for up to 1 week.
Recipe 3: Zesty Lemon Glaze

For a refreshing and tangy twist, this lemon glaze is fantastic on pound cakes, muffins, or even simple shortbread cookies. The zest adds an extra burst of fresh citrus flavor.
Servings: Varies (yields about 1 cup)
Prep time: 5 minutes
Cook / chill / rest time: NoneIngredients:
- 1 cup powdered sugar
- 2-3 tablespoons fresh lemon juice, plus more if needed
- 1/2 teaspoon lemon zest (optional, for extra flavor)
Instructions:
- Sift the powdered sugar into a medium bowl.
- Gradually whisk in the fresh lemon juice until a smooth, pourable consistency is achieved. Adjust liquid as needed.
- If using, stir in the lemon zest for an added layer of flavor.
- Drizzle over your chosen dessert while it’s still slightly warm or completely cooled.
Storage / Serving / Usage Note:
This glaze is best used fresh. If storing, keep in an airtight container in the refrigerator for up to 5 days. Stir well before using, and you may need to add a tiny bit more lemon juice to re-achieve the desired consistency.
Recipe 4: Quick Cream Cheese Glaze
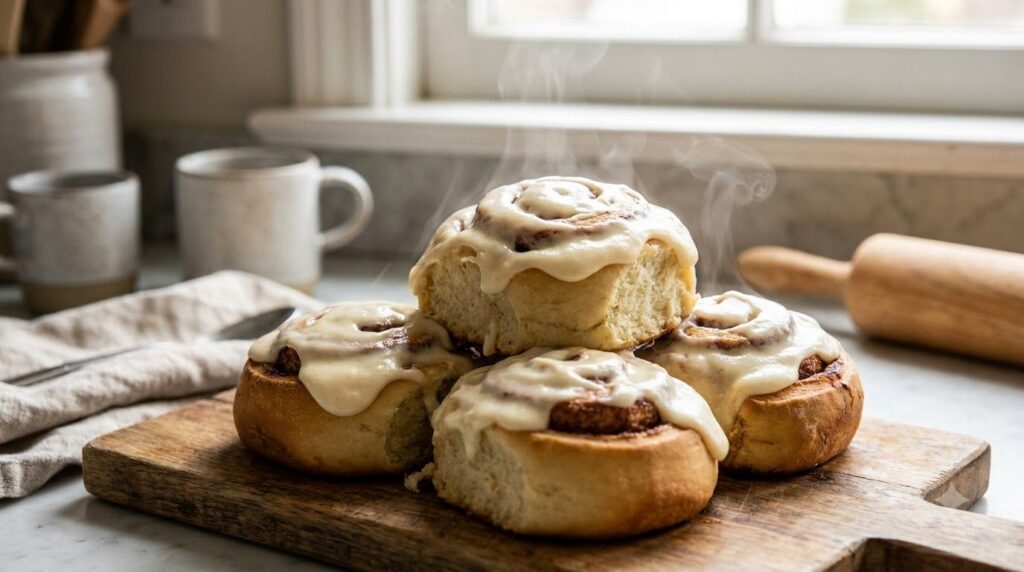
Rich, tangy, and incredibly smooth, this cream cheese glaze is a dream topping for red velvet cakes, carrot cakes, and especially cinnamon rolls. It’s a step up from a basic glaze, offering a delightful texture.
Servings: Varies (yields about 1.5 cups)
Prep time: 10 minutes
Cook / chill / rest time: None
Ingredients:
- 4 oz cream cheese, softened
- 1/4 cup unsalted butter, softened
- 2 cups powdered sugar
- 1/2 teaspoon vanilla extract
- 1-2 tablespoons milk (if needed for consistency)
Instructions:
- In a medium bowl, beat the softened cream cheese and butter together with an electric mixer until smooth and creamy.
- Gradually add the powdered sugar, beating until well combined and light.
- Stir in the vanilla extract.
- If the glaze is too thick, add milk one tablespoon at a time until you reach your desired pourable or spreadable consistency.
Storage / Serving / Usage Note:
Due to the cream cheese, this glaze should be stored in an airtight container in the refrigerator for up to 1 week. Bring to room temperature and whisk briefly before using.
Recipe 5: Rich Coffee Glaze
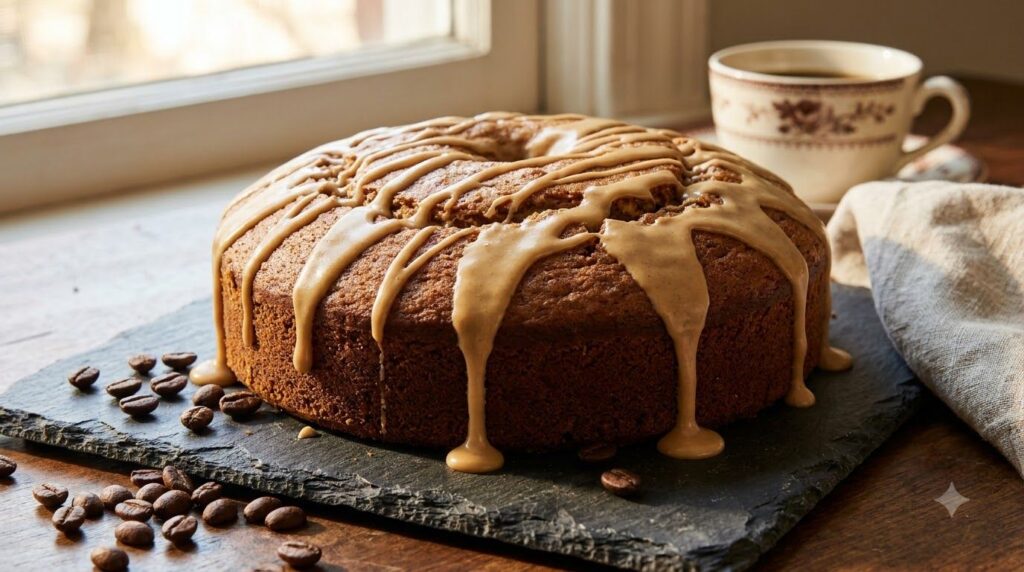
For coffee lovers, this glaze offers a sophisticated and aromatic topping. It pairs wonderfully with chocolate desserts, coffee cakes, or even simple vanilla cupcakes, adding a subtle depth of flavor.
Servings: Varies (yields about 1 cup)
Prep time: 5 minutes
Cook / chill / rest time: None (allow coffee to cool)
Ingredients:
- 1 cup powdered sugar
- 2-3 tablespoons strong brewed coffee (cooled), plus more if needed
- 1/2 teaspoon vanilla extract (optional)
Instructions:
- Sift the powdered sugar into a medium bowl.
- Gradually whisk in the cooled strong brewed coffee until the glaze is smooth and reaches your desired consistency.
- Stir in the vanilla extract, if using.
- Drizzle over your favorite cooled desserts.
Storage / Serving / Usage Note:
Store this glaze in an airtight container in the refrigerator for up to 3 days. If it thickens, stir in a tiny bit more cooled coffee to restore its consistency.
Recipe 6: Decadent Peanut Butter Glaze
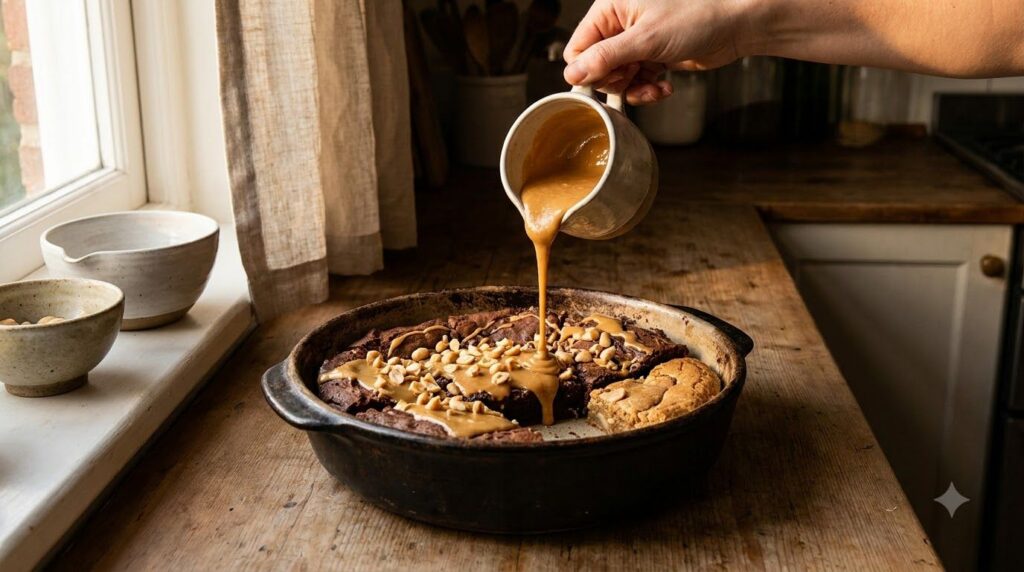
Calling all peanut butter enthusiasts! This rich and creamy glaze is a fantastic complement to chocolate brownies, banana bread, or even oatmeal cookies. It adds a satisfying nutty sweetness that’s truly irresistible.
Servings: Varies (yields about 1.5 cups)
Prep time: 5-7 minutes
Cook / chill / rest time: None
Ingredients:
- 1/2 cup creamy peanut butter
- 1 cup powdered sugar
- 2-3 tablespoons milk (or water), plus more if needed
- 1/2 teaspoon vanilla extract
Instructions:
- In a medium bowl, whisk the creamy peanut butter until it’s smooth.
- Gradually sift in the powdered sugar, mixing until just combined.
- Whisk in the milk one tablespoon at a time until the glaze reaches a smooth, pourable consistency.
- Stir in the vanilla extract until fully incorporated.
Storage / Serving / Usage Note:
Store any leftover peanut butter glaze in an airtight container in the refrigerator for up to 1 week. It will firm up when chilled; warm gently in the microwave or at room temperature and stir before using.
Simple Tips for Best Results
- Sift Dry Ingredients: Always sift powdered sugar and cocoa powder to prevent lumps, ensuring a silky-smooth glaze.
- Gradually Add Liquid: Glaze consistency is key! Add milk, water, or juice one tablespoon at a time until you reach your desired thickness. It’s easier to add more liquid than to fix an overly thin glaze.
- Cool Desserts: For most glazes (especially the chocolate and vanilla ones), ensure your cakes or cookies are completely cooled before drizzling, otherwise the glaze may melt or absorb into the dessert.
- Warm for Drizzling: If a glaze has thickened, gently warm it slightly (especially cream cheese or peanut butter glazes) to make it easier to drizzle or spread.
- Experiment with Flavor: Don’t be afraid to try different extracts (almond, peppermint) or citrus juices to create unique glaze profiles.
FAQ
How long does homemade glaze last?
Most simple glazes made with powdered sugar and milk/water can last 2-3 days at room temperature in an airtight container. Glazes containing dairy like cream cheese or butter should be refrigerated and are typically good for up to 1 week.
Can I make glaze without powdered sugar?
While most traditional glazes rely on powdered sugar for their smooth texture and quick setting properties, you can make alternative glazes using melted chocolate, fruit purées, or even nut butters, though the consistency and appearance will differ.
What’s the difference between a glaze and a frosting?
A glaze is typically thinner, more translucent, and often poured or drizzled, setting to a slightly firm, shiny finish. Frosting is generally thicker, opaque, and spread with a knife, providing a creamy, soft topping.
Final Thoughts
Homemade glazes are a wonderfully simple way to elevate any dessert, adding flavor, shine, and a professional touch with minimal effort. Whether you opt for the classic chocolate glaze recipe or one of our exciting variations, you’ll find that these quick additions can make all the difference. Get creative, experiment with flavors, and enjoy the sweet rewards of your kitchen creations!