Chia seeds are tiny powerhouses, packed with fiber, omega-3s, and essential nutrients. They’re a fantastic addition to a healthy diet, known for their ability to support metabolic health and provide sustained energy. Yet, many people struggle with preparing them, often ending up with a clumpy, uneven, or too-liquid consistency. If you’ve ever wondered why your chia pudding doesn’t quite live up to those Instagram-perfect pictures, you’re not alone! The good news is, a few simple adjustments can make all the difference.
This guide will demystify the art of chia seed preparation, revealing the common pitfalls and providing actionable tips to help you achieve perfectly gelled, delicious chia creations every time. Say goodbye to chia fails and hello to easy, healthy meals!
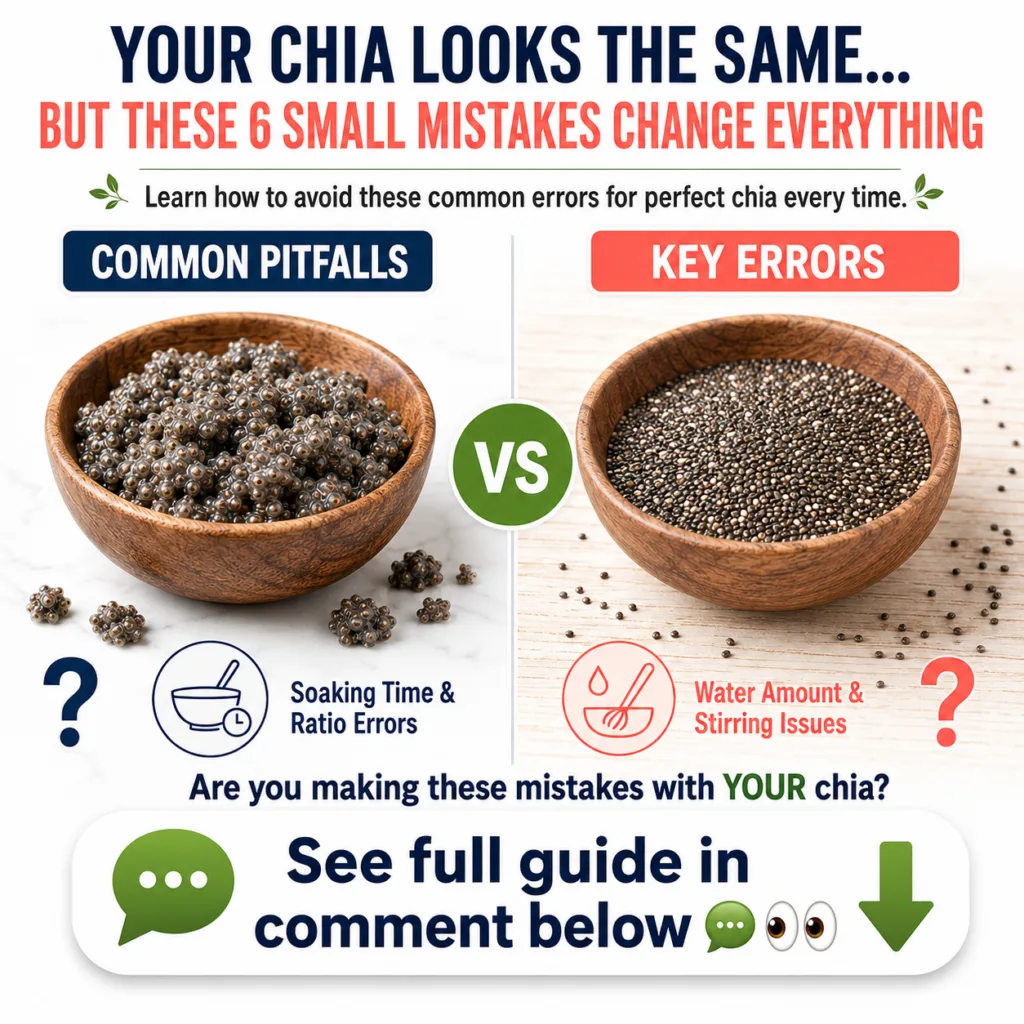 Understanding the difference between perfectly prepared and poorly prepared chia seeds.
The Magic of Chia: Why Proper Preparation Matters
Chia seeds are hydrophilic, meaning they love water. When soaked, they absorb liquid and form a gelatinous coating, creating a unique texture that’s perfect for puddings, thickeners, and overnight oats. This gel is not just for texture; it’s also responsible for many of chia’s health benefits, including its ability to slow down sugar absorption and contribute to satiety. Proper preparation ensures you get the most out of these nutritional gems.
6 Common Chia Seed Mistakes (and How to Fix Them!)
Let’s dive into the common errors that often lead to less-than-perfect chia creations and how you can easily avoid them.
Mistake 1: Incorrect Chia-to-Liquid Ratio
- The Problem: Too much liquid results in a watery, runny consistency, while too little leads to a thick, cement-like blob.
- The Fix: The golden ratio is typically 1:4 (one part chia seeds to four parts liquid). For example, 1/4 cup chia seeds to 1 cup liquid. Adjust slightly based on desired thickness and the type of liquid used (thicker liquids like yogurt may need less chia).
Mistake 2: Insufficient Soaking Time
- The Problem: Rushing the process means the seeds don’t fully absorb the liquid and won’t develop their characteristic gel. You’ll end up with hard, crunchy seeds floating in liquid.
- The Fix: Allow at least 20-30 minutes for soaking, but ideally, for puddings, aim for 2-4 hours or even overnight in the refrigerator. This allows the seeds to fully expand and create a smooth, creamy texture.
Mistake 3: Skipping the Stir or Not Stirring Enough
- The Problem: Chia seeds tend to clump together or sink to the bottom if not stirred properly, resulting in an unevenly gelled mixture with dry pockets.
- The Fix: After initially combining the chia seeds and liquid, give it a good stir for about 30 seconds. Then, after 5-10 minutes, stir again to break up any clumps and ensure even hydration. This second stir is crucial for a smooth consistency.
Mistake 4: Adding Sweeteners/Flavorings Too Early
- The Problem: Heavy or thick ingredients like honey, maple syrup, or fruit purees can hinder the chia seeds’ ability to absorb liquid evenly if added at the very beginning.
- The Fix: Allow the chia seeds to gel in the plain liquid first. Once the basic gel has formed (after the initial soak and stir), then incorporate your sweeteners, flavorings, and other mix-ins.
Mistake 5: Using Water That’s Too Cold
- The Problem: While cold water is fine, extremely cold liquids can sometimes slow down the gelling process slightly compared to room temperature or slightly warm liquids.
- The Fix: Room temperature liquid is ideal for initial mixing if you’re in a hurry. However, for overnight soaking, cold liquid from the fridge is perfectly fine and safe. The key is allowing enough time.
Mistake 6: Not Storing Properly
- The Problem: Leaving prepared chia seeds at room temperature for too long can lead to spoilage or an unpleasant texture.
- The Fix: Always store prepared chia seed mixtures in an airtight container in the refrigerator. They typically last for 3-5 days, making them perfect for meal prep.
The Perfect Basic Chia Seed Pudding Recipe
Now that you know what to avoid, here’s a foolproof recipe for delicious, creamy chia seed pudding!
Ingredients:
- 1/4 cup chia seeds
- 1 cup unsweetened almond milk (or your preferred milk)
- 1-2 teaspoons maple syrup or honey (optional, to taste)
- 1/2 teaspoon vanilla extract (optional)
Instructions:
- In a jar or bowl, combine the chia seeds and almond milk.
- Stir vigorously with a spoon or whisk for about 30 seconds, ensuring no clumps remain.
- Let the mixture sit for 5-10 minutes.
- Stir again thoroughly to redistribute any seeds that may have settled or clumped.
- Cover the jar/bowl and refrigerate for at least 2 hours, or preferably overnight, until thick and creamy.
- Once fully gelled, stir in maple syrup/honey and vanilla extract (if using) until well combined.
- Serve chilled with your favorite toppings!
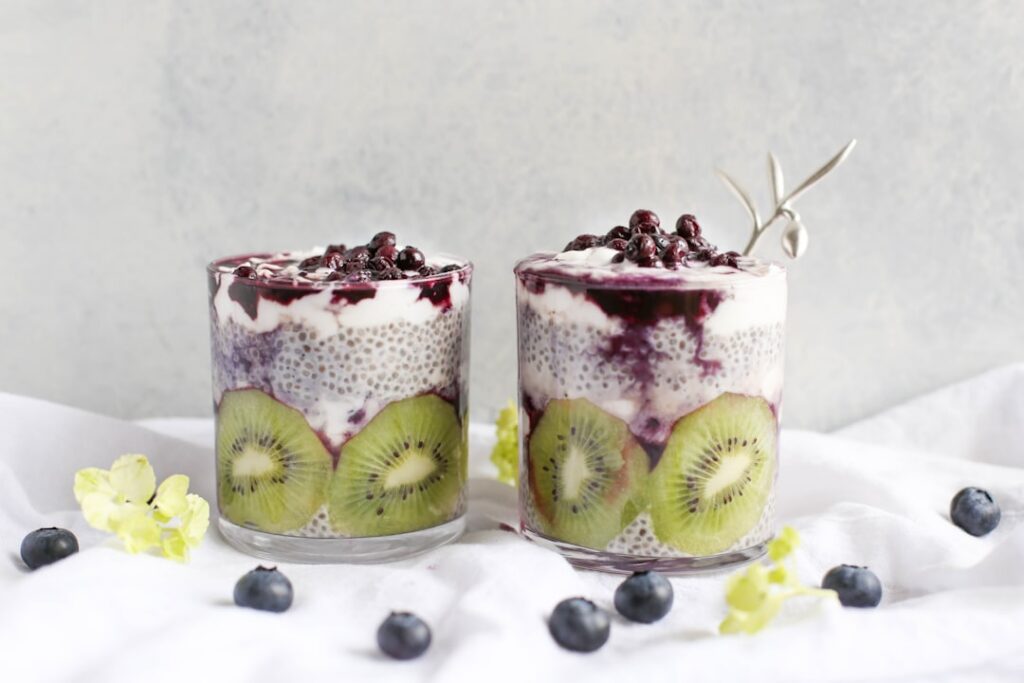 A delicious and healthy start to your day with perfectly gelled chia pudding.
Creative Ways to Enjoy Your Perfect Chia Seeds
Beyond simple pudding, chia seeds are incredibly versatile:
- Smoothie Boost: Add a tablespoon to your morning smoothie for extra fiber and thickness.
- Overnight Oats: Mix with oats, milk, and fruit for a power-packed breakfast.
- Thickener: Use as a natural thickener for soups, sauces, or homemade jams.
- Egg Substitute: A ‘chia egg’ (1 tbsp chia seeds + 3 tbsp water, let sit for 5 mins) can replace one egg in baking.
- Energy Bites: Combine with oats, nut butter, and sweetener for a quick snack.
Substitutions and Variations
- Liquids: Experiment with coconut milk, oat milk, soy milk, dairy milk, fruit juice, or even water. Each will give a slightly different texture and flavor.
- Sweeteners: Try agave, stevia, dates, or mashed bananas instead of maple syrup or honey.
- Flavorings: Cocoa powder for chocolate pudding, cinnamon and nutmeg for a warm spice blend, lemon zest for a refreshing twist.
- Toppings: Fresh fruit, chopped nuts, granola, coconut flakes, a drizzle of nut butter, or a sprinkle of cacao nibs.
FAQ: Your Chia Seed Questions Answered
Q: Can I use whole chia seeds or do I need ground?
A: For gelling purposes like pudding, whole chia seeds are perfect. Ground chia seeds are also good for adding to smoothies or as a flour substitute in baking, but they don’t produce the same gel texture.
Q: Do I have to soak chia seeds?
A: While you can sprinkle dry chia seeds on salads or yogurt, soaking them is essential to unlock their full gelling potential and for optimal digestion of their nutrients. When consumed dry, always drink plenty of water.
Q: What if my chia pudding is still too thin/thick?
A: If too thin, add more chia seeds (start with 1 teaspoon) and stir well, then let it sit for another 15-30 minutes. If too thick, simply add a splash more liquid until you reach your desired consistency.
Embrace the Power of Perfectly Prepared Chia!
With these simple tips and a little patience, you’ll be a chia seed master in no time! Integrating perfectly prepared chia seeds into your diet is an easy and delicious way to boost your fiber intake, support stable blood sugar levels, and enhance your overall metabolic health. Experiment with flavors and toppings, and enjoy the versatility of this incredible superfood!
Looking for more easy healthy recipes? Check out our Recipes section for delicious inspiration!