Craving a timeless treat that’s rich, creamy, and made with love? Learning how to make homemade vanilla ice cream might seem daunting, but it’s a truly rewarding experience that delivers unparalleled flavor. Forget store-bought tubs and get ready to create a dessert that will impress everyone. Our simple, step-by-step guide makes whipping up this classic delight a delicious breeze, transforming fresh ingredients into a scoop of pure bliss.
In this article, we’ll walk you through everything you need to know to master homemade vanilla ice cream, from gathering the essential ingredients to the final delightful scoop. Get ready to awaken your inner artisan and savor the incredible taste of a dessert crafted right in your kitchen.
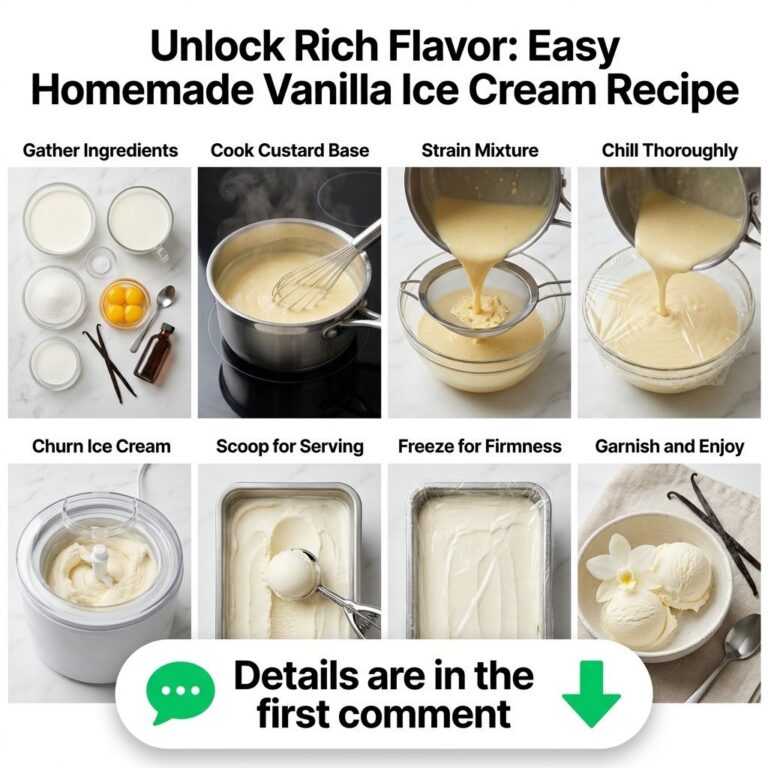
Unlock Rich Flavor: Your Easy Homemade Vanilla Ice Cream Recipe
Creating your own creamy, dreamy vanilla ice cream starts with quality ingredients and a clear understanding of the process. Follow our guide to achieve rich flavor and perfect texture every time.
Ingredients You’ll Need
For truly decadent homemade vanilla ice cream, a few simple ingredients are all it takes. This recipe yields approximately 6-8 servings.
- 1 vanilla bean, split lengthwise and scraped
- 1 cup (240ml) whole milk
- 2 cups (480ml) heavy cream
- 3/4 cup (150g) granulated sugar, divided
- 5 large egg yolks
- 1 teaspoon pure vanilla extract
- Pinch of salt
Step-by-Step Guide to Creamy Perfection
Follow these detailed steps to create a luscious vanilla ice cream custard base, churned to perfection.
Step 1: Prepare Your Vanilla Bean
Using a small, sharp knife, carefully split the vanilla bean lengthwise. Scrape out the tiny, fragrant seeds. These seeds, along with the pod, will infuse your custard with incredible vanilla flavor.
Step 2: Heat Milk and Cream
In a medium saucepan, combine the whole milk, heavy cream, half of the granulated sugar (6 tablespoons or 75g), the scraped vanilla seeds, and the vanilla bean pod. Heat the mixture over medium heat, stirring occasionally, until it just barely begins to simmer around the edges. Do not bring to a rolling boil.
Step 3: Whisk Egg Yolks
In a separate medium bowl, whisk the egg yolks with the remaining granulated sugar (6 tablespoons or 75g) and a pinch of salt until the mixture is pale yellow and slightly thickened. This process incorporates air and prepares the yolks for tempering.
Step 4: Temper the Egg Yolks
Gradually temper the egg yolks by slowly pouring about half of the hot milk mixture into the egg yolk mixture, whisking constantly. This slowly raises the temperature of the yolks, preventing them from scrambling. Once combined, pour the tempered egg yolk mixture back into the saucepan with the remaining hot milk and cream.
Step 5: Cook the Custard Base
Return the saucepan to medium-low heat. Cook, stirring constantly with a wooden spoon or spatula, until the custard thickens enough to coat the back of the spoon (nappe). This usually takes about 5-8 minutes and should reach a temperature of 170-175°F (77-79°C). Do not boil.
Step 6: Strain and Add Vanilla Extract
Immediately remove the custard from the heat. Strain the mixture through a fine-mesh sieve into a clean bowl. This removes the vanilla bean pod and any potential cooked egg bits, ensuring a silky smooth texture. Stir in the pure vanilla extract. Discard the vanilla bean pod.
Step 7: Chill Thoroughly
Cover the custard with plastic wrap, pressing it directly onto the surface to prevent a skin from forming. Refrigerate for at least 4-6 hours, or preferably overnight, until the mixture is thoroughly chilled. A well-chilled base is crucial for achieving the best ice cream texture.
Step 8: Churn the Ice Cream
Once the custard is completely chilled, pour it into your ice cream maker’s freezer bowl. Churn according to the manufacturer’s instructions, typically for 20-30 minutes, until the ice cream is thick and resembles soft-serve consistency.
Step 9: Freeze (Ripen)
Transfer the soft ice cream from the churner into an airtight container. Press plastic wrap directly onto the surface of the ice cream, then cover with a lid. Freeze for at least 4 hours (or up to overnight) to allow the ice cream to harden and ‘ripen’ to a firmer, scoopable consistency.
Step 10: Garnish and Serve
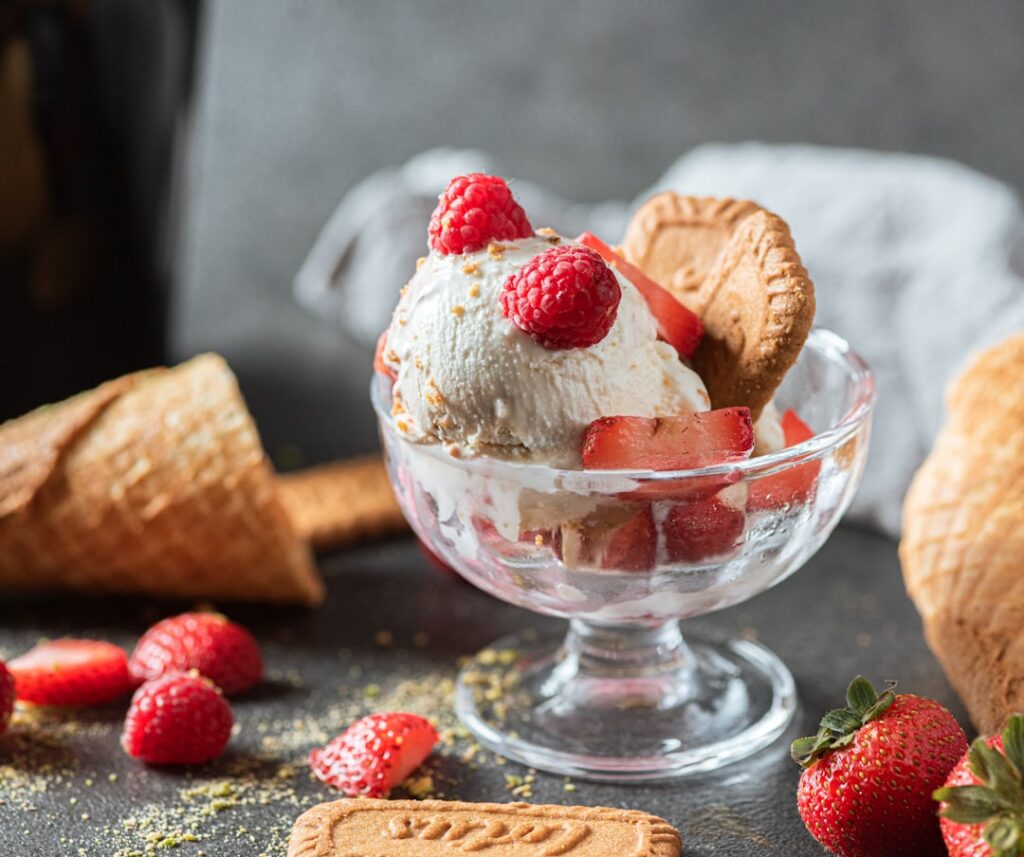
When ready to serve, remove the ice cream from the freezer a few minutes before scooping to allow it to soften slightly. Scoop into bowls or cones and garnish with your favorite toppings, such as fresh berries, chocolate shavings, or a drizzle of caramel. Enjoy your homemade masterpiece!
Tips for the Best Homemade Vanilla Ice Cream
- Use Quality Ingredients: Since vanilla is the star, opt for a good quality vanilla bean and pure vanilla extract for the most authentic flavor. Fresh, full-fat dairy will also yield the creamiest results.
- Chill Thoroughly: Do not rush the chilling step. A very cold base churns better and produces a smoother ice cream texture with smaller ice crystals.
- Don’t Overcook the Custard: Overcooking can lead to scrambled eggs. Cook until it just coats the back of a spoon; it will thicken further as it cools.
- Consider an Ice Bath: To speed up chilling after straining, place the bowl of hot custard into a larger bowl filled with ice water. Stir occasionally until cooled before refrigerating.
- Store Properly: Always store homemade ice cream in an airtight container with plastic wrap pressed directly on the surface to prevent ice crystals from forming and preserve its creamy texture.
Common Questions About Homemade Ice Cream
What’s the best type of vanilla for ice cream?
Combining both vanilla bean (for speckled appearance and deep flavor during cooking) and pure vanilla extract (added after cooking for aromatic brightness) provides the richest, most complex vanilla flavor.
Why is my homemade ice cream icy?
Icy ice cream is often due to too much water content, not enough fat, or insufficient chilling/churning. Ensuring your custard is well-chilled, has adequate fat (from heavy cream and egg yolks), and is churned for the correct duration can help prevent this.
How long does homemade ice cream last in the freezer?
Homemade ice cream is best enjoyed within 1-2 weeks for optimal freshness and texture. Beyond that, it may start to develop ice crystals and lose its creamy consistency.
Can I make this recipe without an ice cream maker?
While an ice cream maker is highly recommended for the creamiest results, you can try the ‘no-churn’ method by freezing the chilled base in a shallow pan and whisking it every 30-60 minutes as it freezes until solid. However, the texture will be different from churned ice cream.
Final Thoughts
Making homemade vanilla ice cream is a culinary journey that promises a delightful destination. By following this easy, step-by-step guide, you’re not just creating a dessert; you’re crafting a memory and a timeless treat that brings joy with every spoonful. Embrace the process, savor the rich flavors, and enjoy the satisfaction of serving a truly homemade masterpiece. What’s your most cherished homemade dessert memory? Share your sweet stories with us!