Imagine never having to buy certain seeds again, growing unique varieties that thrive in your garden, and connecting more deeply with the natural cycle of life. Sounds amazing, right? Well, it’s not a dream! With a few simple steps, you can unlock your garden’s full potential by learning how to save seeds from your favorite plants. It’s a rewarding practice that boosts sustainability, saves money, and ensures you can enjoy your best harvests year after year.
Why Bother Saving Seeds? The Benefits Are Abundant!
Seed saving might seem like a task for seasoned gardeners, but it’s surprisingly easy and offers a wealth of advantages for any home gardener:
- Cost Savings: Over time, the expense of buying new seeds can add up. Saving your own means fewer trips to the store and more money for other gardening essentials.
- Preserve Favorite Varieties: If you’ve grown a tomato that was exceptionally delicious or a flower that bloomed beautifully, saving its seeds allows you to enjoy that exact variety again.
- Adaptation to Your Garden: Seeds saved from plants that have thrived in your specific soil and climate conditions will produce offspring that are naturally better adapted to your garden.
- Sustainability: It’s an eco-friendly practice that reduces waste and promotes biodiversity.
- Connect with Nature: There’s a profound satisfaction in completing the cycle of growth, from seed to plant to seed again.
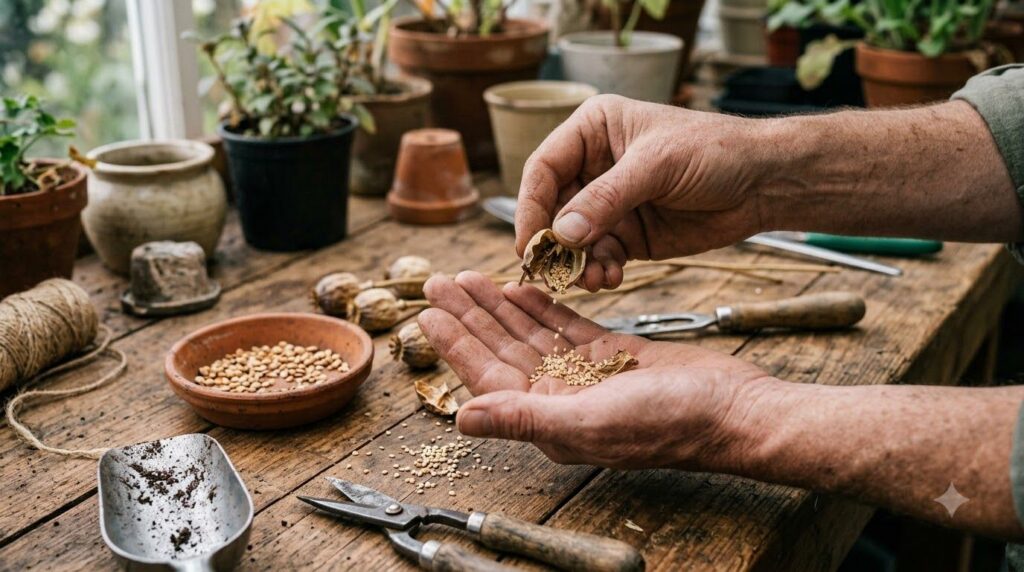
What Kinds of Seeds Can You Save?
The golden rule for successful seed saving is to focus on heirloom or open-pollinated varieties. These plants produce seeds that will grow true to type, meaning the new plant will be identical or very similar to the parent plant.
- Heirloom Varieties: These are varieties that have been passed down through generations, often open-pollinated and known for their stable genetics and unique characteristics.
- Open-Pollinated Varieties: These plants are pollinated by insects, wind, or other natural means. Their seeds will produce plants that are similar to the parent plant, provided they haven’t cross-pollinated with other varieties nearby.
Avoid saving seeds from hybrid (F1) plants. While you can save them, the offspring are unlikely to resemble the parent plant and might produce unexpected results, if they germinate at all. Stick to heirlooms and open-pollinated varieties for reliable results.
Simple Methods to Save Seeds from Your Favorite Produce
Let’s break down the basic steps, which are generally applicable to most common garden plants.
1. Choose Your Plants Wisely
Select the healthiest, most vigorous plants that produced the best fruits, vegetables, or flowers. These are the ones whose genetics you want to carry forward. Ensure they are free from disease and pests.
2. Allow Seeds to Fully Mature
This is crucial! Seeds need to be fully mature before harvesting. For many fruits and vegetables, this means letting the produce get past its eating prime. For example:
- Tomatoes: Let them ripen fully, even to the point of being overripe on the vine.
- Beans/Peas: Allow the pods to dry completely on the plant until they rattle when shaken.
- Peppers: Let them ripen to their final color and start to wrinkle slightly.
- Lettuce/Spinach: Let them bolt (send up a flower stalk) and wait for the flowers to dry and fluffy seed heads to form.
3. Harvest and Extract the Seeds
The method of extraction depends on the type of seed:
- Wet Seeds (e.g., Tomatoes, Cucumbers, Squash): These seeds are often encased in a gel-like substance. Scoop them out, place them in a jar with a little water, and allow them to ferment for a few days. This process breaks down germination inhibitors and separates viable seeds (which sink) from pulp and non-viable seeds (which float). Rinse thoroughly afterwards.
- Dry Seeds (e.g., Beans, Peas, Lettuce, Peppers): For these, simply remove the seeds from their pods, husks, or fruits. You might need to gently crush dried pods or scrape seeds from pepper cores.
4. Clean and Dry Thoroughly
Proper drying is essential to prevent mold and ensure longevity. Spread your clean seeds in a single layer on a screen, paper plate, or coffee filter in a warm, dry area away from direct sunlight. Good air circulation is key. Allow them to dry for several days to a few weeks, depending on the seed type and humidity, until they are brittle and snap rather than bend.
5. Store Your Precious Seeds
Once completely dry, store seeds in airtight containers, such as glass jars or small paper envelopes, in a cool, dark, and dry place. Label them clearly with the plant type and the date you saved them. A consistent temperature, like that of a pantry or closet, is ideal.
Tips for Seed Saving Success
- Label Everything: It’s easy to forget what’s what!
- Test Viability: If unsure, you can do a germination test by placing a few seeds on a damp paper towel in a plastic bag.
- Start Small: Begin with easy seeds like beans, peas, or lettuce, and then move on to more challenging ones.
- Isolate Varieties: If you want to ensure true-to-type seeds for open-pollinated plants, consider planting only one variety of that species or ensuring significant distance between different varieties to prevent cross-pollination.
Embark on Your Seed Saving Journey!
Saving seeds is a truly rewarding aspect of gardening that deepens your connection to the earth and provides incredible benefits for your garden and your wallet. It’s a journey of learning, patience, and incredible satisfaction. So, next time you’re enjoying a delicious harvest, think about saving some of those precious seeds and watch your garden flourish with newfound potential!
Happy gardening!