Most people grab a jar of coconut oil from the store, assuming all coconut oil is created equal. But what if we told you there’s a difference between the mass-produced versions and the ‘liquid gold’ crafted through time-honored, traditional methods? The truth is, the process matters, and one small preparation mistake can impact the purity and potency of your homemade batch. Discover the secrets to unlocking nature’s finest coconut oil.
What is Traditional Coconut Oil?
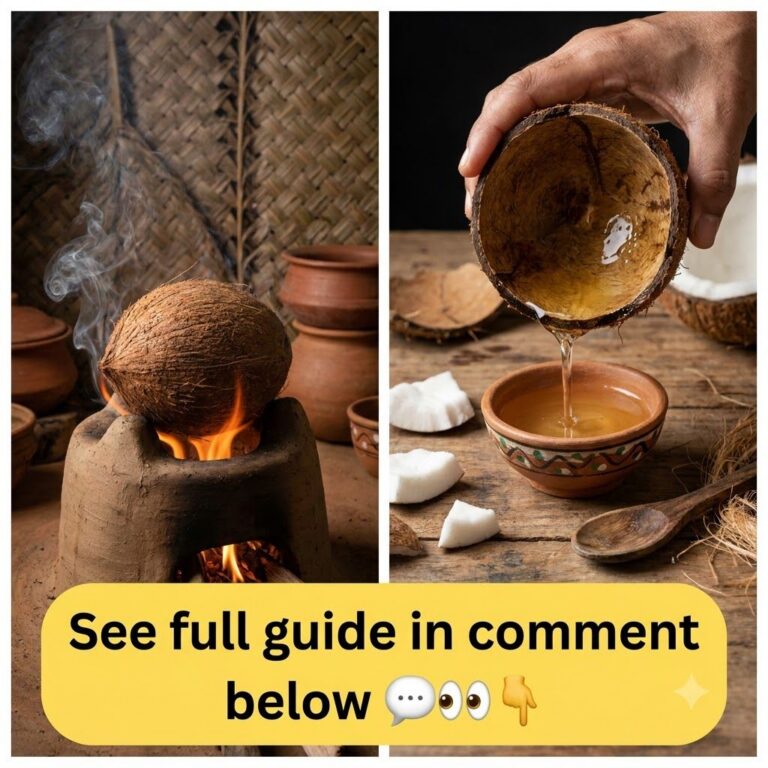
Traditional coconut oil, often referred to as virgin coconut oil (VCO) when raw, is extracted from fresh coconut meat without the use of high heat, chemical solvents, or industrial machinery. Unlike refined coconut oils that undergo bleaching, deodorizing, and other processing, traditional methods rely on natural separation and gentle heating. This preserves the natural aroma, taste, and a higher content of beneficial compounds like medium-chain triglycerides (MCTs) and antioxidants.
Fresh vs. Commercial Coconut Oil
| Feature | Traditional/Homemade Coconut Oil | Commercial/Refined Coconut Oil |
|---|---|---|
| Processing | Natural, gentle heating or fermentation, no chemicals. | High heat, chemical solvents (e.g., hexane), bleaching, deodorizing. |
| Aroma & Taste | Distinct, fresh coconut scent and flavor. | Neutral or bland. |
| Nutrient Content | Retains more antioxidants, MCTs, and vitamins. | Lower nutrient content due to processing. |
| Source Material | Fresh coconut meat (wet milling). | Dried coconut meat (copra). |
| Uses | Cooking, baking, skincare, hair care, internal use. | High-heat cooking, industrial applications. |
Ingredients for Traditional Coconut Oil
Making your own traditional coconut oil requires surprisingly few ingredients, but quality is key:
- Mature Coconuts: 3-5 fresh, mature coconuts (look for heavy coconuts with no cracks and clear ‘eyes’).
- Water: Filtered or distilled water, approximately 2-3 cups per coconut.
Approximate Measurements
For roughly 3-5 mature coconuts, you can expect to yield about 250-500ml (1-2 cups) of pure coconut oil. The exact amount will vary based on the size and fat content of your coconuts.
Formula / Recipe: The Wet Milling Method
The most common traditional method for home use is ‘wet milling,’ which involves extracting coconut milk and then separating the oil.
Step-by-Step Method
- Crack the Coconuts: Drain the coconut water (you can drink this!). Use a hammer or heavy object to carefully crack the coconuts in half.
- Extract the Meat: Use a coconut scraper or a sturdy spoon to scoop out the white coconut meat. Ensure you get as much as possible, discarding any brown skin attached to the meat.
- Grate the Meat: Finely grate the coconut meat. If you don’t have a grater, you can chop it into small pieces and then blend it.
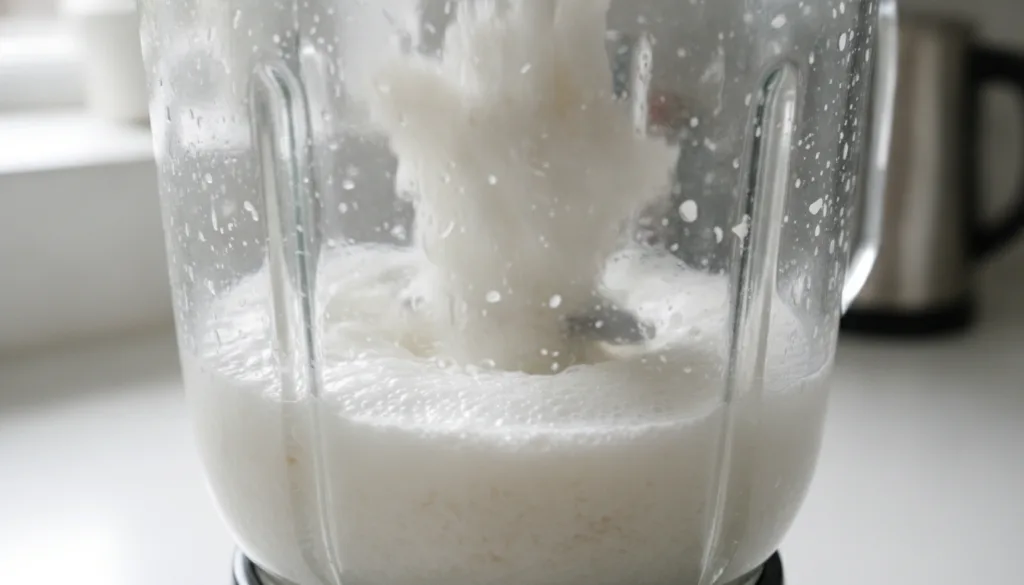
- Blend with Water: Place the grated coconut meat into a blender. Add warm (not hot) filtered water. Use a ratio of roughly 1 cup of water per 2 cups of grated coconut meat. Blend until smooth and creamy.
- Extract Coconut Milk: Pour the blended mixture into a fine-mesh strainer lined with a cheesecloth or nut milk bag over a large bowl. Gather the edges of the cloth and squeeze firmly to extract all the coconut milk. This is your first press milk.
- Second Press (Optional): You can return the squeezed pulp to the blender, add another cup of water, blend again, and squeeze for a second, thinner batch of milk.
- Separate the Cream: Cover the bowl of coconut milk and let it sit at room temperature for 2-4 hours, or in the refrigerator overnight. A thick layer of coconut cream will separate and rise to the top.
- Scoop the Cream: Carefully scoop out the thick coconut cream layer into a clean, heavy-bottomed pot or pan, leaving the clear liquid (coconut water) behind.
- Gentle Heating: Place the pot on very low heat. Stir occasionally. As the cream heats, the water will evaporate, and the oil will begin to separate. This process can take 1-3 hours. Do not let it boil vigorously or burn.
- Collect the Oil: Continue heating gently until the coconut solids (often called ‘latik’ or ‘curd’) turn golden brown and sink to the bottom, and the clear, golden oil rises to the top.
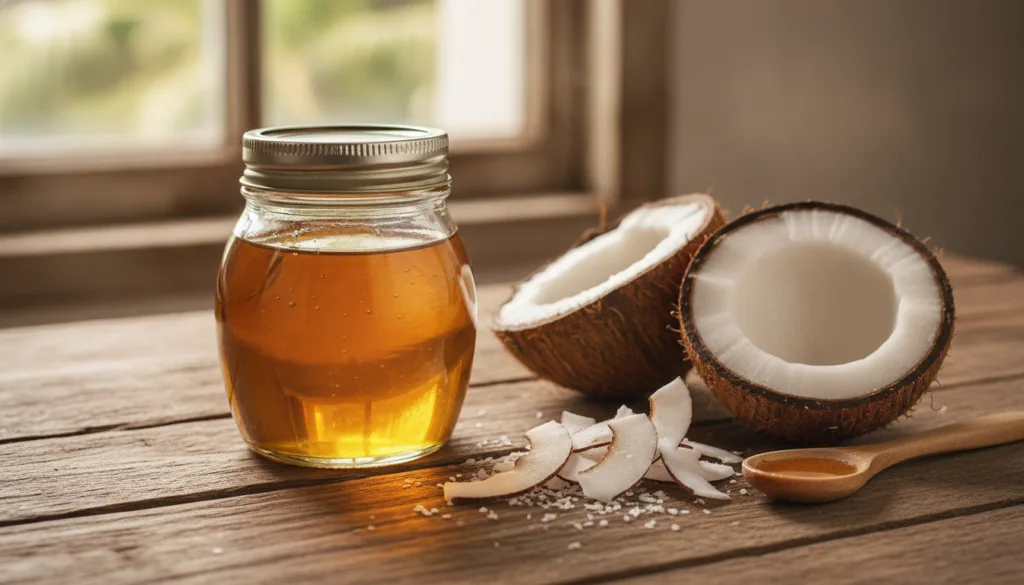
- Strain and Store: Carefully pour the oil through a fine-mesh strainer or cheesecloth into a clean, dry, airtight glass jar. Let it cool completely before sealing.
How to Use Traditional Coconut Oil
Homemade traditional coconut oil is incredibly versatile:
- Cooking: Use it for stir-frying, baking, or as a healthy fat in smoothies. Its distinct flavor can enhance many dishes.
- Skincare: A natural moisturizer for dry skin, a gentle makeup remover, or a soothing balm for minor irritations.
- Hair Care: Apply as a deep conditioning treatment, leave-in conditioner, or to add shine and reduce frizz.
- Oral Health: Use for oil pulling to support gum health and fresh breath.
- Internal Health: Many use a spoonful daily to support overall wellness, though consult a professional for specific health concerns.
How Often to Use
- Cooking: Daily, as you would any cooking oil.
- Skincare/Haircare: Daily or a few times a week, depending on your needs.
- Oil Pulling: Daily, typically for 10-20 minutes in the morning.
Quick Tip: Best Time to Use It
For topical applications, apply after showering when skin is still damp to lock in moisture. For hair, warm a small amount between your palms for easier application.
How to Buy / How to Choose Ingredients
Choosing the right coconuts is paramount:
- Freshness: Always select fresh, mature coconuts. They should feel heavy for their size, have no cracks, and when shaken, you should hear liquid sloshing inside. Avoid coconuts that feel light, have mold, or don’t have liquid.
- Source: If possible, buy from local markets where you can inspect the coconuts closely.
Storage
Store your homemade coconut oil in a clean, dry, airtight glass jar away from direct sunlight and heat. It will solidify at cooler temperatures and liquefy at warmer ones; this is normal and doesn’t affect its quality. It typically lasts for 6 months to 1 year when stored properly, but always check for any off odors or discoloration.
Practical Tips
- Don’t Rush the Heat: The key to traditional oil is gentle, consistent heat. High heat can burn the oil and affect its quality.
- Use a Sieve: A very fine sieve or multiple layers of cheesecloth ensure a pure, sediment-free oil.
- Maximize Yield: For better yield, ensure your coconuts are mature, and you’ve squeezed the milk thoroughly.
- The ‘Latik’ Bonus: The golden-brown solids (latik) left after oil extraction are edible and delicious! They can be used as a topping for desserts or mixed into savory dishes.
Common Mistakes
- Using Damaged Coconuts: Cracked or moldy coconuts will result in poor-quality oil and can spoil quickly.
- Boiling Too Long/High Heat: Overheating the coconut cream can burn the oil, giving it an unpleasant taste and reducing its beneficial compounds. Keep the heat low and slow.
- Not Straining Properly: Leftover solids can cause the oil to spoil faster. Strain carefully.
- Storing in Wet Jars: Any moisture introduced to the oil can lead to bacterial growth and spoilage. Ensure jars are perfectly dry.
- Ignoring Separation Time: Rushing the cream separation can lead to less oil yield and a muddier final product. Patience is key.
Cautions / Who Should Avoid It
While generally safe, a few considerations:
- Allergies: If you have a known coconut allergy, avoid using coconut oil.
- Skin Sensitivity: Although rare, some individuals might experience skin irritation. Always do a patch test before widespread topical application.
- Dietary Concerns: Coconut oil is high in saturated fat. Consume in moderation as part of a balanced diet.
Quick Summary
Crafting traditional coconut oil at home is a rewarding process that yields a pure, potent product. The key steps involve grating fresh coconut, extracting the milk, allowing the cream to separate, and then gently heating the cream to release the oil. This method preserves the natural goodness, making it ideal for cooking, skin, and hair care. Store in a clean, dry, airtight jar for up to a year. Avoid damaged coconuts and high heat to ensure the best quality.
FAQ
- Can I use dried coconut flakes? For traditional virgin coconut oil, fresh mature coconuts are essential. Dried flakes are typically used for expeller-pressed oils.
- How long does homemade coconut oil last? When stored correctly in an airtight jar away from heat and light, it can last 6 months to 1 year.
- Do I need to refrigerate it? Refrigeration is not necessary and can make the oil very hard. Room temperature is fine, as long as it’s a cool, dark place.
- How much oil will I get from one coconut? Typically, one mature coconut yields about 50-100ml (1/4 to 1/2 cup) of oil, but this varies.
- Can I reuse the coconut pulp? The pulp left after extracting the first milk can be re-blended with more water for a second, thinner milk extraction. The final ‘latik’ solids are also edible.
- What if my oil doesn’t separate? Ensure you used enough water to blend and gave it sufficient time to separate. Very low fat coconuts or too much water can sometimes hinder separation.
- When should I avoid using it? Avoid if you have a known coconut allergy or if the oil develops an off smell or discolors, indicating spoilage.
Conclusion
Embracing the ancient art of traditional coconut oil extraction isn’t just about making a product; it’s about connecting with a heritage of natural remedies and appreciating the pure essence of nature’s offerings. By following these practical steps, you can create your own batch of this ‘liquid gold,’ knowing exactly what goes into it and reaping its full, unadulterated benefits.
You may also like: How to Make Your Own Herbal Infused Oils
Read more: Understanding the Benefits of MCT Oil