Tired of store-bought mozzarella that lacks flavor and texture? Imagine the satisfaction of sinking your teeth into fresh, creamy, homemade mozzarella that’s unbelievably easy to make! With just a few simple ingredients, you can achieve superior taste and total control over your cheese-making process. This guide will walk you through making classic homemade mozzarella and offer several delicious ways to enjoy your fresh creation. Get ready to impress your friends and family with truly authentic, stretchy, and flavorful cheese!

Quick Overview
- Main topic: Homemade cheese making
- Best for: Fresh cheese lovers, DIY food enthusiasts, those seeking healthier alternatives
- Number of recipes: 6
- Prep style: Beginner-friendly, hands-on
- Reader benefit: Superior flavor, customizability, sense of accomplishment
Recipe 1: Classic Homemade Mozzarella Cheese
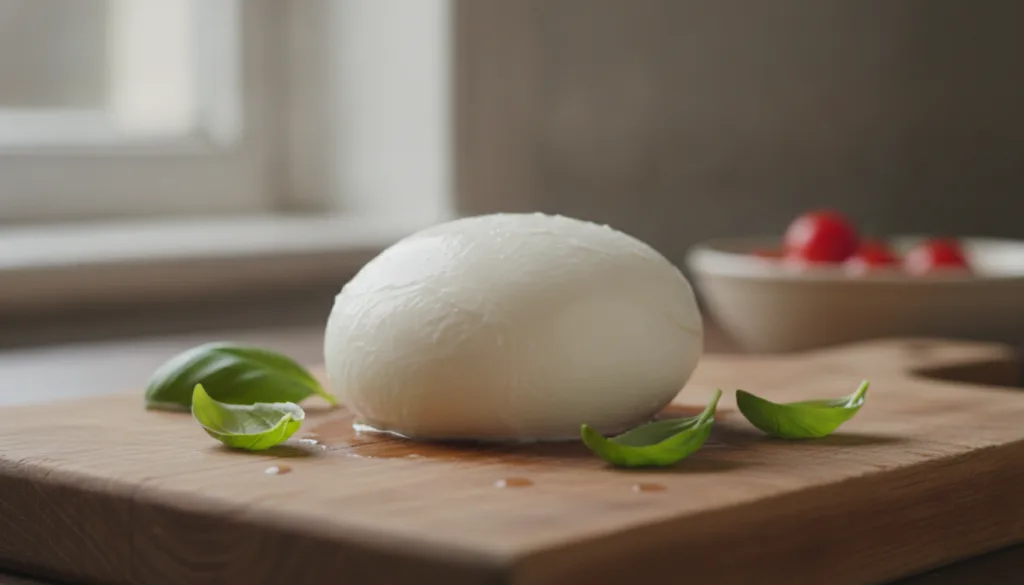
This is the foundational recipe for making fresh, stretchy mozzarella at home. It’s simpler than you might think and incredibly rewarding!
Servings: 8-10 (yields approx. 1 lb cheese)
Prep time: 15 minutes
Cook / chill / rest time: 30 minutes active, 30 minutes chill
Ingredients:
- 1 gallon whole milk
- 1 1/2 teaspoons citric acid (dissolved in 1/4 cup cool water)
- 1/2 teaspoon liquid rennet (dissolved in 1/4 cup cool water)
- 1-2 teaspoons non-iodized salt
Instructions:
- Gently heat the whole milk in a large pot to 90°F (32°C). Stir in the dissolved citric acid solution. Continue heating the milk mixture to 105°F (41°C).
- Remove the pot from the heat. Stir in the dissolved liquid rennet solution. Let the mixture sit undisturbed for 5-10 minutes, or until a clean break forms (when you cut into the curd with a knife, it should separate cleanly).
- Using a long knife, cut the curds into 1-inch squares. Return the pot to low heat and gently heat the curds to 115°F (46°C), stirring very occasionally to prevent sticking.
- Drain the whey from the curds, saving some if you plan to heat the curds in it. Transfer the curds to a microwave-safe bowl or use the hot whey (heated to 170°F/77°C) to warm them. Heat the curds in 30-second intervals in the microwave, kneading between each, or submerge in hot whey until pliable and hot enough to stretch (around 135°F/57°C).
- Wearing rubber gloves, stretch and fold the cheese until it becomes smooth and elastic. Add 1-2 teaspoons of non-iodized salt to taste as you stretch. Form the cheese into smooth balls.
Storage / Serving / Usage Note: For best results, chill the mozzarella balls in a salt brine (1 tablespoon salt per 1 cup cold water) or cold water for at least 30 minutes before serving. Store in brine in the refrigerator for up to a week.
Recipe 2: Marinated Mozzarella Balls
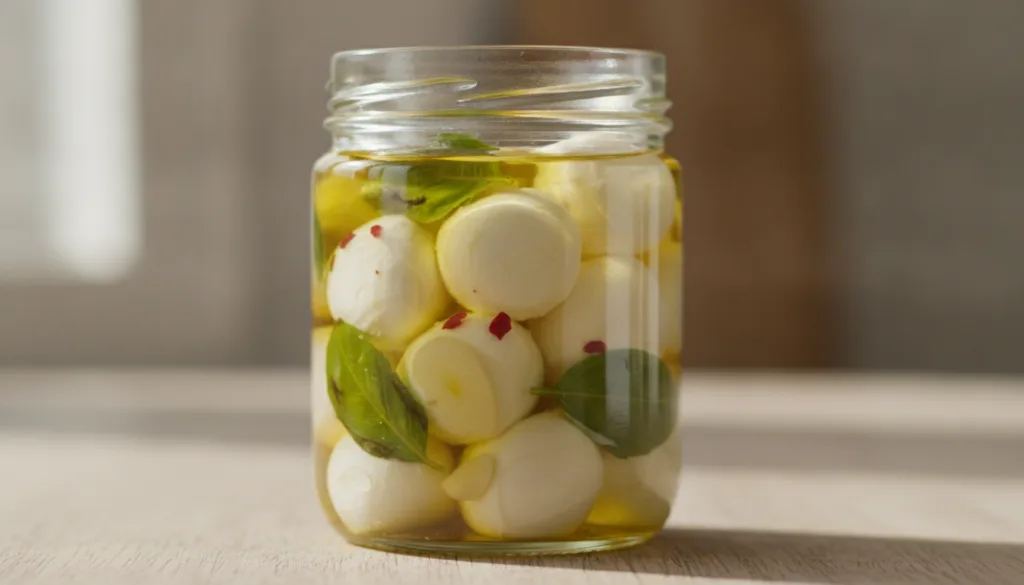
A simple way to add incredible flavor to your fresh homemade mozzarella. Perfect for appetizers or salads!
Servings: 4-6
Prep time: 10 minutes
Cook / chill / rest time: 1 hour chill
Ingredients:
- 12-16 mini homemade mozzarella balls (from Recipe 1)
- 1/2 cup extra virgin olive oil
- 2 cloves garlic, minced
- 1 teaspoon dried oregano
- 1/2 teaspoon red pepper flakes (optional, for a kick)
- 2 tablespoons fresh basil, chopped
- Pinch of salt and black pepper
Instructions:
- In a medium bowl or glass jar, combine the olive oil, minced garlic, dried oregano, red pepper flakes (if using), salt, and pepper.
- Add the mini mozzarella balls to the marinade, ensuring they are well coated. Stir in the fresh chopped basil.
- Cover and refrigerate for at least 1 hour to allow the flavors to meld. For best results, marinate for at least 4 hours or overnight.
Storage / Serving / Usage Note: Serve chilled or at room temperature. Great with crusty bread, in salads, or as a stand-alone appetizer. Store any leftovers in the marinade in the refrigerator for up to 5 days.
Recipe 3: Simple Fresh Ricotta Cheese
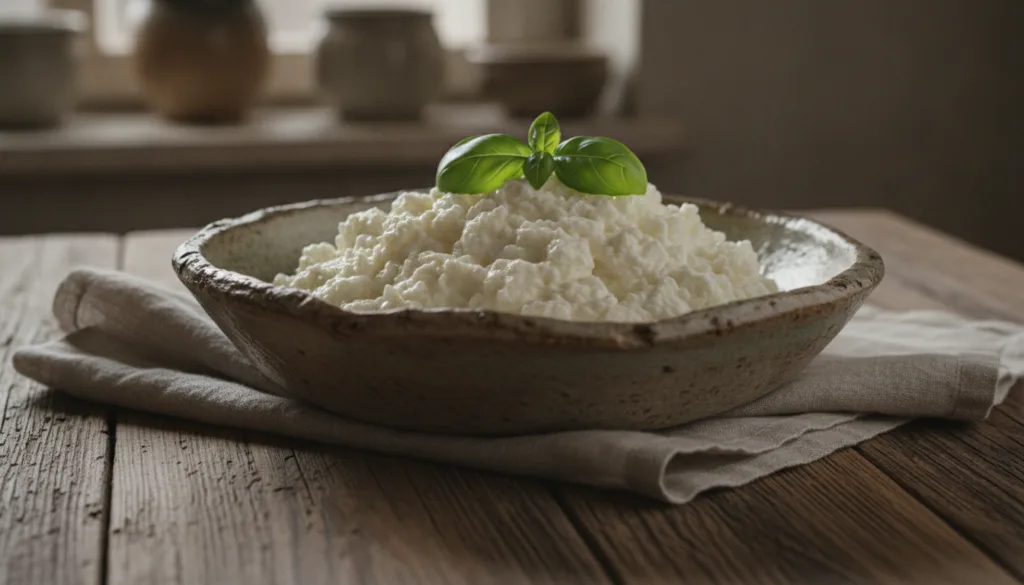
While not mozzarella, fresh ricotta is another incredibly easy and satisfying cheese to make at home, perfect for both sweet and savory dishes.
Servings: 4-6 (yields about 1.5-2 cups)
Prep time: 10 minutes
Cook / chill / rest time: 20 minutes active, 30 minutes drain
Ingredients:
- 4 cups whole milk
- 2 cups heavy cream
- 3 tablespoons fresh lemon juice or white vinegar
- 1/2 teaspoon salt
Instructions:
- Line a colander with 2-3 layers of cheesecloth and place it over a large bowl.
- In a large, heavy-bottomed pot, combine the whole milk, heavy cream, and salt. Heat over medium heat, stirring occasionally, until the mixture reaches 190°F (88°C) and just begins to simmer. Do not boil.
- Remove from heat and immediately stir in the lemon juice or vinegar. Let the mixture sit undisturbed for 10-15 minutes. You will see curds forming and separating from the greenish-yellow whey.
- Gently pour the curds and whey into the prepared cheesecloth-lined colander. Allow to drain for at least 30 minutes for a creamier ricotta, or up to an hour for a firmer texture.
Storage / Serving / Usage Note: Transfer the fresh ricotta to an airtight container and refrigerate for up to 5 days. Serve warm or cold, spread on toast, as a pasta filling, or with fresh fruit and honey.
Recipe 4: Caprese Skewers with Homemade Mozzarella

A beautiful and simple way to enjoy your fresh homemade mozzarella, pairing it with juicy tomatoes and aromatic basil.
Servings: 4-6 (makes 12 skewers)
Prep time: 15 minutes
Cook / chill / rest time: 0 minutes
Ingredients:
- 12 mini homemade mozzarella balls
- 12 cherry tomatoes, halved if large
- 12 fresh basil leaves
- 1/4 cup balsamic glaze (store-bought or homemade)
- Small wooden skewers
Instructions:
- Thread one cherry tomato half onto a skewer, followed by a fresh basil leaf, then a mini mozzarella ball. Repeat with another basil leaf and tomato half if desired, or simply alternate to fill the skewer.
- Arrange the assembled Caprese skewers on a serving platter.
- Just before serving, drizzle generously with balsamic glaze.
Storage / Serving / Usage Note: Serve immediately for the freshest taste. These are best made just before serving but can be assembled up to an hour in advance and kept refrigerated before drizzling with glaze.
Recipe 5: Baked Homemade Mozzarella Sticks

Turn your delicious homemade mozzarella into a crowd-pleasing snack or appetizer! Baking makes them a healthier alternative to fried versions.
Servings: 4-6
Prep time: 20 minutes
Cook / chill / rest time: 30 minutes freeze, 12-15 minutes bake
Ingredients:
- 1 block homemade mozzarella (approx. 8 oz), cut into 1/2-inch thick sticks
- 1/2 cup all-purpose flour
- 2 large eggs, beaten
- 1 cup breadcrumbs (panko preferred)
- 1/2 teaspoon garlic powder
- 1/4 teaspoon dried oregano
- Salt and pepper to taste
- Marinara sauce, for dipping
Instructions:
- Place the mozzarella sticks on a parchment-lined baking sheet and freeze for at least 30 minutes. This helps them hold their shape during baking.
- Set up a breading station: In one shallow dish, combine flour with salt and pepper. In a second dish, place the beaten eggs. In a third dish, combine breadcrumbs, garlic powder, and oregano.
- Dredge each frozen mozzarella stick first in flour, shaking off excess. Then dip in beaten egg, ensuring full coverage. Finally, coat generously in the breadcrumb mixture, pressing lightly to adhere. For extra crispiness, you can double-coat by repeating the egg and breadcrumb steps.
- Preheat oven to 400°F (200°C). Place the breaded mozzarella sticks on a baking sheet.
- Bake for 12-15 minutes, flipping halfway through, until golden brown and the cheese is just beginning to melt and ooze.
Storage / Serving / Usage Note: Serve immediately with warm marinara sauce. Best enjoyed fresh. Leftovers can be reheated in a toaster oven for crispiness.
Recipe 6: Whipped Ricotta Dip with Honey & Lemon
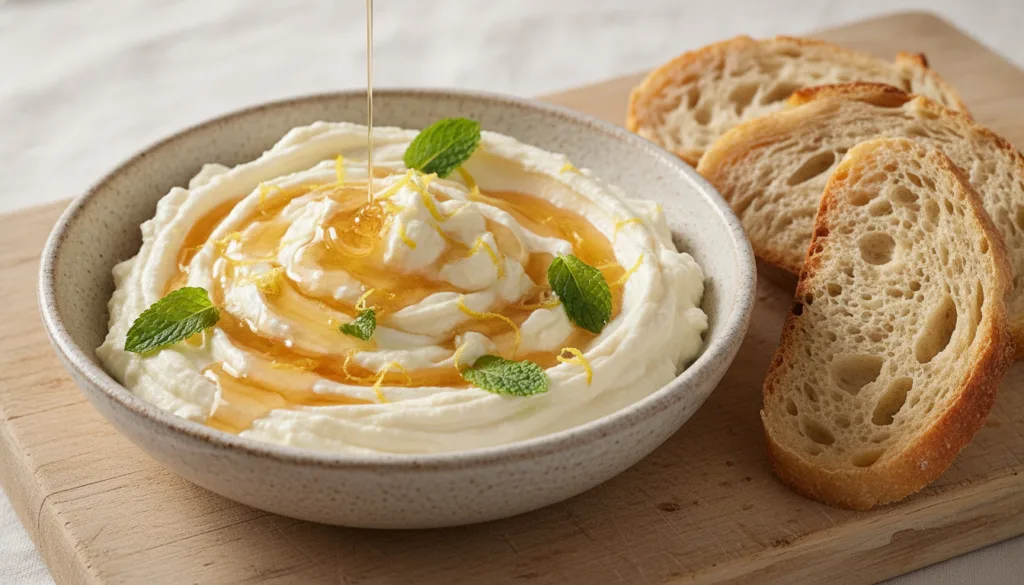
This light and airy dip highlights the delicate flavor of fresh ricotta, offering a delightful combination of sweet and tangy notes.
Servings: 4-6
Prep time: 10 minutes
Cook / chill / rest time: 0 minutes
Ingredients:
- 1 cup fresh ricotta (from Recipe 3 or good quality store-bought)
- 2 tablespoons honey, plus more for drizzling
- 1 teaspoon lemon zest
- 1 tablespoon extra virgin olive oil
- Pinch of salt
- Crusty bread or crackers, for serving
Instructions:
- In a medium bowl, combine the fresh ricotta, 2 tablespoons of honey, lemon zest, olive oil, and a pinch of salt.
- Using a whisk or a hand mixer, whip the mixture until it becomes light, smooth, and airy.
- Transfer the whipped ricotta to a serving bowl. Drizzle with a little extra honey just before serving.
Storage / Serving / Usage Note: Serve immediately with toasted crusty bread, crackers, or fresh fruit. Store any leftover dip in an airtight container in the refrigerator for up to 3 days.
Simple Tips for Best Results
- Milk Quality Matters: For homemade mozzarella, using high-quality whole milk (not ultra-pasteurized) will yield the best results.
- Temperature Control: Precision in heating temperatures is crucial for successful curd formation and stretching. Use a reliable thermometer.
- Gentle Handling: When cutting and stirring curds, be gentle to avoid breaking them too much, which can lead to a crumbly texture.
- Salt to Taste: The amount of salt in homemade mozzarella is flexible. Start with less and add more as you stretch until it suits your preference.
- Practice Makes Perfect: Don’t be discouraged if your first batch isn’t perfect. Cheese making is an art, and each attempt builds skill!
- Experiment with Flavors: Once you’ve mastered the basic recipes, feel free to experiment with herbs, spices, or other additions to create your unique cheese variations.
FAQ
What kind of milk is best for making mozzarella?
Whole milk, preferably non-homogenized and not ultra-pasteurized (UHT), is ideal. Ultra-pasteurized milk has been heated to such high temperatures that its proteins are denatured, making it difficult for curds to form properly.
Can I use vegetarian rennet?
Yes, both animal and vegetarian rennet work for making mozzarella. Ensure you follow the specific dilution and usage instructions provided by your rennet manufacturer, as concentrations can vary.
Why isn’t my mozzarella stretching?
The most common reasons for mozzarella not stretching are incorrect temperatures during curd heating or insufficient acidity. Ensure your milk reaches the precise temperatures, and the curds are heated thoroughly before stretching. Also, verify your citric acid is fresh.
Final Thoughts
Making homemade mozzarella and other fresh cheeses is a rewarding culinary adventure that brings incredible flavor and satisfaction to your kitchen. From the classic stretchy mozzarella to creamy ricotta and delicious appetizers, these recipes offer a delightful way to enjoy fresh dairy. So, say goodbye to store-bought and embrace the art of homemade cheese. You’ll not only savor the superior taste but also gain a wonderful new skill. Happy cheesemaking!