Hey, beauty besties! Are you dreaming of that youthful glow without breaking the bank or slathering on harsh chemicals? We’ve got a little secret from Mother Nature herself that’s about to become your new skincare favorite: clove oil! This humble spice isn’t just for your kitchen; it’s a powerhouse ingredient for anti-aging skincare. Today, we’re diving into how you can whip up your very own homemade clove anti-aging oil for truly radiant skin.
The Magic of Clove Oil for Youthful Skin
Clove oil, derived from the dried flower buds of the clove tree, has been treasured for centuries in traditional medicine for its potent properties. When it comes to skincare, especially anti-aging, it truly shines:
- Antioxidant Powerhouse: Clove oil is rich in antioxidants, particularly eugenol. These amazing compounds help fight off free radicals, which are the main culprits behind premature aging, wrinkles, and fine lines. Think of it as a tiny shield for your skin!
- Boosts Blood Circulation: Improved circulation means more oxygen and nutrients reach your skin cells, leading to a healthier, more vibrant complexion and a natural glow.
- Anti-inflammatory Benefits: If your skin is prone to redness or irritation, clove oil’s anti-inflammatory properties can help calm and soothe, contributing to a more even-toned appearance.
- Skin Tightening: Some users find that regular application of diluted clove oil can help improve skin elasticity and firmness, giving a subtle lifting effect.
Why DIY Your Clove Anti-Aging Oil?
Opting for a homemade version has so many perks! You get to control exactly what goes onto your skin, avoiding synthetic fragrances and preservatives. Plus, it’s incredibly cost-effective, making luxurious skincare accessible to everyone. You’ll feel great knowing you’re nourishing your skin with pure, natural goodness.
Your Easy DIY Clove Anti-Aging Oil Recipe
Ready to create your own elixir of youth? It’s simpler than you think!
What You’ll Need:
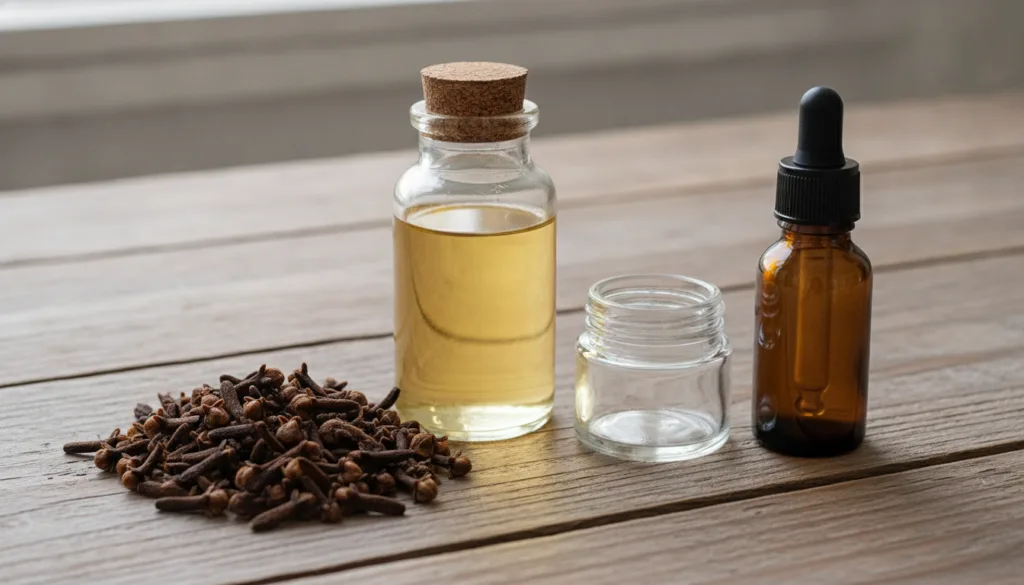
- 1 tablespoon whole cloves (or 1/2 tablespoon powdered cloves)
- 1/2 cup carrier oil (such as sweet almond oil, jojoba oil, or olive oil – choose one that suits your skin type!)
- A small, clean glass jar with a lid
- A fine-mesh sieve or cheesecloth
- A dark glass dropper bottle for storage
Step-by-Step Instructions:
- Prepare the Cloves: If using whole cloves, gently crush them a bit using a mortar and pestle or the back of a spoon. This helps release their beneficial compounds. If using powdered cloves, you can skip this step.
- Combine Ingredients: Place the crushed whole cloves (or powdered cloves) into your clean glass jar. Pour the carrier oil over the cloves, making sure they are fully submerged.
- Infuse the Oil (Two Methods):
- Cold Infusion (Slower, but Preserves Nutrients): Seal the jar tightly and place it in a cool, dark place for 1-2 weeks. Give it a gentle shake every day or two.
- Warm Infusion (Faster): Place the open jar in a saucepan filled with about an inch of water (creating a double boiler). Heat on low for 2-3 hours, ensuring the water never boils. This gentle heat helps infuse the oil more quickly. Be careful not to overheat!
- Strain the Oil: Once infused, use a fine-mesh sieve lined with cheesecloth to strain the oil into a clean bowl. Squeeze out every last drop of the oil from the cloves.
- Store Your Oil: Pour the strained clove-infused oil into a dark glass dropper bottle. Dark glass helps protect the oil from light, extending its shelf life.
How to Use Your Homemade Clove Anti-Aging Oil
Now that you have your amazing oil, let’s talk about how to incorporate it into your routine for maximum benefits.
Patch Test First!
Clove oil is potent, so it’s crucial to do a patch test before applying it to your entire face. Apply a tiny amount to a small, inconspicuous area of your skin (like behind your ear or on your inner forearm) and wait 24 hours to check for any redness, itching, or irritation.
Application Tips:
- Evening Ritual: The best time to use this oil is in the evening as part of your nighttime skincare routine. Your skin repairs itself while you sleep!
- Clean Skin: Always apply to clean, slightly damp skin after cleansing and toning.
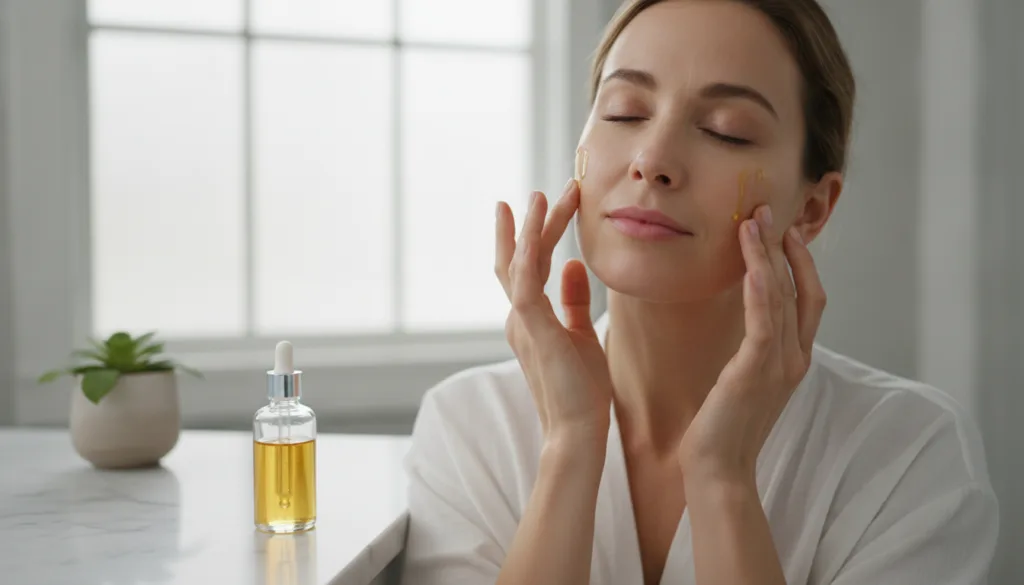
- Gentle Massage: Put 2-3 drops of the oil onto your fingertips. Gently warm it between your palms, then lightly press and massage it onto your face and neck using upward strokes. Focus on areas where you see fine lines or wrinkles.
- Mix with Moisturizer: If you find the oil too concentrated for your liking, you can mix 1-2 drops into your favorite nighttime moisturizer.
- Consistency is Key: For best results, use your clove oil 3-4 times a week.
Tips for Best Results & Storage
- Storage: Keep your homemade clove oil in a cool, dark place, away from direct sunlight and heat. It should last for several months.
- Listen to Your Skin: Everyone’s skin is different. If you experience any discomfort, reduce frequency or dilute further.
- Stay Hydrated: Pair your oil with plenty of water intake and a balanced diet for overall skin health.
- Sun Protection: Always use sunscreen during the day, especially when using active skincare ingredients, to protect your skin from UV damage.
Embrace Your Natural Glow!
Making your own clove anti-aging oil is a wonderful way to connect with nature’s wisdom and give your skin the loving care it deserves. It’s affordable, effective, and deeply satisfying to create something so beneficial with your own hands. Give it a try, beauty bestie, and get ready to reveal your most youthful, radiant self!
Have you tried clove oil in your skincare routine before? Share your experiences and tips in the comments below! We’d love to hear from you!