Say goodbye to dry, dull lips with this simple yet effective two-step DIY routine designed to reveal a softer, smoother, and naturally pinker-looking pout.
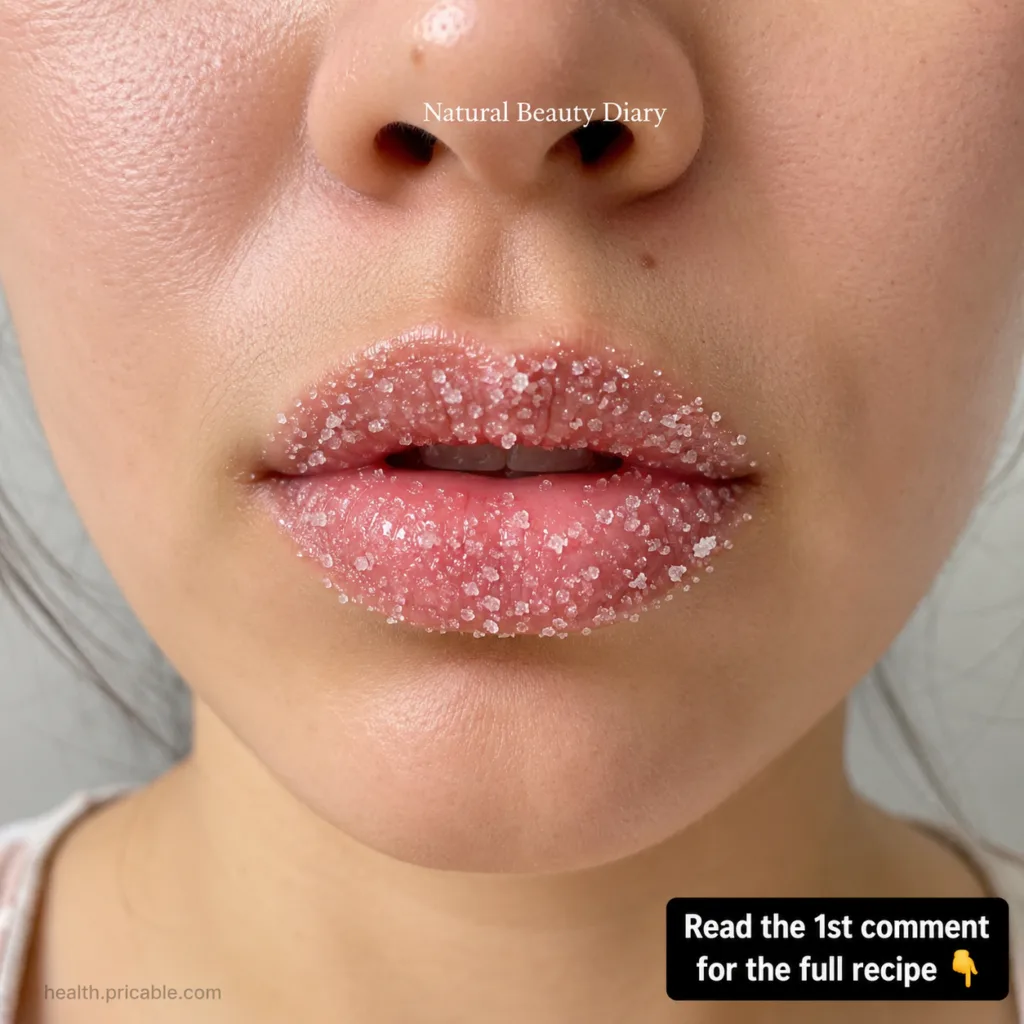
Quick Recipe
Prep time: 5 minutes
Best for: Dry, chapped, or dull-looking lips
Use type: Lip Scrub & Nourishing Balm
Main ingredients:
- Fine granulated sugar
- Honey or natural oil
- Nourishing oil or butter
Ingredients
For the DIY Lip Scrub:
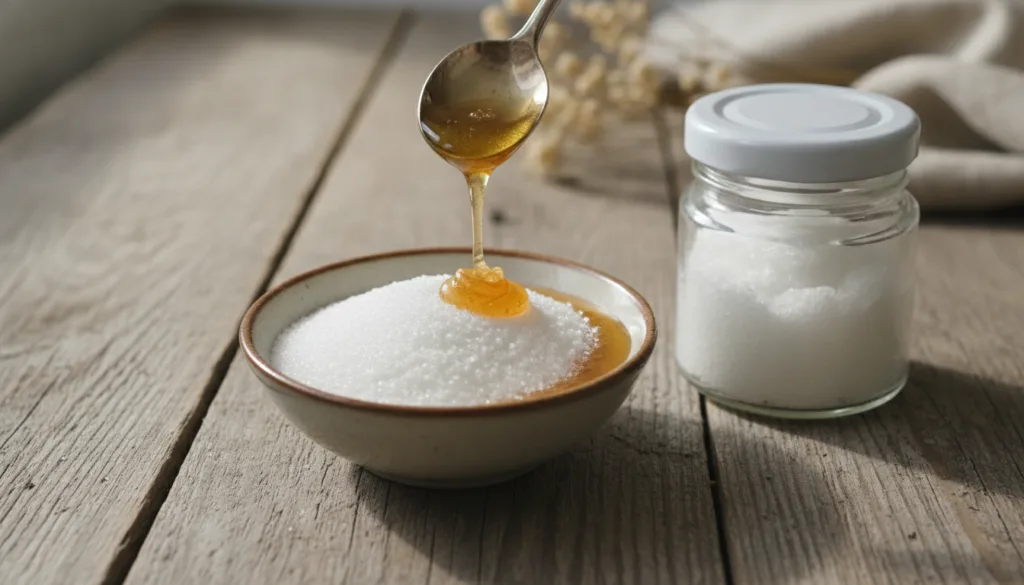
- 1 teaspoon fine granulated sugar (white or brown works well)
- ½ teaspoon pure honey or a natural oil (like coconut oil or olive oil)
For the DIY Lip Nourisher:
- 1 teaspoon sweet almond oil (or jojoba oil)
- ½ teaspoon shea butter (or cocoa butter)
- Optional: A tiny pinch of beeswax pellets (for a firmer balm)
How to Make It
For the DIY Lip Scrub:
- In a small clean bowl, combine the fine granulated sugar and your chosen honey or natural oil.
- Mix thoroughly until you have a thick, grainy paste. If it’s too dry, add a tiny bit more oil; if too wet, add a touch more sugar.
- Transfer the scrub to a small, airtight container.
For the DIY Lip Nourisher:
- In a heatproof bowl, combine the sweet almond oil and shea butter. If using beeswax, add it now.
- Gently melt the ingredients using a double boiler method or by heating in short bursts in the microwave (stirring frequently) until fully liquid.
- Once melted and well combined, carefully pour the mixture into a small, clean lip balm container or a tiny jar.
- Allow it to cool completely and solidify at room temperature for a few hours, or speed up the process by placing it in the refrigerator.
How to Use It
Step 1: Exfoliate with the Lip Scrub
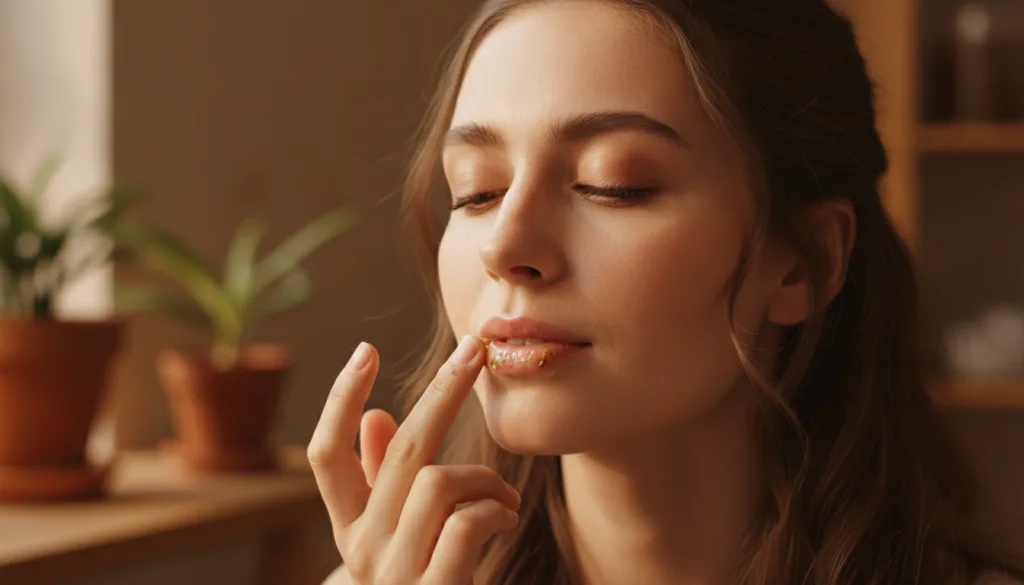
- With clean fingertips, take a small amount of the DIY Lip Scrub.
- Gently apply it to your lips, using light, circular motions to exfoliate. Be very gentle to avoid irritation.
- Continue scrubbing for about 30-60 seconds.
- Rinse off with lukewarm water and gently pat your lips dry with a soft towel.
Step 2: Nourish with the Lip Nourisher
- Once your lips are clean and dry, apply a generous layer of your DIY Lip Nourisher.
- Gently massage it in to help with absorption.
- You can leave this on as an overnight mask or use it as a daily balm for continuous hydration.
How Often to Use It
Use the DIY Lip Scrub 1-2 times a week, depending on your lip’s sensitivity and needs. The DIY Lip Nourisher can be applied daily, multiple times a day, or as an overnight treatment for maximum benefits.
Why These Ingredients Are Used
Fine Granulated Sugar
Sugar acts as a natural, gentle exfoliant. Its fine crystals help to slough away dead skin cells, revealing the softer, smoother skin underneath. It’s also edible, making it a safe choice for a lip scrub.
Honey / Natural Oils (Coconut Oil, Olive Oil)
Honey is a natural humectant, meaning it attracts and retains moisture, providing deep hydration. It also has mild antiseptic properties. Natural oils like coconut or olive oil are rich in fatty acids and vitamins, offering deep moisturization and helping to bind the scrub together.
Sweet Almond Oil / Shea Butter
Sweet almond oil is lightweight, deeply moisturizing, and rich in Vitamin E, which is great for skin health. Shea butter is intensely emollient, packed with vitamins A, E, and F, and essential fatty acids, making it excellent for repairing and conditioning dry, chapped lips, promoting a soft and supple feel.
What Results to Expect
With consistent use, this two-step routine may help your lips feel significantly softer and smoother. By gently removing dead skin, your lips can appear naturally pinker and more vibrant, and the nourishing balm will support lasting hydration, reducing the appearance of dryness and chapping. You can expect a more supple and healthy-looking pout.
Safety Notes
- Patch test first: Before applying the scrub or balm to your entire lips, test a small amount on an inconspicuous area, like the corner of your mouth or your inner arm, to check for any allergic reactions or sensitivities.
- Use gently: The skin on your lips is delicate. Always use light, gentle motions when scrubbing to avoid micro-tears or irritation.
- Avoid irritated or broken skin: Do not use the scrub on lips that are cracked, bleeding, or severely chapped, as it may cause further irritation or discomfort.
- Stop using it if discomfort occurs: If you experience any redness, stinging, itching, or swelling, discontinue use immediately.
- Storage: Store homemade remedies in clean, airtight containers in a cool, dark place. The scrub can last a few weeks, while the balm can last longer due to the oils and butters. Always use clean hands or a clean spatula to scoop out the product to prevent contamination.
- Edible but not for consumption: While the ingredients are food-grade, this recipe is intended for topical use on the lips, not for ingestion as a food product.
FAQ
Can I use brown sugar instead of white sugar for the scrub?
Yes, brown sugar is an excellent alternative! It’s often finer and softer than white sugar, which can make it even gentler on delicate lip skin. Just ensure it’s finely granulated.
How long does it take to see results for naturally pink lips?
Results can vary, but many people notice softer, smoother lips after just one use. For the appearance of naturally pinker lips, consistent use over a few weeks may be needed as the exfoliation helps remove dull surface cells and the nourishment improves overall lip health.
How long can I store these homemade lip products?
The lip scrub, especially with honey, is best used within 2-3 weeks, stored in an airtight container at room temperature. The lip nourisher (balm) can last longer, typically 2-3 months, if stored in a cool, dark place, especially if beeswax is included. Always check for any changes in smell, color, or texture, which could indicate spoilage.
Final Thoughts
Embracing a simple, natural lip care routine can make a world of difference for your pout. This Grandma’s Secret method is a gentle way to say goodbye to dry, dull lips and welcome a softer, smoother, and naturally vibrant smile. Give it a try and share your experience with us!