Are you looking for a simple, natural way to give your skin a boost and visibly smooth out the appearance of wrinkles? We hear you! Many store-bought anti-aging products can be expensive and full of ingredients we can barely pronounce. But what if we told you that you could create a luxurious, deeply hydrating ‘Anti-Aging Golden Gel’ right in your own kitchen using just a few common items?
This popular DIY recipe combines the hydrating power of Vaseline, the nourishing benefits of pure honey, and the aromatic touch of essential oils to help target fine lines and give your skin a radiant, youthful glow. It’s a routine many people are trying for smoother-looking skin, and it’s easier than you might think!
The Power Trio: Key Ingredients Explored
Let’s take a closer look at what makes this ‘Golden Gel’ so special.
Vaseline: The Moisture Lock
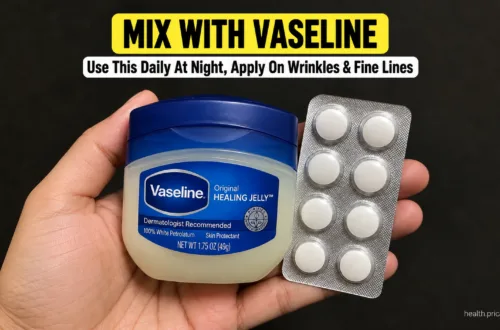
Often overlooked, Vaseline (petroleum jelly) is a true hero for locking in moisture. It creates a protective barrier on the skin’s surface, which helps prevent water loss, keeping your skin hydrated and plump. When your skin is well-hydrated, fine lines and wrinkles can appear less noticeable. It’s an excellent occlusive, meaning it seals in any beneficial ingredients applied underneath.
Pure Honey: Nature’s Nectar for Skin
Honey isn’t just a sweet treat; it’s a powerhouse for your skin! It’s a natural humectant, meaning it attracts and retains moisture, making it incredibly hydrating. Beyond that, honey is known for its:
- Antioxidant Properties: Helps protect the skin from environmental damage.
- Anti-inflammatory Benefits: Can help soothe irritated skin.
- Mild Exfoliating Qualities: Contributes to a softer, brighter complexion.
- Antibacterial Properties: Useful for maintaining skin health.
Essential Oils: A Touch of Botanical Bliss
The right essential oils can add wonderful aromatic benefits and additional skin-loving properties to your gel. It’s important to choose high-quality, pure essential oils and always dilute them properly. For anti-aging concerns, popular choices include:
- Lavender Essential Oil: Known for its calming properties and can promote a healthy-looking complexion.
- Frankincense Essential Oil: Often used in mature beauty routines for its potential to support skin rejuvenation and a more even skin tone.
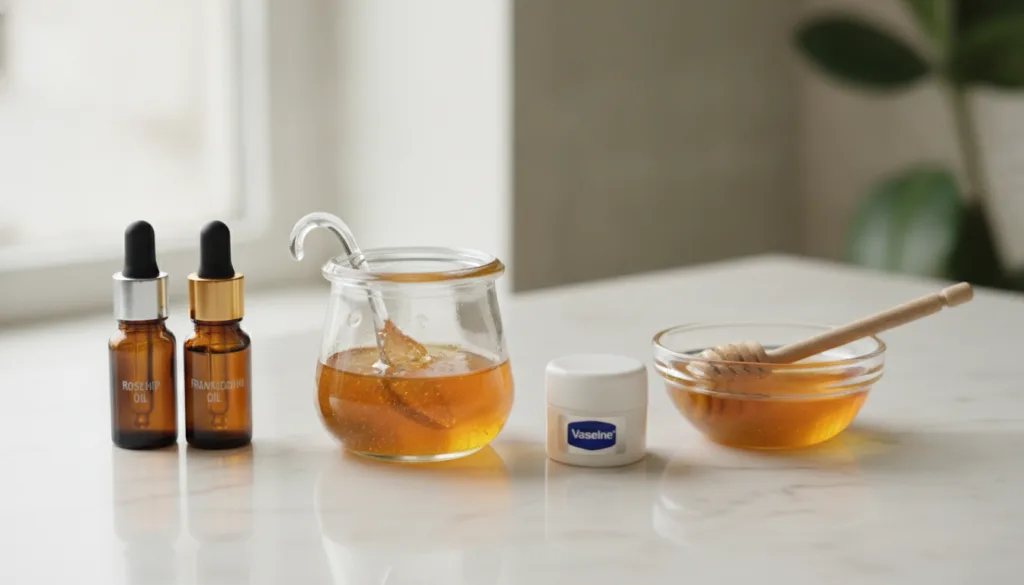
- Rosehip Seed Oil (carrier oil, often blended with essential oils): While not a traditional essential oil, it’s often added for its fatty acids and vitamin A, which are fantastic for promoting healthy skin cell turnover and reducing the appearance of fine lines.
Your DIY Anti-Aging Golden Gel Recipe
Ready to make your own? Here’s how!
What You’ll Need:
- 2 tablespoons of Vaseline (petroleum jelly)
- 1 tablespoon of pure, raw honey
- 3-5 drops of your preferred skin-friendly essential oil (e.g., lavender, frankincense, or a blend)
- A clean, small, airtight container (like a small jar)
- A small bowl and spoon for mixing
Step-by-Step Instructions:
- Melt the Vaseline: Place the 2 tablespoons of Vaseline into a small, heat-safe bowl. You can gently melt it using a double boiler method (placing the bowl over a pot of simmering water) or carefully in a microwave for short bursts (10-15 seconds at a time) until it’s softened and easy to mix. Be careful not to overheat.
- Combine with Honey: Once the Vaseline is soft and slightly melted, add the 1 tablespoon of pure honey to the bowl. Mix thoroughly with a spoon until the honey is fully incorporated into the Vaseline, creating a smooth, gel-like consistency.
- Add Essential Oils: Now, add 3-5 drops of your chosen essential oil(s). Mix again until everything is well combined. The mixture should have a lovely golden hue.
- Transfer to Container: Carefully spoon your freshly made ‘Anti-Aging Golden Gel’ into your clean, airtight container.
- Let it Set: Allow the gel to cool and solidify at room temperature, or place it in the refrigerator for about 30 minutes to speed up the process.
How to Use Your Golden Gel for Best Results
This gel is best used as a deeply moisturizing overnight treatment or as a spot treatment for areas needing extra care.
- Cleanse Your Face: Start with a clean, dry face.
- Apply a Small Amount: Take a pea-sized amount of the gel with clean fingertips.
- Massage Gently: Gently massage the gel onto your face, focusing on areas where you want to target fine lines and wrinkles, such as around the eyes, mouth, and forehead. A little goes a long way!
- Overnight Treatment: Leave the gel on overnight to allow the ingredients to deeply hydrate and work their magic.
- Morning Rinse: In the morning, gently cleanse your face as usual to remove any residue.
Important Tips:
- Patch Test: Before applying it to your entire face, always do a patch test on a small area of your skin (like behind your ear or on your inner arm) to ensure you don’t have any adverse reactions to the ingredients, especially the essential oils.
- Storage: Store your ‘Golden Gel’ in a cool, dark place. If made with pure, raw honey, it should last for several weeks to a few months. Discard if you notice any changes in smell or texture.
- Consistency is Key: For best results, incorporate this gel into your routine a few times a week.
This DIY Anti-Aging Golden Gel is a wonderful way to nourish your skin with natural ingredients, potentially leading to smoother-looking skin and a beautiful, healthy glow. Give it a try and see the difference for yourself!