There’s nothing quite like the taste of a freshly made, crispy wafer. Light, airy, and wonderfully versatile, homemade wafers offer a delightful treat that’s far superior to store-bought versions. Whether you’re craving a sweet snack, a delightful dessert, or a fun baking project, mastering the art of homemade wafers is a rewarding experience. And with a trusty wafer maker, you’re just a few simple steps away from achieving wafer bliss right in your own kitchen.
This guide dives into making classic crispy wafers, complete with a rich chocolate spread, and then explores several exciting variations to keep your taste buds delighted. Get ready to transform basic ingredients into irresistible crunchy delights!
Quick Overview
- Main topic: Homemade crispy wafers
- Best for: Dessert, snacks, entertaining, baking projects
- Number of recipes: 6
- Prep style: Easy, minimal cooking skill required
- Reader benefit: Delicious, customizable, fresh crispy treats
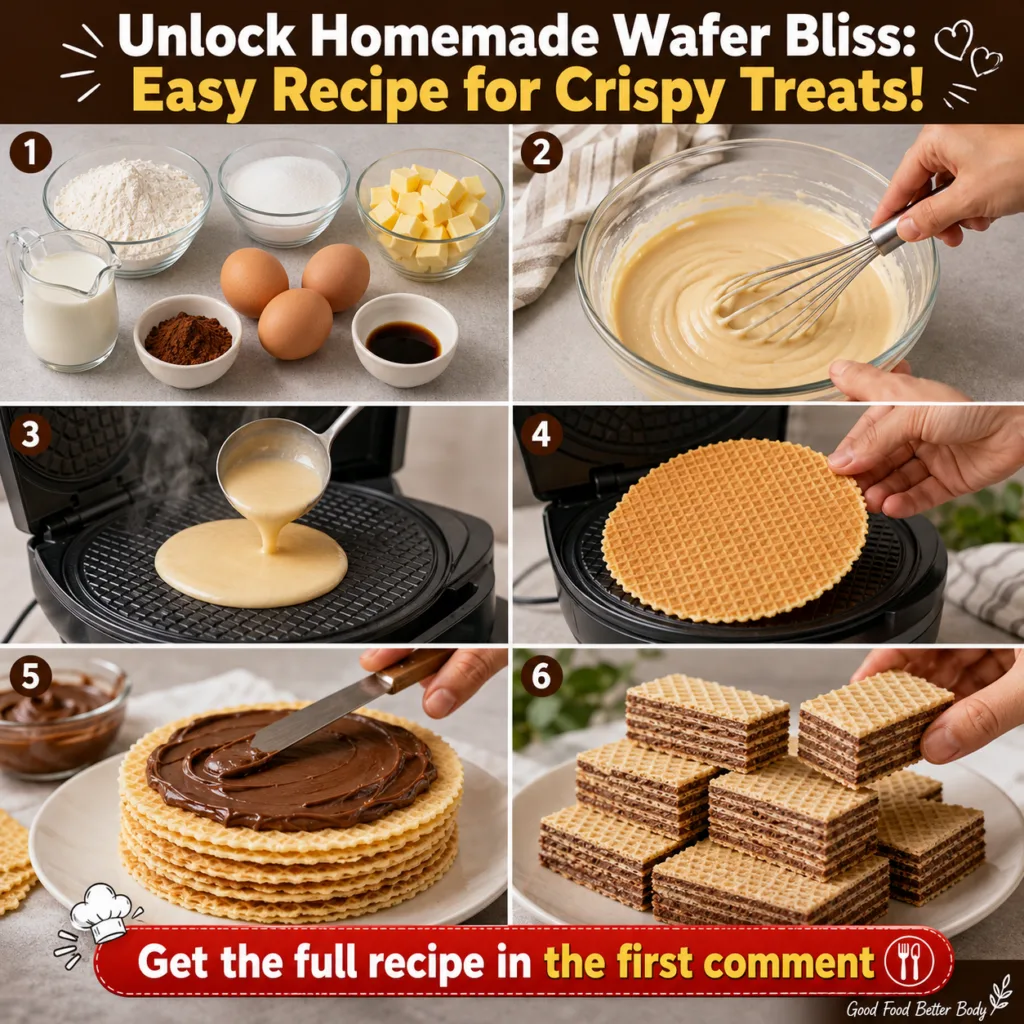
Recipe 1: Classic Crispy Homemade Wafers with Chocolate Spread
This recipe is your gateway to crispy wafer perfection, just like the image describes. We’ll recreate those golden, airy wafers and fill them with a luscious chocolate spread for an irresistible treat.
Servings: 8-10 wafers
Prep time: 15 minutes
Cook / chill / rest time: 2-3 minutes per wafer
Ingredients:
- 1 ½ cups all-purpose flour
- ½ cup granulated sugar
- ½ cup unsalted butter, melted
- 2 large eggs
- 1 cup whole milk
- 2 tablespoons unsweetened cocoa powder
- 1 teaspoon vanilla extract
- ¾ – 1 cup chocolate hazelnut spread or homemade chocolate ganache, for filling
Instructions:
- In a large bowl, whisk together the melted butter and granulated sugar until well combined.
- Beat in the eggs one at a time, ensuring each is fully incorporated before adding the next. Stir in the vanilla extract.
- In a separate bowl, combine the flour and cocoa powder.
- Gradually add the dry ingredients to the wet ingredients, alternating with the milk, beginning and ending with the dry ingredients. Mix until the batter is smooth and free of lumps.
- Preheat your wafer maker according to the manufacturer’s instructions. Lightly grease the plates if necessary.
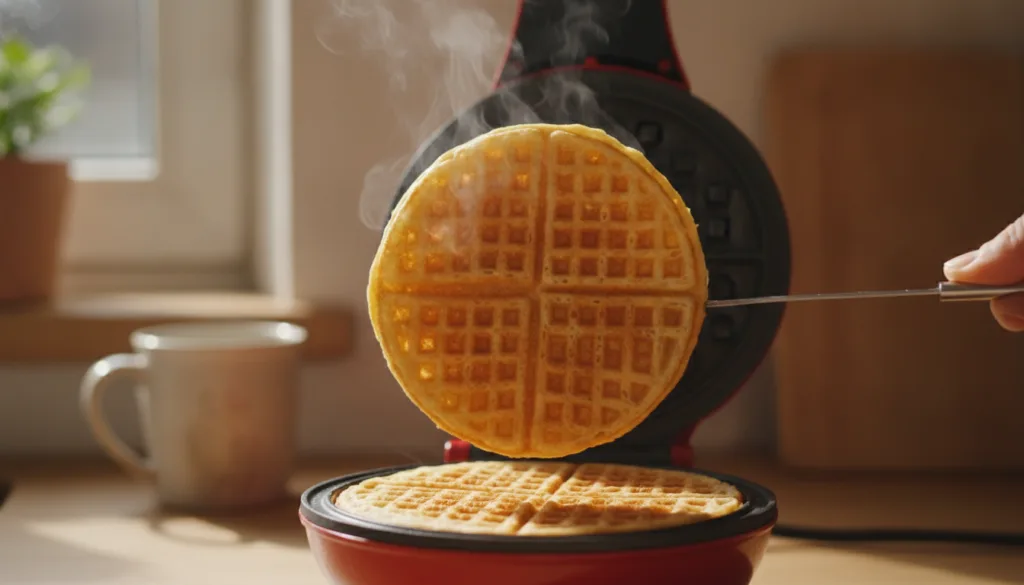
- Pour about ¼ cup of batter onto the hot wafer maker (or as directed by your machine), close the lid, and cook for 2-3 minutes, or until the wafer is golden brown and crispy.
- Carefully remove the cooked wafer and place it on a wire rack to cool completely. Repeat with the remaining batter.
- Once cooled, spread a generous layer of chocolate spread onto one wafer and top with another, creating a sandwich. Repeat with all wafers.
Storage / Serving / Usage Note: Store leftover wafers in an airtight container at room temperature for up to 3 days. Best served fresh, but still delicious later!
Recipe 2: Vanilla Bean Wafers
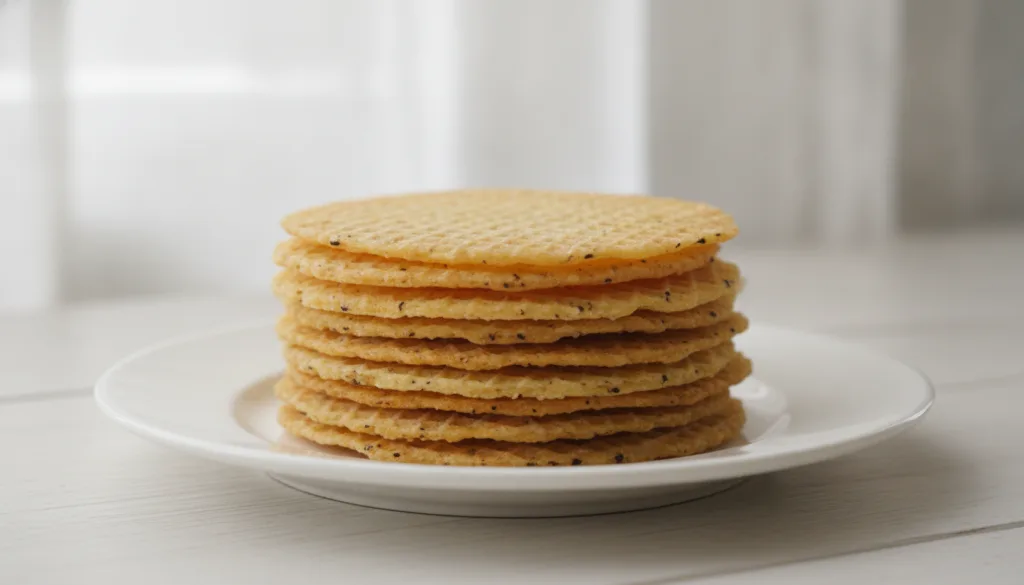
For a pure, aromatic treat, these vanilla bean wafers highlight the elegant simplicity of true vanilla flavor.
Servings: 8-10 wafers
Prep time: 15 minutes
Cook / chill / rest time: 2-3 minutes per wafer
Ingredients:
- 1 ½ cups all-purpose flour
- ½ cup granulated sugar
- ½ cup unsalted butter, melted
- 2 large eggs
- 1 cup whole milk
- 1 teaspoon vanilla extract
- ½ teaspoon vanilla bean paste (or an additional 1 tsp vanilla extract)
Instructions:
- In a large bowl, whisk together the melted butter and granulated sugar.
- Beat in the eggs one at a time, then stir in the vanilla extract and vanilla bean paste.
- Gradually add the flour to the wet ingredients, alternating with the milk, mixing until smooth.
- Preheat and lightly grease your wafer maker.
- Pour about ¼ cup of batter onto the hot wafer maker and cook for 2-3 minutes, or until golden and crispy.
- Remove and cool on a wire rack. Serve plain or with your favorite light cream cheese frosting.
Storage / Serving / Usage Note: Store in an airtight container for up to 3 days. Delicious on their own or with fresh berries.
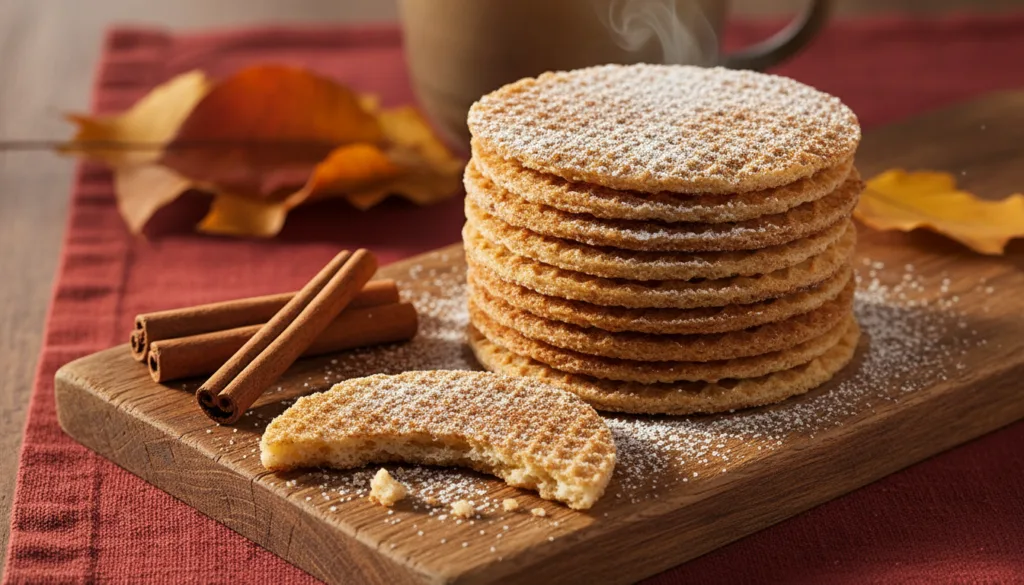
Recipe 3: Cinnamon Spice Wafers
Warm and comforting, these cinnamon spice wafers are perfect for a cozy afternoon snack, offering a delightful aromatic crunch.
Servings: 8-10 wafers
Prep time: 15 minutes
Cook / chill / rest time: 2-3 minutes per wafer
Ingredients:
- 1 ½ cups all-purpose flour
- ½ cup granulated sugar
- ½ cup unsalted butter, melted
- 2 large eggs
- 1 cup whole milk
- 1 teaspoon vanilla extract
- 1 ½ teaspoons ground cinnamon
- ¼ teaspoon ground nutmeg (optional)
Instructions:
- In a large bowl, whisk together the melted butter and granulated sugar.
- Beat in the eggs one at a time, then stir in the vanilla extract.
- In a separate bowl, whisk together the flour, ground cinnamon, and nutmeg (if using).
- Gradually add the dry ingredients to the wet ingredients, alternating with the milk, mixing until smooth.
- Preheat and lightly grease your wafer maker.
- Pour about ¼ cup of batter onto the hot wafer maker and cook for 2-3 minutes, or until golden and crispy.
- Remove and cool on a wire rack.
Storage / Serving / Usage Note: These wafers are excellent with a cup of tea or coffee. Store in an airtight container for up to 3 days.
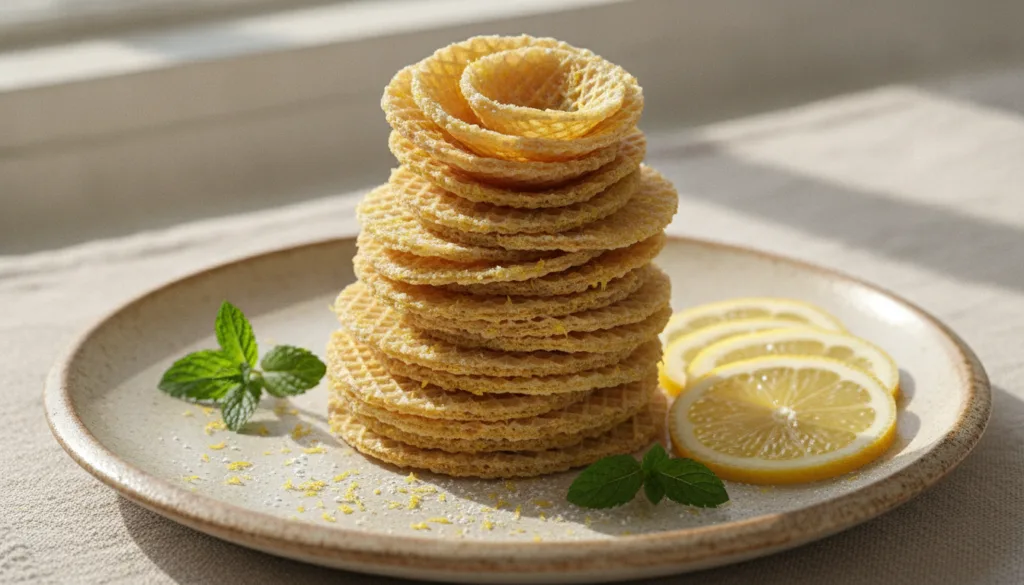
Recipe 4: Lemon Zest Wafers
Brighten your day with these zesty lemon wafers. The citrus kick adds a refreshing twist to the crispy texture.
Servings: 8-10 wafers
Prep time: 15 minutes
Cook / chill / rest time: 2-3 minutes per wafer
Ingredients:
- 1 ½ cups all-purpose flour
- ½ cup granulated sugar
- ½ cup unsalted butter, melted
- 2 large eggs
- 1 cup whole milk
- 1 teaspoon vanilla extract
- Zest of 1 large lemon
- 1 tablespoon fresh lemon juice (optional, for extra tang)
Instructions:
- In a large bowl, whisk together the melted butter and granulated sugar.
- Beat in the eggs one at a time, then stir in the vanilla extract, lemon zest, and lemon juice (if using).
- Gradually add the flour to the wet ingredients, alternating with the milk, mixing until smooth.
- Preheat and lightly grease your wafer maker.
- Pour about ¼ cup of batter onto the hot wafer maker and cook for 2-3 minutes, or until golden and crispy.
- Remove and cool on a wire rack.
Storage / Serving / Usage Note: These wafers pair wonderfully with a light berry compote or simply dusted with powdered sugar. Store for up to 3 days.
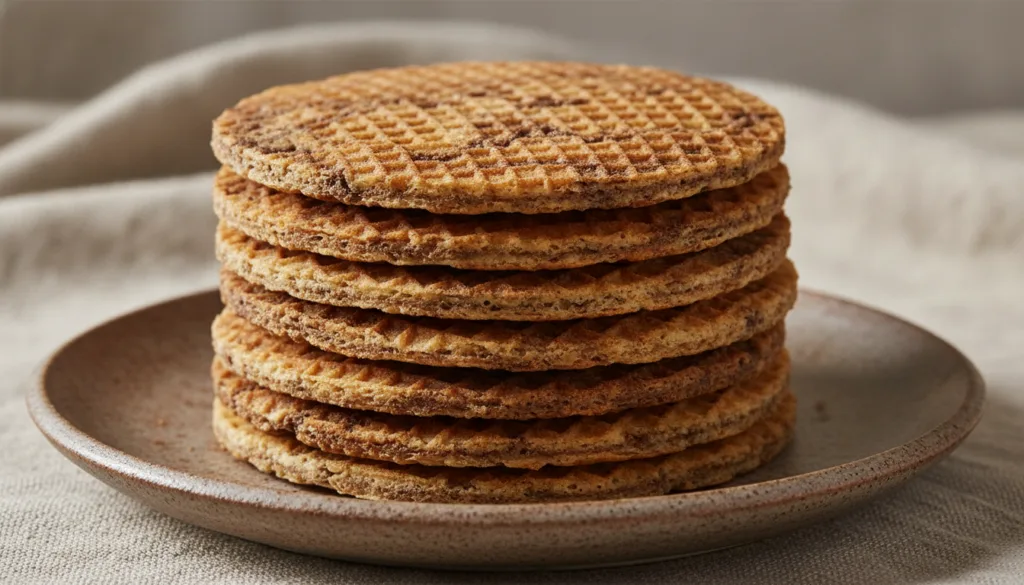
Recipe 5: Cocoa Swirl Wafers
Enjoy the best of both worlds with these visually appealing and delicious cocoa swirl wafers, offering a hint of chocolate in every bite.
Servings: 8-10 wafers
Prep time: 20 minutes
Cook / chill / rest time: 2-3 minutes per wafer
Ingredients:
- 1 ½ cups all-purpose flour
- ½ cup granulated sugar
- ½ cup unsalted butter, melted
- 2 large eggs
- 1 cup whole milk
- 1 teaspoon vanilla extract
- 2 tablespoons unsweetened cocoa powder
- 1 tablespoon extra milk (for cocoa batter)
Instructions:
- Prepare the basic wafer batter: In a large bowl, whisk melted butter and sugar. Beat in eggs and vanilla. Gradually add flour and 1 cup milk, mixing until smooth.
- Divide the batter: Take about ½ cup of the plain batter and transfer it to a separate small bowl.
- Create cocoa batter: To the small bowl, add the 2 tablespoons of cocoa powder and 1 tablespoon of extra milk. Mix well until smooth.
- Swirl technique: Pour a small amount of the plain batter onto the preheated wafer maker, then drizzle a few lines of the cocoa batter over it. Use a toothpick or small skewer to gently swirl the two batters together to create a marbled effect.
- Cook and cool: Close the lid and cook for 2-3 minutes until golden and crispy. Remove and cool on a wire rack. Repeat with remaining batter.
Storage / Serving / Usage Note: These wafers are visually stunning and taste great plain or with a light vanilla glaze. Store in an airtight container for up to 3 days.
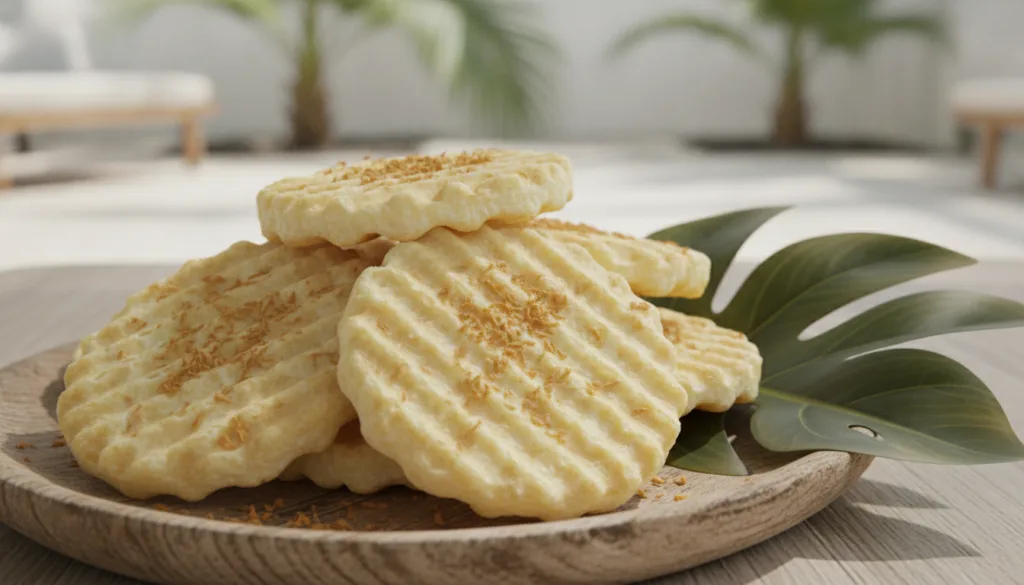
Recipe 6: Coconut Milk Wafers
For a tropical twist or a dairy-free option, these coconut milk wafers offer a subtle sweetness and unique flavor.
Servings: 8-10 wafers
Prep time: 15 minutes
Cook / chill / rest time: 2-3 minutes per wafer
Ingredients:
- 1 ½ cups all-purpose flour
- ½ cup granulated sugar
- ½ cup unsalted butter, melted (or vegan butter substitute)
- 2 large eggs (or flax eggs for vegan option)
- 1 cup full-fat coconut milk
- 1 teaspoon vanilla extract
- ¼ cup shredded coconut (optional, for texture)
Instructions:
- In a large bowl, whisk together the melted butter (or vegan butter) and granulated sugar.
- Beat in the eggs (or flax eggs) one at a time, then stir in the vanilla extract.
- Gradually add the flour to the wet ingredients, alternating with the coconut milk, mixing until smooth. Stir in shredded coconut if using.
- Preheat and lightly grease your wafer maker.
- Pour about ¼ cup of batter onto the hot wafer maker and cook for 2-3 minutes, or until golden and crispy.
- Remove and cool on a wire rack.
Storage / Serving / Usage Note: These wafers are excellent with fresh mango or pineapple salsa. Store in an airtight container for up to 3 days.
Simple Tips for Best Results
- Maintain Wafer Maker Temperature: Ensure your wafer maker is fully preheated and maintains a consistent temperature for even cooking and crispiness.
- Don’t Overfill: Use just enough batter to cover the plates without overflowing. Most makers have a fill line or a suggested amount.
- Cool Completely: Always cool wafers on a wire rack to prevent them from becoming soggy. This is crucial for achieving that desired crisp texture.
- Experiment with Flavors: Don’t hesitate to try different extracts, spices, or zests to customize your wafers.
- Serve Fresh: While they store well, homemade wafers are at their crispiest and most delicious when served soon after cooling.
FAQ
What is the difference between wafers and waffles?
Wafers are typically thinner, crispier, and often have a finer grid pattern. Waffles are generally thicker, softer on the inside, and have deeper pockets designed to hold toppings like syrup.
Can I make these wafers without a special wafer maker?
While a dedicated wafer maker (also known as an iron) is ideal for achieving the specific thin, crisp texture, some recipes can be adapted for a standard waffle iron or even a stovetop pizzelle maker, though the result may vary in thickness and crispness.
How do I keep my homemade wafers crispy?
The key is cooling them completely on a wire rack immediately after cooking. Once cool, store them in an airtight container at room temperature. Avoid refrigerating, as humidity can make them soft.
Final Thoughts
Embarking on the journey to unlock homemade wafer bliss is a rewarding experience that fills your kitchen with delightful aromas and your table with irresistible treats. From the classic chocolate-filled to inventive flavor variations, these crispy treats are sure to impress. So grab your ingredients, fire up your wafer maker, and get ready to enjoy the simple pleasure of fresh, homemade wafers.