Looking for a natural way to support a more even skin tone? This simple DIY honey balm is designed to help address the appearance of age spots and promote a fresher, clearer-looking complexion. It’s a practical and accessible addition to your home beauty routine.
Quick Recipe
Prep time: 10 minutes
Best for: Age spots, uneven skin tone, dull complexion
Use type: Balm
Main ingredients:
- Honey
- Sweet Almond Oil
- Beeswax Pellets
Ingredients
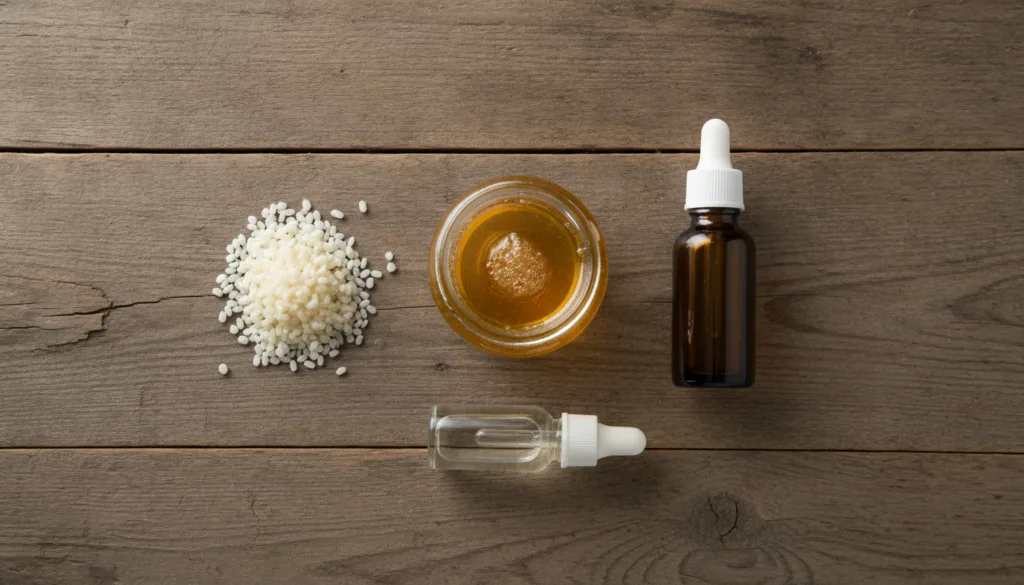
- 2 tablespoons raw honey
- 4 tablespoons sweet almond oil (or jojoba oil)
- 1 tablespoon beeswax pellets
- 5-10 drops vitamin E oil (optional, for skin nourishment and preservation)
How to Make It
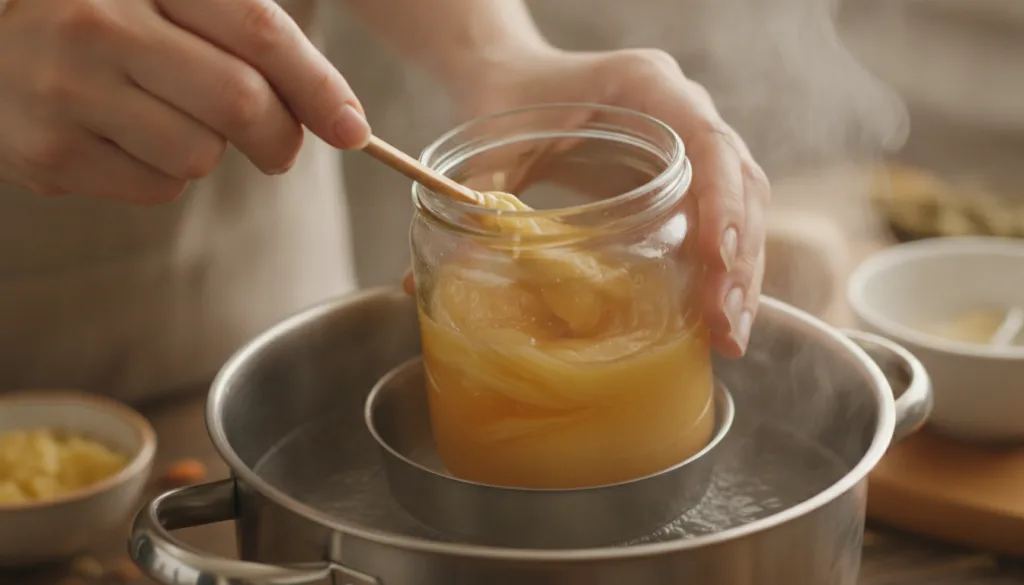
- Prepare a Double Boiler: Fill a small pot with about an inch or two of water and bring it to a gentle simmer. Place a heat-safe glass jar or bowl on top of the pot, ensuring the bottom doesn’t touch the water.
- Melt Ingredients: Add the sweet almond oil and beeswax pellets to the glass jar. Let them melt slowly, stirring occasionally, until the beeswax is completely dissolved and combined with the oil.
- Add Honey and Vitamin E: Once the beeswax is melted, remove the jar from the heat but keep it over the warm water (or off the heat if the water is too hot, as honey can scorch). Stir in the raw honey and optional vitamin E oil until thoroughly combined. The mixture may look cloudy at this stage.
- Pour and Set: Carefully pour the warm balm mixture into a clean, sterile small container or tin. Allow it to cool completely at room temperature for several hours until it solidifies into a balm consistency.
- Store: Once solid, cap the container. Your DIY honey balm is ready to use!
How to Use It
- Cleanse Skin: Start with freshly cleansed and dry skin on the areas you wish to treat.
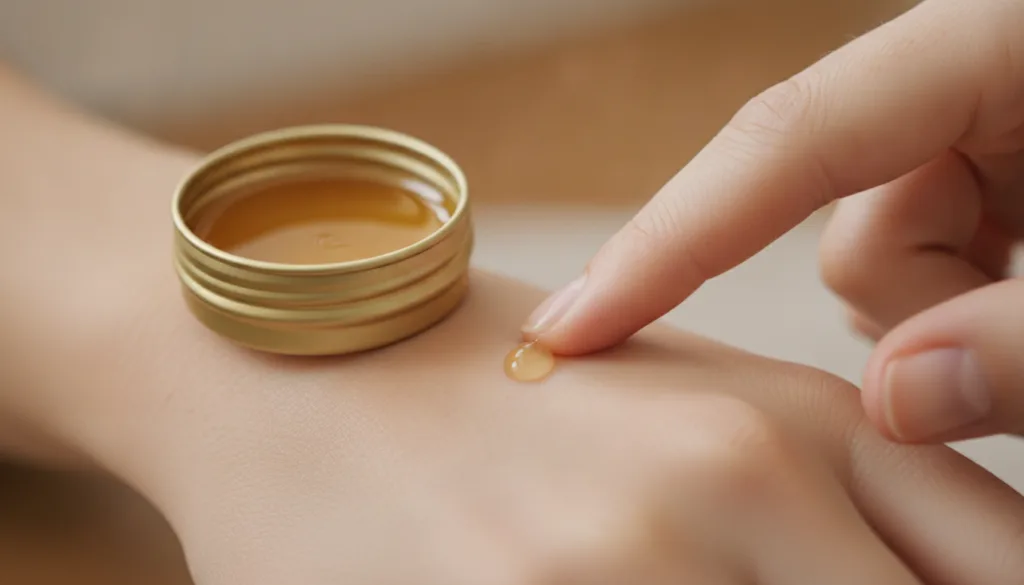
- Apply Gently: Using a clean fingertip, take a small amount of the balm.
- Massage into Skin: Gently massage the balm directly onto age spots or areas of uneven tone. A thin layer is usually sufficient.
- Leave On: Allow the balm to absorb into your skin. For best results, you can apply it before bedtime and leave it on overnight.
How Often to Use It
You can use this honey balm once or twice daily, as part of your morning or evening skincare routine. Consistent, gentle application is key for observing potential benefits.
Why These Ingredients Are Used
Honey
Raw honey is a beloved ingredient in natural beauty for its humectant properties, meaning it helps draw and retain moisture in the skin. It also contains antioxidants and is traditionally known for its skin-soothing and brightening properties, which can help support a more radiant and even-looking complexion.
Sweet Almond Oil
This light, nourishing oil is rich in vitamins E and A, essential fatty acids, and has traditionally been used to help soothe and soften the skin. It’s often chosen for its ability to help improve the appearance of skin tone and texture without feeling heavy or greasy.
Beeswax
Beeswax provides the necessary structure for the balm, giving it a solid yet spreadable consistency. It also forms a protective barrier on the skin, which can help lock in moisture and protect the skin from environmental stressors without clogging pores.
What Results to Expect
With regular use, this DIY honey balm can help your skin feel more hydrated and nourished. The combination of ingredients may help to subtly diminish the appearance of age spots and support a more uniform and brighter-looking skin tone over time. Individual results can vary, and consistency is important for seeing the most benefit.
Safety Notes
- Patch Test First: Always perform a patch test on a small, inconspicuous area of your skin (e.g., inner forearm) 24 hours before full application to check for any sensitivities or allergic reactions.
- Use Gently: Apply the balm with clean hands and a gentle touch.
- Avoid Irritated Skin: Do not apply this balm to broken, irritated, or freshly wounded skin.
- Stop if Discomfort Occurs: If you experience any redness, itching, burning, or irritation, discontinue use immediately.
- Ingredient Allergies: If you have known allergies to honey, beeswax, or nuts (like almonds), please avoid using this balm or consult with a healthcare professional.
- Storage: Store the balm in a cool, dry place away from direct sunlight to maintain its consistency and efficacy.
FAQ
Can I use this balm on my face?
Yes, this balm is designed for facial application, specifically targeting age spots or areas of uneven tone. Remember to always perform a patch test first, especially if you have sensitive skin.
How long does the DIY honey balm last?
When stored properly in a clean, airtight container in a cool, dry place, this balm can typically last for 3-6 months. Adding vitamin E oil can help extend its shelf life slightly due to its antioxidant properties.
Will this balm completely remove age spots?
While this balm uses ingredients known to support skin health and a more even tone, it’s designed to help diminish the *appearance* of age spots over time, not to completely remove them. Consistent use can contribute to a brighter, more uniform complexion.
Final Thoughts
Embracing natural solutions like this DIY honey balm can be a wonderfully gentle way to care for your skin. By harnessing the power of simple ingredients, you can support a clearer, more radiant-looking complexion right at home. Give this recipe a try and let us know how it works for you in the comments!