Zinnias are a gardener’s delight – vibrant, cheerful, and incredibly easy to grow. They bring a burst of color to any garden, attract pollinators, and make wonderful cut flowers. But what if you could enjoy their beauty year after year without buying new seeds? You can! Saving zinnia seeds is a simple, rewarding process that connects you deeper with your garden and ensures a continuous display of these stunning blooms.
Why Save Zinnia Seeds?
There are several fantastic reasons to embark on your seed-saving journey with zinnias:
- Cost Savings: Seeds can add up! Saving your own is a budget-friendly way to maintain a colorful garden.
- Preserve Favorite Varieties: If you have a zinnia variety you absolutely adore, saving its seeds ensures you can grow it again next season.
- Adaptation: Over time, seeds saved from plants grown in your garden can become better adapted to your specific climate and soil conditions, potentially leading to hardier plants.
- Sustainability: It’s a wonderful way to practice sustainable gardening and reduce waste.
- Satisfaction: There’s immense joy in knowing your beautiful flowers grew from seeds you personally collected.
When is the Best Time to Harvest Zinnia Seeds?
Timing is key when it comes to successful seed saving. You want the seeds to be fully mature and dry on the plant before harvesting. Here’s what to look for:
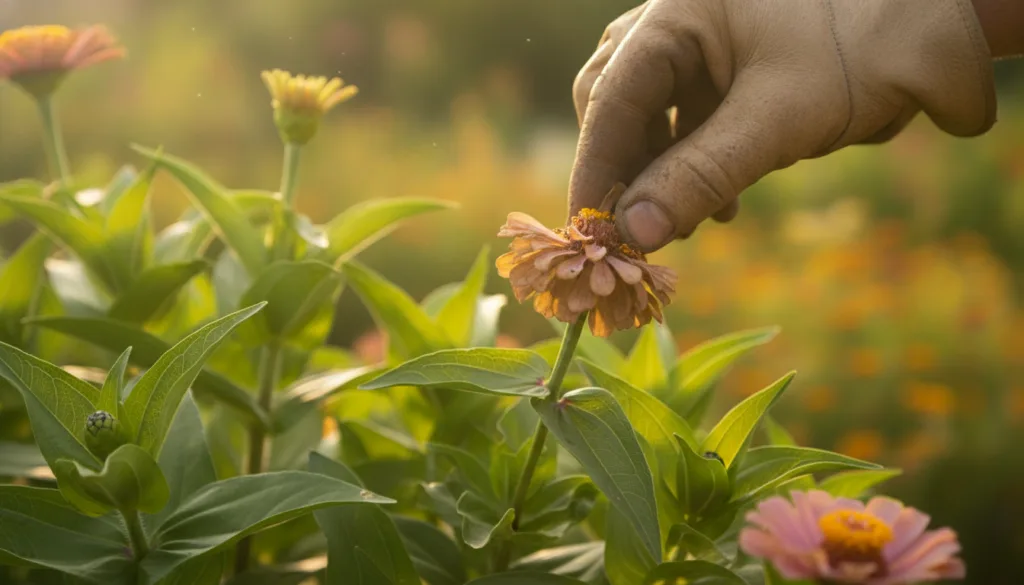
- Spent Blooms: Wait until the zinnia flower has completely faded, dried out, and turned brown. The petals should be shriveled and crunchy.
- Dry Conditions: Harvest on a dry, sunny day. Moisture can lead to mold and ruin your seeds.
- Late Season: Typically, this will be in late summer or early fall, as the plant finishes its blooming cycle.
How to Harvest Zinnia Seeds: A Step-by-Step Guide
Collecting zinnia seeds is straightforward. Follow these steps for a bountiful harvest:
Step 1: Select the Best Blooms
Choose the healthiest, most vigorous flowers from your favorite plants. These will likely produce the strongest seeds. Avoid any blooms that show signs of disease or pest damage.
Step 2: Cut the Flower Heads
Using sharp pruners or scissors, cut the entire dried flower head from the stem. Make sure it’s completely dry to the touch.
Step 3: Further Drying (If Needed)
Even if they seem dry on the plant, it’s a good idea to give the flower heads an additional drying period. Spread them out on a screen, a paper plate, or a clean, dry cloth in a warm, well-ventilated area away from direct sunlight for 1-2 weeks. This ensures no residual moisture remains, which could cause mold during storage.
Step 4: Extract the Seeds
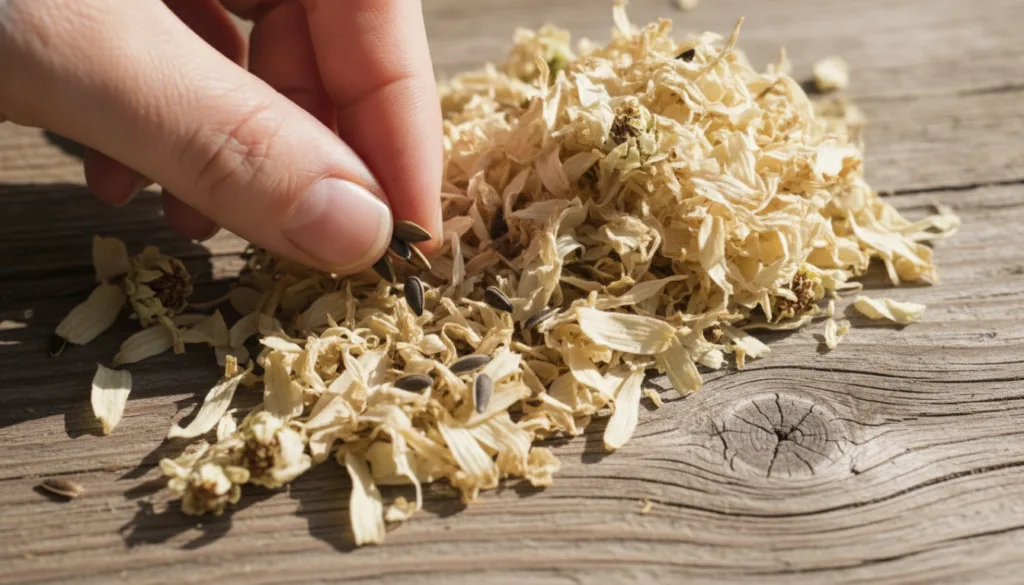
Once thoroughly dry, you can extract the seeds. Gently rub the dried flower head between your hands, or crumble it over a bowl. The seeds are typically flat, dart-shaped, and dark brown or black, often with a pointed end. They are usually found at the base of where the petals attached.
Step 5: Clean the Seeds
Remove any remaining chaff (dried petals or plant material). You can gently blow across the seeds in a bowl, or use a fine mesh sieve to separate them. The cleaner the seeds, the better they will store.
Storing Your Zinnia Seeds for Next Season
Proper storage is crucial for maintaining seed viability:
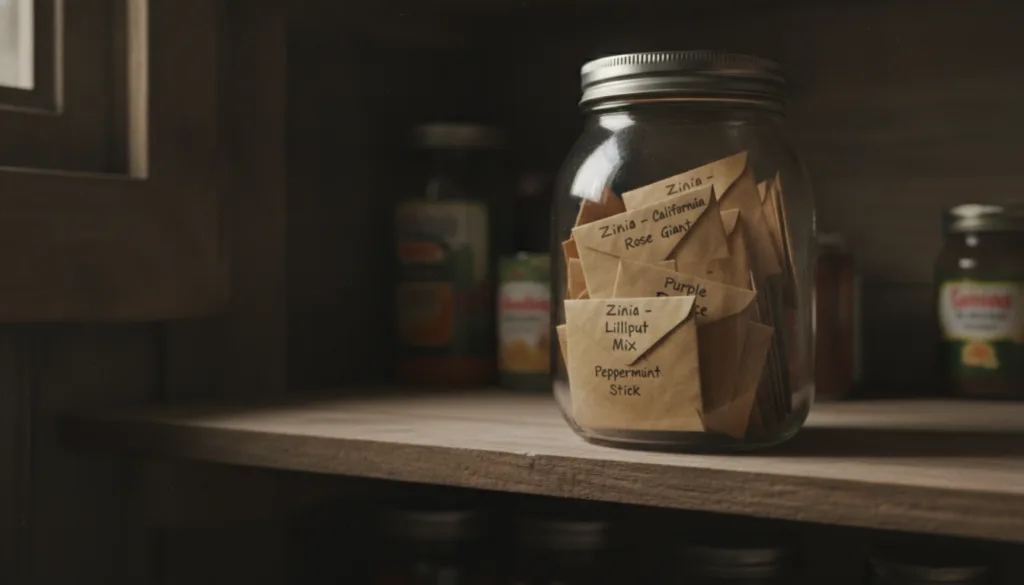
- Label Clearly: Use small envelopes or airtight containers and label them with the plant name (e.g., ‘Zinnia – August 2024’) and the date of harvest.
- Cool, Dark, Dry Place: Store your labeled seeds in a cool, dark, and dry location. A cupboard, closet, or even a sealed container in the refrigerator can work well. Avoid areas with temperature fluctuations or high humidity.
- Airtight Container: Placing seed packets in an airtight jar with a desiccant packet (like silica gel, if you have one) can further protect them from moisture.
Planting Your Saved Zinnia Seeds
When spring arrives and the danger of frost has passed, your saved zinnia seeds will be ready for planting! Zinnias thrive in full sun and well-draining soil. Simply sow them directly into your garden beds after the last frost, following standard zinnia planting instructions.
Cultivate Future Beauty
Saving zinnia seeds is a simple yet profoundly rewarding act that extends the life cycle of your favorite flowers and deepens your connection to the gardening process. Imagine the satisfaction of seeing those vibrant blooms reappear next season, knowing they came from your own hands! Happy gardening!