There’s a special kind of satisfaction that comes from harvesting your own vegetables, and red onions are no exception! With their beautiful color, pungent flavor, and versatility in the kitchen, growing red onions at home can be an incredibly rewarding experience. Join us as we explore the fascinating lifecycle of these garden gems and learn simple steps to cultivate your own bountiful harvest.
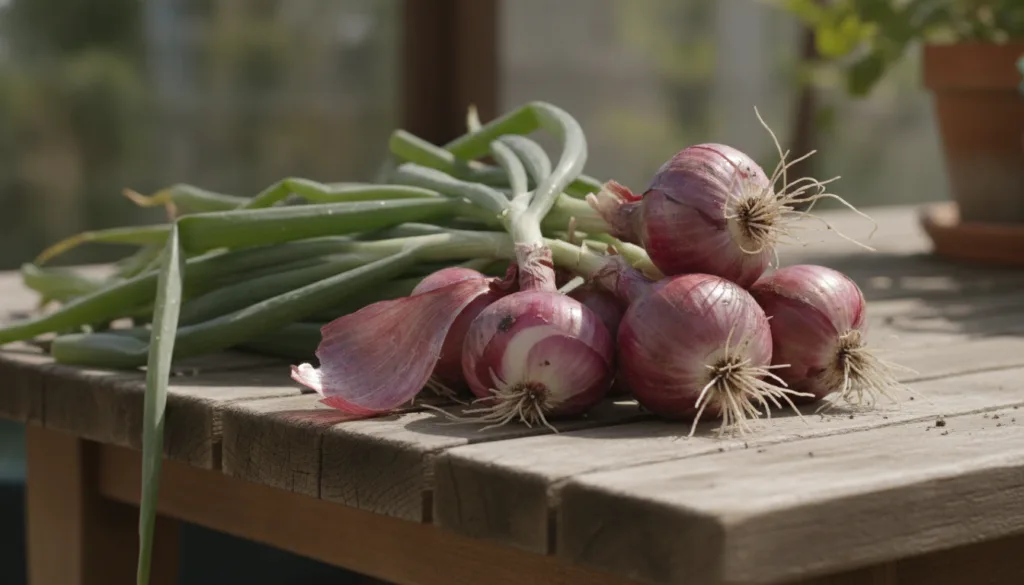
Understanding the Red Onion Lifecycle
Red onions, like all onions, are biennial plants, meaning they complete their life cycle in two years. However, when grown for culinary purposes, we typically harvest them in their first year as the bulb forms. Here’s a simplified look at their journey:
- Seed/Set to Sprout: It all begins with a tiny seed or a small ‘onion set’ (a miniature, immature onion bulb). Planted in the soil, they germinate and send up their first green shoots.
- Foliage Growth: Over several weeks, the green tops (foliage) grow taller and thicker, gathering energy from the sun through photosynthesis. This energy is crucial for bulb development.
- Bulb Formation: As the days lengthen and the plant matures, the energy stored in the leaves is transferred downwards, causing the base of the plant to swell and form the recognizable onion bulb.
- Maturity & Harvest: Once the foliage starts to yellow and fall over, it signals that the bulb has reached its full size and is ready for harvest.
Simple Steps to Grow Your Own Red Onions at Home
Ready to get your hands dirty? Growing red onions is surprisingly straightforward and can be done in raised beds, garden plots, or even large containers.
1. Choosing Your Starting Material: Seeds or Sets?
- Onion Seeds: Slower to start but offer a wider variety of red onion types. Best started indoors 6-8 weeks before the last frost or directly sown outdoors in early spring in regions with long growing seasons.
- Onion Sets: Small, immature bulbs that are easier and quicker to grow. They are generally less prone to disease and mature faster. Ideal for beginners or those with shorter growing seasons.
2. Site Selection and Soil Preparation
Red onions thrive in full sun, meaning they need at least 6-8 hours of direct sunlight per day. Good drainage is key to preventing rot and promoting healthy bulb development.
- Location: Choose a sunny spot in your garden or a large pot if growing in containers.
- Soil: Onions prefer well-draining, loose, and fertile soil with a pH between 6.0 and 7.0. Amend heavy clay soils with compost or well-rotted manure to improve drainage and nutrients.
3. Planting Your Red Onions
For Seeds:
If starting indoors, plant seeds about 1/4 inch deep. Transplant seedlings outdoors when they are about 4-6 inches tall, spacing them 4-6 inches apart in rows 12-18 inches apart. If direct sowing, plant seeds 1/2 inch deep and 1 inch apart, then thin to 4-6 inches apart once established.
For Sets:
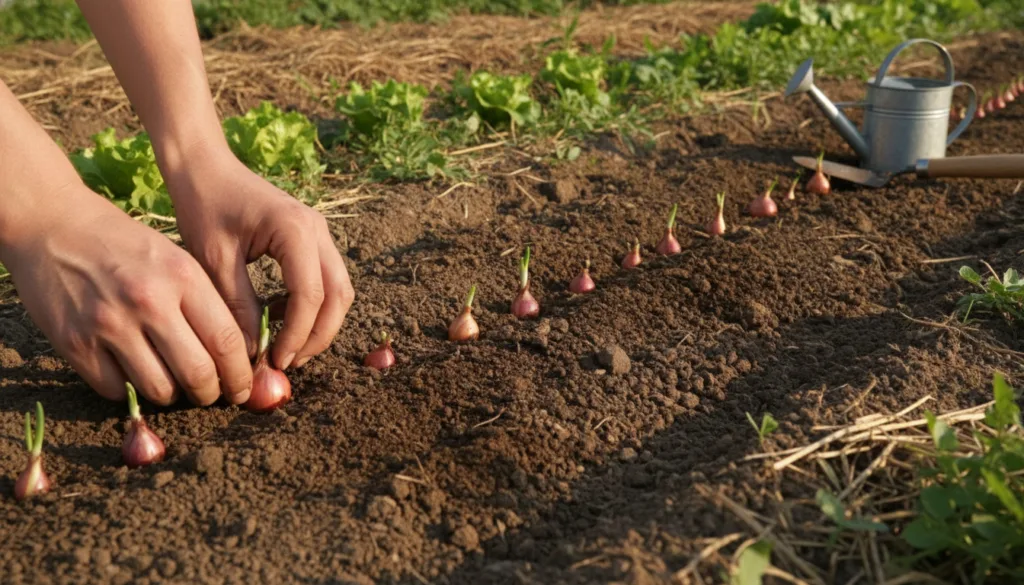
Plant onion sets in early spring as soon as the soil can be worked. Push each set into the soil so that only the very tip is showing above ground. Space them 4-6 inches apart in rows 12-18 inches apart.
4. Ongoing Care for Healthy Growth
- Watering: Onions need consistent moisture, especially during bulb formation. Water deeply once or twice a week, or more often during dry spells. Avoid overwatering, which can lead to rot.
- Weeding: Onions hate competition! Keep the garden bed free of weeds, as they can steal nutrients and moisture from your growing bulbs. Weed by hand to avoid disturbing shallow onion roots.
- Fertilizing: If your soil is rich, additional fertilizer may not be needed. If not, a balanced organic fertilizer or a nitrogen-rich one (like blood meal) can be applied early in the growing season to promote leaf growth. Avoid high-nitrogen fertilizers once bulbs start forming, as this can delay bulb maturity.
5. Harvesting Your Red Onions
You’ll know your red onions are ready when the green tops begin to yellow, wither, and fall over, typically in mid to late summer. This usually happens 100-120 days after planting sets, or longer for seeds.
- Loosen the Soil: Gently loosen the soil around the bulbs with a garden fork.
- Pull Gently: Carefully pull the onions from the ground.
- Curing: This is a crucial step for long-term storage! Lay the onions in a warm, dry, well-ventilated spot for 1-3 weeks. A covered porch or shed works well. Avoid direct sun if it’s too hot, as they can burn. The tops and outer skins will dry and become papery.
- Storage: Once cured, cut off the dried tops about an inch above the bulb and trim the roots. Store them in a cool, dry, dark place with good air circulation, like a mesh bag or braided strings, where they can last for several months.
Enjoying Your Garden’s Bounty
Harvesting your own red onions is incredibly rewarding. Not only do you get to enjoy their fresh, zesty flavor in salads, stir-fries, and countless other dishes, but you also gain a deeper connection to your food. Plus, knowing exactly how your food was grown brings peace of mind and promotes a more sustainable lifestyle.
So, whether you’re a seasoned gardener or just starting out, why not try growing red onions this season? You might just discover a new favorite garden project!