There’s nothing quite like the taste of fresh, sun-ripened strawberries, especially when they come straight from your own garden. The vibrant color, the sweet aroma, and that burst of flavor are truly unparalleled. But what happens when your strawberry patch yields more berries than you can eat fresh? That’s where the magic of homemade strawberry preserves comes in!
Transforming your bountiful harvest into jars of sweet, glistening preserves is not only a fantastic way to enjoy your homegrown goodness all year long, but it’s also a deeply rewarding experience. Imagine spreading that homemade jam on toast on a chilly winter morning, a taste of summer preserved just for you.
Why Make Homemade Strawberry Preserves?
Beyond the undeniable deliciousness, there are many reasons to make your own preserves:
- Taste the Difference: Preserves made with garden-fresh strawberries often have a brighter, more complex flavor than store-bought varieties.
- Control Ingredients: You decide what goes into your jam – no artificial colors, flavors, or excessive sugars.
- Reduce Waste: It’s a wonderful way to use up an abundant harvest and prevent perfectly good fruit from going bad.
- Sense of Accomplishment: There’s immense satisfaction in seeing those beautiful jars lined up, knowing you made them yourself.
Harvesting Your Strawberries for Preserves
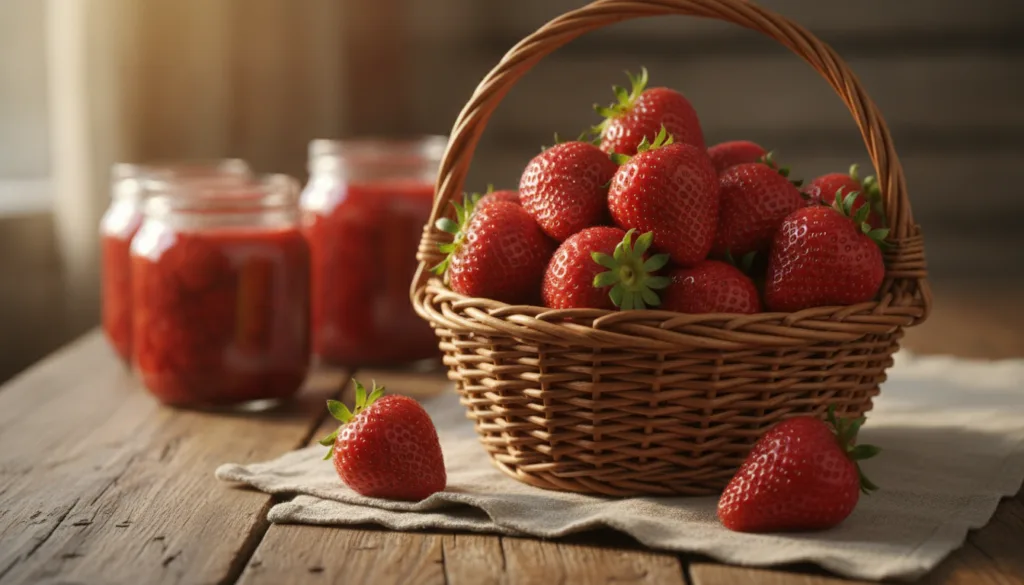
To get the best preserves, start with the best strawberries. Here are some tips for harvesting:
- Pick Ripe Berries: Choose strawberries that are fully red and plump. Overripe berries can make your jam watery, while underripe ones lack flavor and sweetness.
- Pick in the Morning: Berries are at their freshest and most flavorful when picked early in the day, after the dew has dried but before the sun gets too hot.
- Handle Gently: Strawberries bruise easily. Pick them by the stem, not the berry itself, and place them gently in a shallow container to avoid crushing.
- Use Quickly: For the freshest flavor, try to make your preserves within a day or two of harvesting.
The Simple Process of Making Strawberry Preserves
While specific recipes vary, the basic process of making strawberry preserves is quite straightforward and accessible even for beginners.
What You’ll Need:
- Fresh Strawberries: Of course! Washed, hulled, and perhaps sliced or crushed depending on your desired texture.
- Sugar: The main preservative and sweetening agent. The ratio of sugar to fruit is crucial for texture and preservation.
- Lemon Juice: Helps with setting and brightens the flavor.
- Pectin (Optional): Some recipes use added pectin to ensure a firm set, especially if your fruit is low in natural pectin.
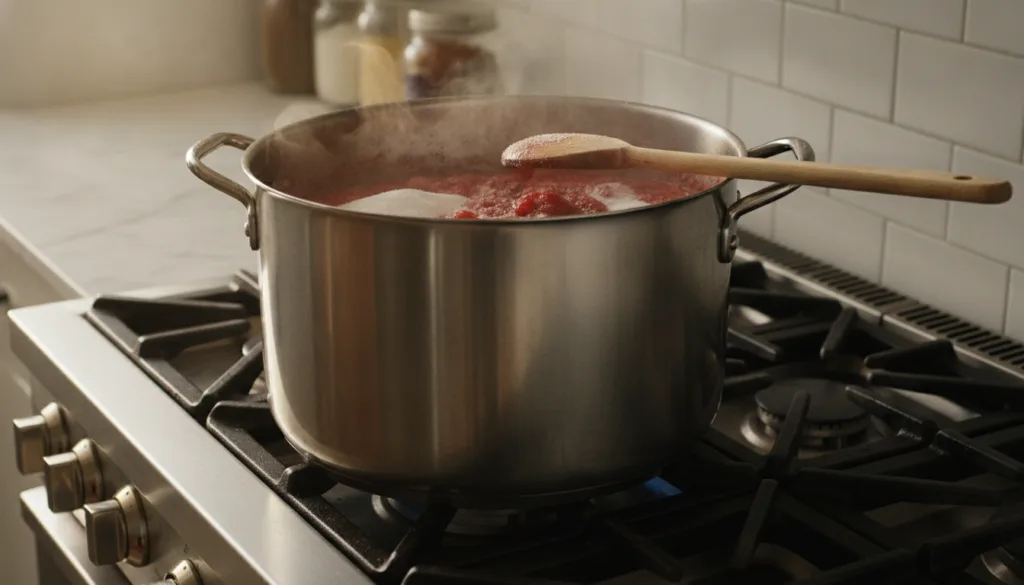
- Large Pot: A wide, heavy-bottomed pot helps with even cooking and evaporation.
- Canning Jars and Lids: Sterilized and ready for your preserves.
- Basic Canning Equipment: Jar lifter, funnel, ladle, and a large pot for water bath canning.
General Steps:
- Prepare Your Fruit: Wash your strawberries thoroughly, remove the green hulls, and gently pat them dry. You can leave them whole if they’re small, halve larger ones, or crush them for a smoother jam.
- Combine Ingredients: In your large pot, combine the prepared strawberries, sugar, and lemon juice. If using pectin, follow your recipe’s instructions for when to add it (often at the beginning or near the end of cooking).
- Cook the Mixture: Bring the mixture to a rolling boil over medium-high heat, stirring frequently to prevent sticking. Reduce heat and continue to simmer, stirring occasionally, until the preserves thicken. This can take anywhere from 15 to 30 minutes or more, depending on the volume and your desired consistency.
- Test for Set: To check if your preserves are ready, place a small dollop on a chilled plate. After a minute or two, push it with your finger; if it wrinkles, it’s ready!
- Jar Your Preserves: Carefully ladle the hot preserves into sterilized canning jars, leaving about 1/4 inch of headspace. Wipe the rims clean, center the lids, and screw on the bands until fingertip tight.
- Process in a Water Bath: For shelf-stable preserves, process the filled jars in a boiling water bath for the time specified by your recipe (usually around 10 minutes for half-pint or pint jars). This creates a vacuum seal and ensures long-term storage.
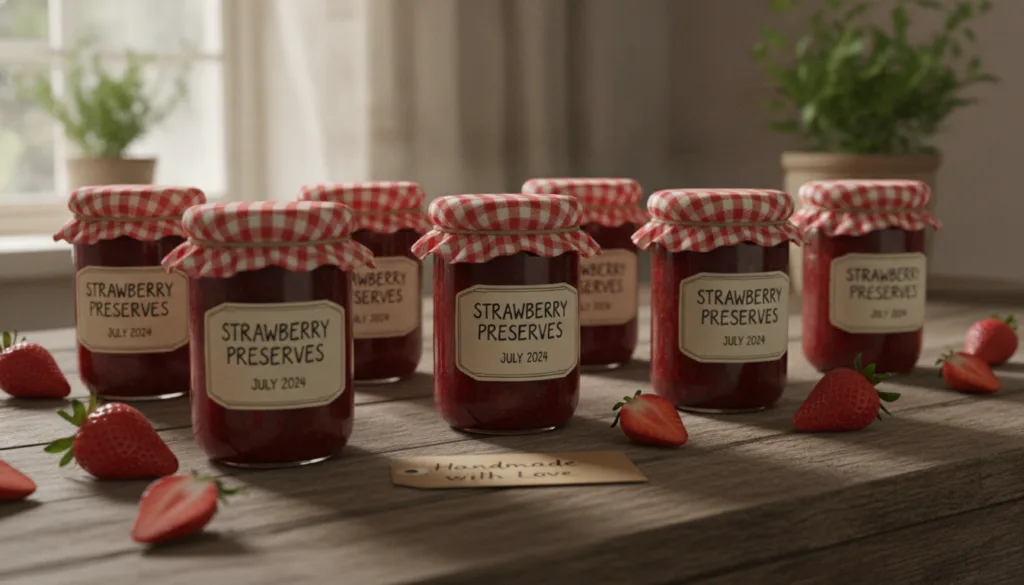
- Cool and Store: Remove the jars from the water bath and let them cool undisturbed on a towel for 12-24 hours. Check for a proper seal (the lid should be concave and not flex when pressed). Label your jars with the date and store them in a cool, dark place.
Tips for Preserve-Making Success
- Don’t Overfill Jars: Always leave adequate headspace to allow for proper sealing.
- Cleanliness is Key: Sterilize your jars and ensure all your tools are clean to prevent spoilage.
- Be Patient: Don’t rush the cooking process. Thickening takes time, and rushing can lead to burned jam or a runny final product.
- Adjust Sweetness: While recipes provide ratios, feel free to slightly adjust the sugar to your taste, keeping in mind that sugar is also a preservative.
Making strawberry preserves is a delightful way to extend the joy of your garden harvest. It’s a skill that brings delicious rewards and allows you to savor the taste of summer long after the season has passed. So, next time your strawberry patch is bursting with ripe berries, grab your pot and get preserving!
Happy Gardening and Happy Jamming!