Ready to naturally turn back the clock on your skin? ✨ Achieving that radiant, youthful ‘glass skin’ look doesn’t have to be complicated or expensive. We’re thrilled to share a true gem from the world of natural beauty: our homemade carrot toner! This super easy DIY recipe uses fresh, natural ingredients to help you boost collagen, smooth out pesky fine lines, and reveal your most glowing self.
Who knew a simple carrot could be your secret to ageless beauty?
Why Carrots Are Your Skin’s Best Friend
Carrots aren’t just good for your eyes; they’re a powerhouse for your skin too! Packed with beta-carotene, an antioxidant that converts to Vitamin A in your body, carrots are essential for skin health. Vitamin A plays a crucial role in cell turnover, helping to repair skin tissue and protect against environmental damage.
The Science Behind the Glow:
- Rich in Antioxidants: Beta-carotene fights off free radicals, which are responsible for premature aging and wrinkles.
- Boosts Collagen: The vitamins in carrots, particularly Vitamin C, are vital for collagen production, maintaining skin elasticity and firmness.
- Reduces Inflammation: Carrots have anti-inflammatory properties that can soothe irritated skin and reduce redness.
- Promotes Cell Regeneration: They encourage the growth of new, healthy skin cells, leading to a brighter, more even complexion.
The Benefits of Our DIY Carrot Toner
Incorporating this simple carrot toner into your daily routine can bring a multitude of benefits:
- Visibly Reduces Wrinkles and Fine Lines: By boosting collagen and promoting cell renewal, the toner helps to plump up the skin and smooth out those signs of aging.
- Achieve ‘Glass Skin’: Regular use can lead to that coveted translucent, smooth, and deeply hydrated complexion.
- Natural Glow: The rich nutrients help to brighten dull skin, giving you a natural, healthy radiance.
- Fades Dark Spots: With consistent use, the vitamins can help lighten hyperpigmentation and even out skin tone.
- Affordable & Natural: Say goodbye to expensive store-bought toners filled with chemicals. This recipe uses ingredients you likely already have!
Your Easy DIY Carrot Toner Recipe
Ready to whip up this anti-aging elixir? Here’s how!
Ingredients:
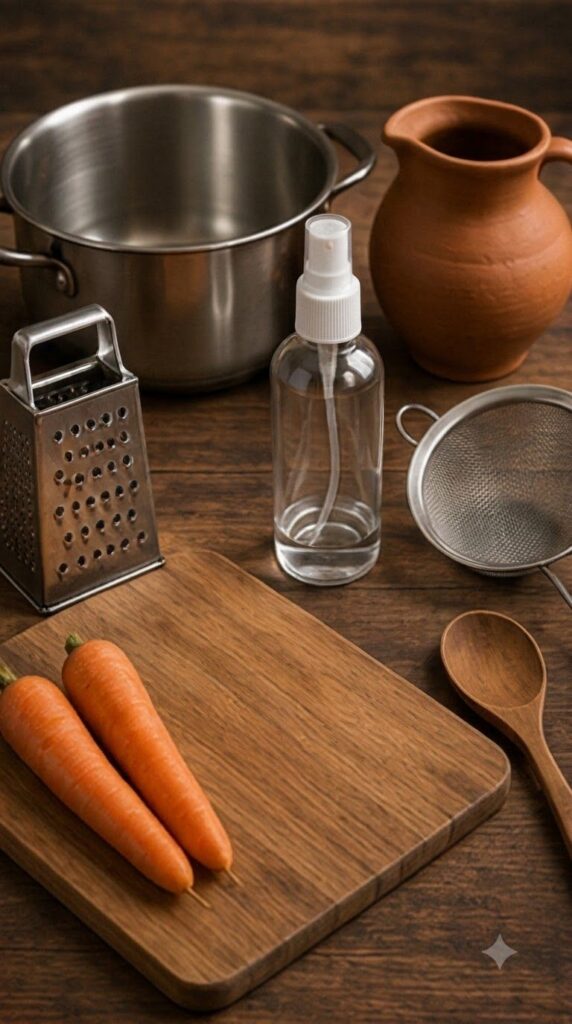
- 1 fresh carrot
- 1 cup of filtered water
- An empty spray bottle (preferably glass)
- A fine mesh strainer
Step-by-Step Instructions:
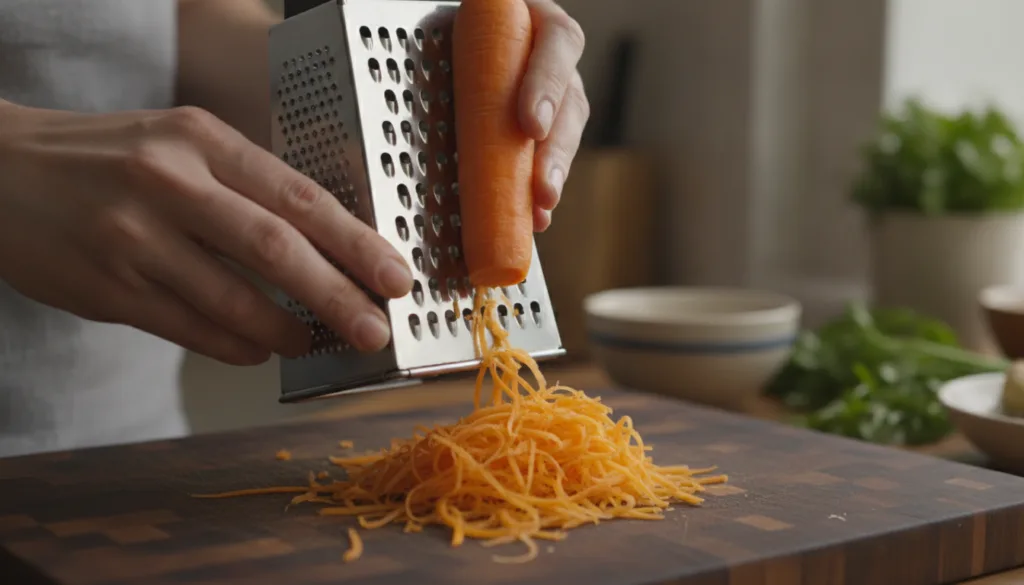
- Grate the Carrot: Wash and peel one fresh carrot. Using a fine grater, shred the carrot into a bowl.
- Combine and Boil: Place the grated carrot into a small saucepan. Add one cup of filtered water. Bring the mixture to a gentle boil over medium heat and let it simmer for about 5 minutes. This allows the carrots to release their beneficial nutrients into the water.
- Cool Down: Remove the pot from the heat and let the mixture cool completely. It’s crucial that it’s at room temperature before the next step.
- Strain the Liquid: Once cooled, place a fine mesh strainer over your clean, empty spray bottle. Carefully pour the carrot mixture through the strainer into the bottle, separating the liquid from the pulp. Press down on the pulp with a spoon to extract as much liquid as possible.
- Cap and Store: Securely screw the spray cap onto your bottle. Your homemade carrot toner is now ready!
Tips for Best Results:
- Storage: Store your carrot toner in the refrigerator to keep it fresh. It typically lasts for about 5-7 days.
- Patch Test: Before applying to your entire face, always do a patch test on a small area of your skin to ensure no adverse reactions.
- Consistency is Key: For noticeable results, make this a regular part of your daily skincare routine.

How to Incorporate Carrot Toner into Your Routine
Using your DIY carrot toner is incredibly simple:
- After cleansing your face, close your eyes and gently spritz the toner across your face and neck.
- Pat it into your skin using clean fingertips until fully absorbed.
- Follow up with your favorite serum and moisturizer.
You can use this toner morning and night, or even as a refreshing mist throughout the day!
Embrace Natural Beauty
Choosing DIY beauty solutions like this carrot toner is not just about saving money; it’s about connecting with nature, understanding what you put on your skin, and empowering yourself with simple, effective remedies. It’s a step towards a more natural, mindful self-care routine that truly nourishes your skin from within.
Are you ready to experience the magic of carrots for your skin? Give this homemade carrot toner a try and prepare to be amazed by your revitalized, youthful glow!