Hey gorgeous! Ever dreamt of waking up with skin that just glows, feels soft, and looks utterly radiant, all without a mountain of expensive products? Well, your beauty bestie is here to tell you a secret: the magic might just be in your kitchen! Today, we’re diving into the wonderful world of homemade natural facial oils – a simple, affordable, and incredibly effective way to unlock your skin’s natural luminosity.
Why Natural Facial Oils Are Your Skin’s Best Friend
In a world full of complex serums and creams, sometimes the simplest solutions are the most powerful. Natural facial oils are like a concentrated dose of goodness for your skin. They help to:
- Hydrate Deeply: Unlike water-based moisturizers that evaporate, oils lock in moisture, keeping your skin supple and plump.
- Nourish with Vitamins: Rich in essential fatty acids, antioxidants, and vitamins, they feed your skin what it needs to thrive.
- Support Skin Barrier: They help to strengthen your skin’s natural barrier, protecting it from environmental stressors and preventing moisture loss.
- Enhance Radiance: Regular use can improve skin texture, reduce dullness, and give you that coveted, healthy glow.
Crafting Your Own DIY Glow Oil: A Simple Guide
Making your own facial oil is easier than you think and allows you to customize it perfectly for your skin type. Here’s a basic recipe to get you started on your journey to luminous, hydrated skin:
What You’ll Need:
- A Carrier Oil: This is your base. Choose one that suits your skin:
- Jojoba Oil: Great for all skin types, mimics natural sebum.
- Argan Oil: Lightweight, anti-aging, packed with Vitamin E.
- Sweet Almond Oil: Hydrating and gentle, perfect for dry or sensitive skin.
- Rosehip Oil: Known for brightening and reducing the appearance of scars.
- Optional: Essential Oils (use with caution and dilute!): Add 1-2 drops per 10ml of carrier oil.
- Lavender: Calming and soothing.
- Frankincense: Rejuvenating and anti-aging properties.
- Tea Tree: Great for blemish-prone skin (use very sparingly).
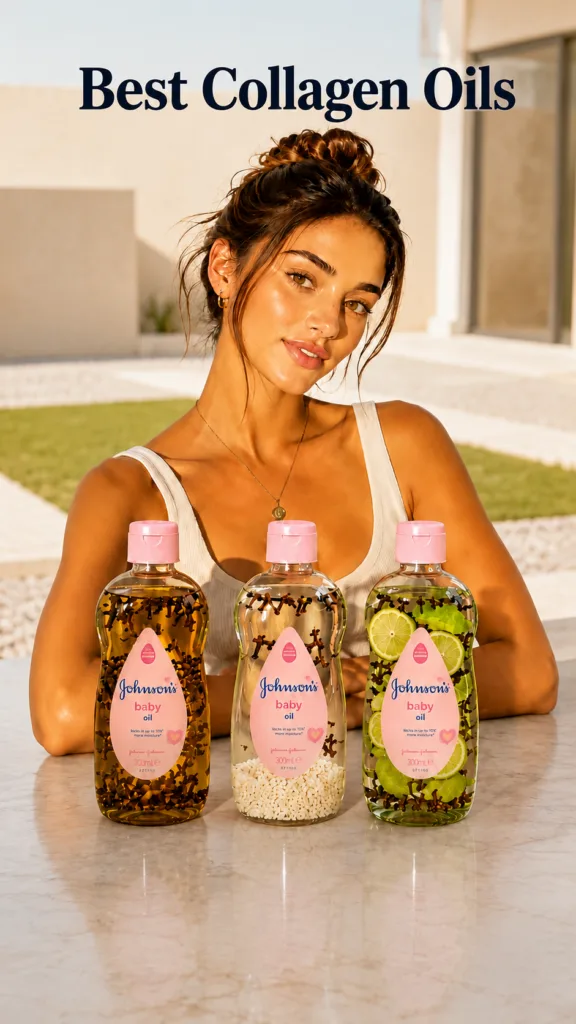
- Optional: Natural Infusions: This is where the magic happens and you can get creative, just like with those spice and lime infusions!
- Dried Herbs (e.g., chamomile, calendula): Soothing and anti-inflammatory.
- Citrus Peels (e.g., lime, orange): Brightening (use very sparingly as they can be photosensitive).
- Spices (e.g., a tiny pinch of turmeric, star anise): Antioxidant boost (turmeric can stain, so be mindful!).
- A Clean Glass Dropper Bottle: To store your oil.
Simple Steps to Make Your Oil:
- Choose Your Base: Fill your clean dropper bottle almost to the top with your chosen carrier oil (or a blend of a few!).
- Add Infusions (Optional): If you’re infusing, add a small amount of your chosen dried herbs, spices, or citrus peels directly into the carrier oil. Let it sit for a week or two in a cool, dark place, shaking gently daily. Strain out the solids if desired.
- Add Essential Oils (Optional): If using, add 1-2 drops of your preferred essential oil(s) per 10ml of carrier oil.
- Mix Gently: Close the bottle and gently roll it between your palms to mix everything.
- Patch Test: Always do a patch test on a small area of your skin before applying it to your face.
How to Use Your Homemade Elixir
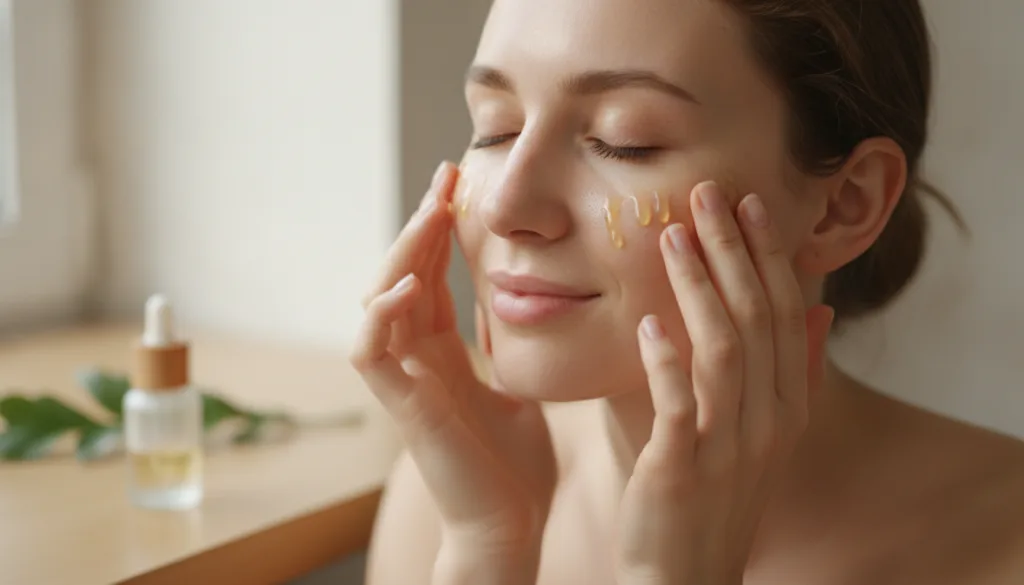
A little goes a long way! After cleansing and toning, take 2-4 drops of your facial oil onto your fingertips. Gently warm it between your palms, then press and massage it into your face and neck using upward motions. You can use it morning and night, or whenever your skin needs an extra boost of hydration.
A Few Friendly Reminders:
- Quality Matters: Always use high-quality, cold-pressed, organic carrier oils and pure essential oils.
- Storage: Store your homemade oil in a cool, dark place away from direct sunlight to preserve its potency.
- Listen to Your Skin: Every skin is unique. Pay attention to how your skin reacts and adjust your ingredients accordingly.
- Patience is Key: Natural remedies take time. Be consistent and enjoy the journey to healthier, more radiant skin.
Embracing natural facial oils is a beautiful step towards a more mindful and effective skincare routine. You’re not just applying a product; you’re nurturing your skin with nature’s best, customized by you!
Have you tried making your own facial oils or do you have a favorite natural ingredient? Share your tips and experiences with us in the comments below! Let’s glow together!