Unlock the $3 Anti-Aging Secret!
Who doesn’t love discovering a beauty secret that’s both effective and incredibly affordable? We’ve all seen those viral beauty hacks promising amazing results without breaking the bank. Today, we’re diving into one such popular beauty routine that people are trying, combining three simple ingredients you might already have in your pantry: cloves, baby oil, and lemon.
This trending DIY approach has gained traction for its potential to contribute to smoother-looking skin and a radiant glow. Let’s explore the individual benefits of these natural powerhouses and learn how you can prepare this simple ‘anti-aging elixir’ at home!
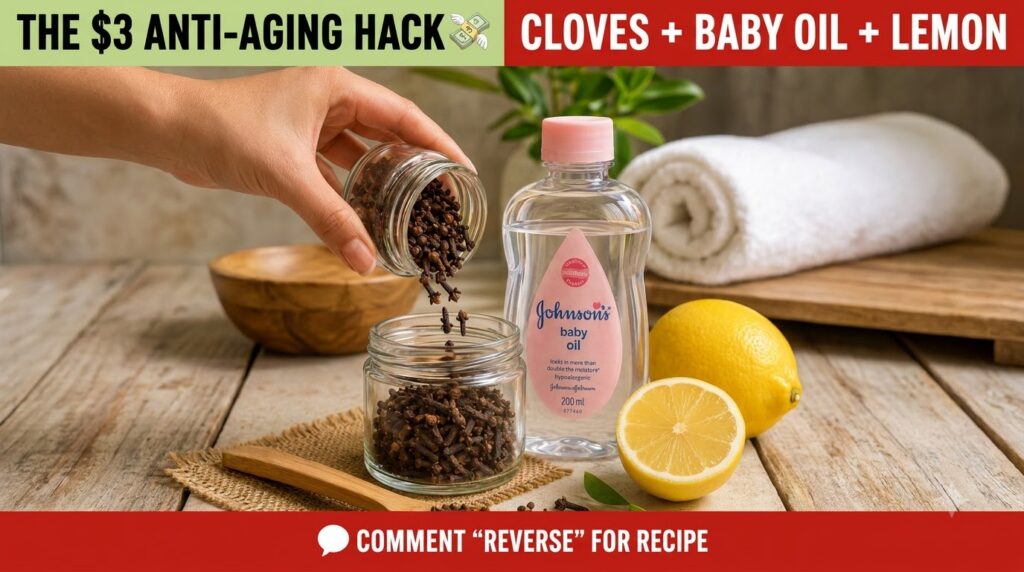
The Power Trio: Cloves, Baby Oil, and Lemon
Let’s take a closer look at what each of these ingredients brings to the table for your skin.
1. Cloves: Aromatic Wonders
- Antioxidant Boost: Cloves are rich in antioxidants, which are compounds that can help protect your skin from environmental stressors.
- Soothing Sensation: Historically, cloves have been used for their soothing properties, which some people believe can contribute to a calmer, more even-looking complexion.
- Natural Aroma: Beyond their potential skin benefits, cloves offer a wonderfully warm and comforting natural scent.
2. Baby Oil: Gentle Moisture Lock
- Intense Hydration: Baby oil is primarily a mineral oil, known for its excellent ability to create a barrier on the skin, effectively locking in moisture. This can help keep skin feeling soft and supple.
- Gentle on Skin: Designed for delicate baby skin, it’s typically very gentle and hypoallergenic, making it a popular choice for those with sensitive skin.
- Smooth Appearance: Regular use of a good moisturizer can contribute to the appearance of smoother, more plump-looking skin, diminishing the look of fine lines often associated with dryness.
3. Lemon: Brightening (with Caution!)
Lemon is a common ingredient in many DIY beauty routines, often celebrated for its natural alpha-hydroxy acid (AHA) content and vitamin C. These properties are sometimes associated with:
- Natural Exfoliation: AHAs can provide a very mild exfoliating effect, helping to shed dead skin cells and reveal brighter-looking skin.
- Skin Brightening: Vitamin C is known to help even out skin tone and reduce the appearance of dark spots, contributing to a more radiant complexion.
However, it’s incredibly important to use lemon with extreme caution in skincare, which we’ll detail below.
How People Prepare This DIY Anti-Aging Blend
This hack typically involves creating a clove-infused oil, which can then be combined with a tiny, diluted amount of lemon for application. Here’s a common way people prepare it:
What You’ll Need:
- 1/4 cup whole cloves
- 1 cup baby oil
- A clean, airtight glass jar
- A fine-mesh sieve or cheesecloth
- Optional: Fresh lemon (just a few drops needed)
Step-by-Step Method:
- Gently Crush Cloves: Place the cloves in a mortar and pestle or use the back of a spoon to gently crush them. You don’t need to grind them into a powder, just break them up slightly to release their beneficial compounds.
- Combine & Infuse: Transfer the crushed cloves to your clean glass jar. Pour the baby oil over the cloves, ensuring they are fully submerged.
- Seal & Store: Seal the jar tightly. You can choose to infuse the oil in two ways:
- Cold Infusion (recommended for beginners): Store the jar in a cool, dark place for 1-2 weeks, shaking it gently every day or two.
- Warm Infusion (more advanced): Gently heat the oil and cloves in a double boiler over low heat for 1-2 hours. Be careful not to let the oil get too hot, as extreme heat can degrade some beneficial compounds. This method is faster but requires more attention.
- Strain the Oil: After the infusion period, strain the oil through a fine-mesh sieve or cheesecloth into a new, clean glass jar. Discard the spent cloves. You now have your clove-infused baby oil!
- Optional Lemon Addition (Important Cautions Apply!): If you choose to incorporate lemon, do NOT add it directly to the entire batch of infused oil. Instead, for each application, take a very small amount of your clove-infused oil into the palm of your hand. Add 1-2 drops of freshly squeezed lemon juice, highly diluted with a few drops of water, and mix well immediately before applying.
How to Use Your DIY Clove & Baby Oil Treatment
Once your clove-infused oil is ready, here’s how people typically incorporate it into their routine:
- Cleanse Your Skin: Always start with a freshly cleansed face.
- Apply Gently: Take a small amount of the clove-infused oil (or the optionally lemon-diluted version) and gently massage it onto your face and neck using upward strokes. A little goes a long way!
- Nighttime Only: If you’re using the lemon-diluted version, it is crucial to apply this treatment ONLY at night, before bed.
- Leave On or Rinse: Many people leave the oil on overnight. If you’ve included lemon, consider rinsing your face thoroughly after 15-20 minutes, then moisturizing.
- Frequency: Start with 2-3 times a week to see how your skin reacts.
Important Considerations & What to Know Before You Try This
While natural remedies can be wonderful, it’s essential to approach them with knowledge and caution:
- Always Patch Test First: Before applying any new DIY treatment to your face, perform a patch test on a small, inconspicuous area of your skin (like behind your ear or on your inner arm) for 24-48 hours. This helps check for any adverse reactions or sensitivities.
- Lemon’s Phototoxicity is Real: Lemon juice can significantly increase your skin’s sensitivity to the sun, leading to severe sunburn, blistering, or hyperpigmentation (dark spots). If you use lemon on your skin, even in diluted form, it is absolutely essential to apply it only at night, wash it off thoroughly, and use a broad-spectrum sunscreen with an SPF of 30 or higher every single day, especially the day after application. It’s safer to avoid lemon on the face if you spend significant time outdoors.
- Individual Results May Vary: What works wonders for one person may not work the same for another. Consistency is key, but remember that DIY remedies are not guaranteed to provide specific