Have you ever looked at a fruit seed and wondered if it could sprout into something beautiful? The answer is a resounding yes! Germinating seeds at home, especially in water, is one of the most magical and rewarding gardening experiences. It’s a fantastic way to connect with nature, understand the life cycle of plants, and even grow some of your favorite fruits right from your kitchen.
Whether you’re a seasoned gardener or just starting your green journey, sprouting fruit seeds in water offers a simple, clean, and captivating way to witness the miracle of life unfold. Forget complex setups; all you need are a few common items and a sprinkle of patience!
Why Germinate Fruit Seeds in Water?
While many seeds prefer soil, some fruit seeds thrive when given a head start in water. This method offers several benefits:
- Visual Learning: You get a front-row seat to observe the entire germination process, from the first root emerging to the tiny leaves unfurling. It’s incredibly fascinating!
- Clean and Pest-Free: Water germination is naturally cleaner than soil-based methods, reducing the risk of soil-borne pests and diseases in the initial delicate stages.
- Easy to Monitor: You can easily check water levels, root development, and spot any issues early on.
- Accessible: Most of the materials you need are likely already in your home.
What You’ll Need
Getting started is incredibly simple. Gather these basic supplies:
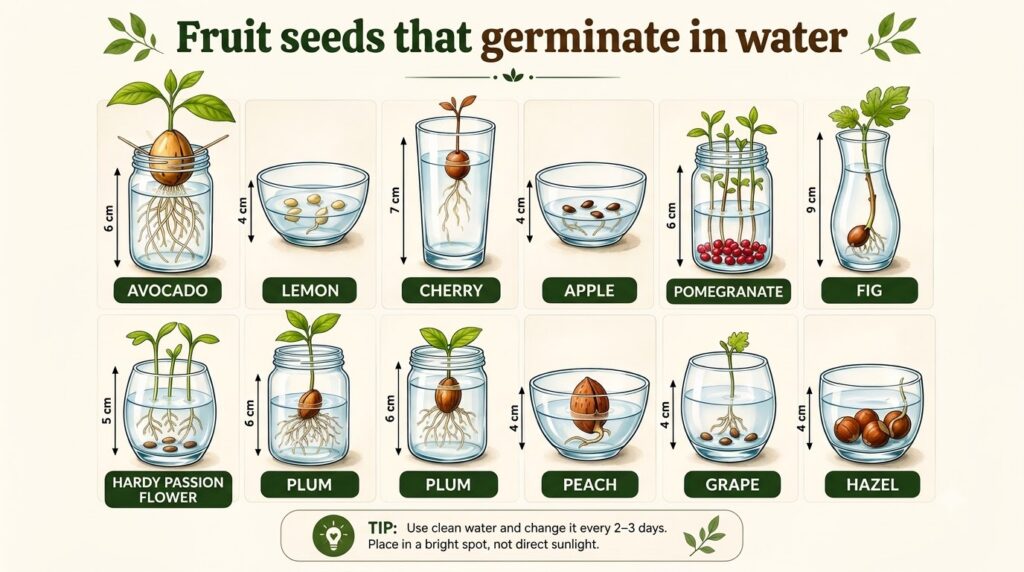
- Fresh Fruit Seeds: Choose seeds from ripe, healthy fruits. Popular choices include avocado, lemon, orange, apple, mango, and even lychee.
- Clear Glass Containers: Jars, glasses, or small bottles work perfectly. Clear containers allow you to observe the process.
- Water: Tap water is usually fine, but filtered or distilled water can sometimes yield better results.
- Toothpicks (Optional for Larger Seeds): Useful for suspending larger seeds like avocado.
Your Simple Guide to Sprouting Fruit Seeds in Water
Step 1: Prepare Your Seeds
This is a crucial step! Different fruit seeds require different preparation:
- Clean Them Thoroughly: Remove all fruit pulp from the seeds. Any remaining pulp can lead to mold or rot in the water. Rinse them under running water or gently scrub them.
- Soak (Optional but Recommended): For many seeds (like citrus), a quick soak in warm water for a few hours or overnight can help soften the seed coat and encourage germination.
- Avocado Specifics: Clean the pit, then insert three or four toothpicks evenly around its middle. These will help suspend the pit with the broader end (bottom) in water.
Step 2: Set Up Your Water Container
- For Avocado Pits: Place the toothpick-suspended pit over the rim of a glass, ensuring about an inch of the bottom is submerged in water.
- For Smaller Seeds: Place smaller, cleaned seeds (like citrus or apple seeds) directly into a shallow glass or jar of water. Make sure they are fully submerged. You can also place them on a damp paper towel inside a sealed plastic bag for a few days to encourage initial sprouting, then transfer them to water once a root appears.
Step 3: Find the Right Spot
Place your container in a warm location with indirect sunlight. A windowsill is often ideal, but avoid direct, scorching sun which can overheat the water. Consistent warmth is key for successful germination.
Step 4: Patience and Regular Water Changes
This is where patience comes in! Germination times vary greatly from seed to seed, ranging from a few days to several weeks or even months for avocado pits.
- Change Water Frequently: Replace the water every 2-3 days to prevent mold and ensure the seeds have fresh oxygen. This is vital for healthy root development.
- Observe: Keep an eye on your seeds. You’ll eventually see a tiny root emerge, followed by a sprout growing upwards.
Transitioning to Soil
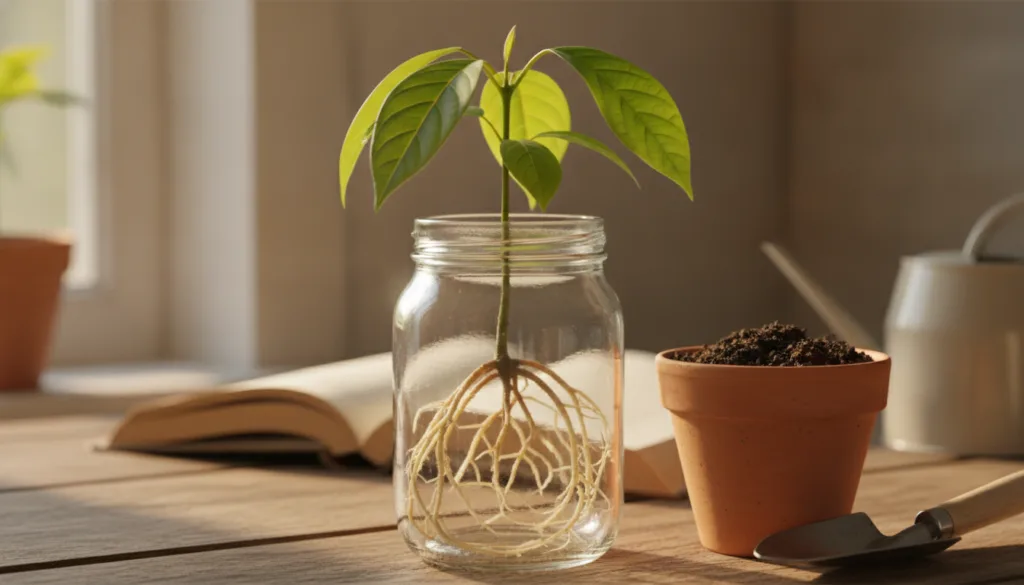
Once your seed has developed a substantial root system (typically several inches long) and a strong stem with a few leaves, it’s ready for its next adventure: transplanting into soil.
- Choose the Right Pot: Select a small pot with good drainage holes.
- Prepare the Soil: Use a high-quality potting mix, preferably one designed for seed starting or general houseplants.
- Gently Plant: Make a small hole in the center of the soil. Carefully place the seedling, ensuring the roots are covered and the base of the stem is level with the soil surface. Be very gentle to avoid damaging the delicate roots.
- Water Thoroughly: Water immediately after planting to help settle the soil around the roots.
- Continue Care: Place the newly potted plant in a spot with good light, and continue to water as needed, allowing the top inch of soil to dry out between waterings.
Tips for Success
- Be Patient: Nature works on its own timeline. Don’t get discouraged if some seeds take longer than others.
- Experiment: Try germinating different types of fruit seeds to see what works best for you.
- Monitor for Mold: If you see any signs of mold, remove the seed, clean it again, change the water, and consider using filtered water.
- Don’t Overwater in Soil: Once in soil, ensure you don’t overwater, as this can lead to root rot.
Germinating fruit seeds in water is a wonderful entry point into the world of gardening, offering a unique opportunity to watch life begin. It’s a simple act that brings immense joy and a deeper appreciation for the plants around us. So, grab a fruit, save its seed, and start your own miniature plant nursery today!
Have you tried germinating fruit seeds in water? Share your experiences and photos in the comments below! We’d love to see your little green victories.