Are you dreaming of a garden overflowing with vibrant flowers and abundant vegetables? One simple trick can significantly boost your success right from the start: seed soaking! This easy technique can lead to faster germination, healthier seedlings, and ultimately, a more productive garden. Join us as we dive into the world of seed soaking and discover how to give your plants the best possible beginning.
What is Seed Soaking and Why Does it Matter?
Seed soaking is exactly what it sounds like: immersing seeds in water for a specific period before planting them. While it might seem like a small step, it plays a crucial role in mimicking nature’s process, essentially waking your seeds up and preparing them for growth.
The Benefits of Soaking Your Seeds
Soaking seeds offers several advantages that can dramatically improve your gardening success:
- Faster Germination: Many seeds have tough outer coats that can hinder water absorption, delaying germination. Soaking softens these coats, allowing water to penetrate more easily and trigger the germination process sooner.
- Leaching of Inhibitors: Some seeds contain natural germination inhibitors. Soaking helps to wash away these chemicals, removing obstacles to sprouting.
- Improved Water Uptake: Pre-soaked seeds are already hydrated, giving them a head start in absorbing nutrients from the soil once planted.
- Stronger Seedlings: Seeds that germinate quickly and efficiently often develop into more robust and resilient seedlings, better equipped to handle the challenges of early growth.
Which Seeds Benefit from a Good Soak?
Not all seeds require soaking, but many common garden favorites respond exceptionally well to it, especially those with hard or thick seed coats. Think of peas, beans, corn, squash, and even some flowers like nasturtiums and sweet peas.
Common Seeds and Their Soaking Times
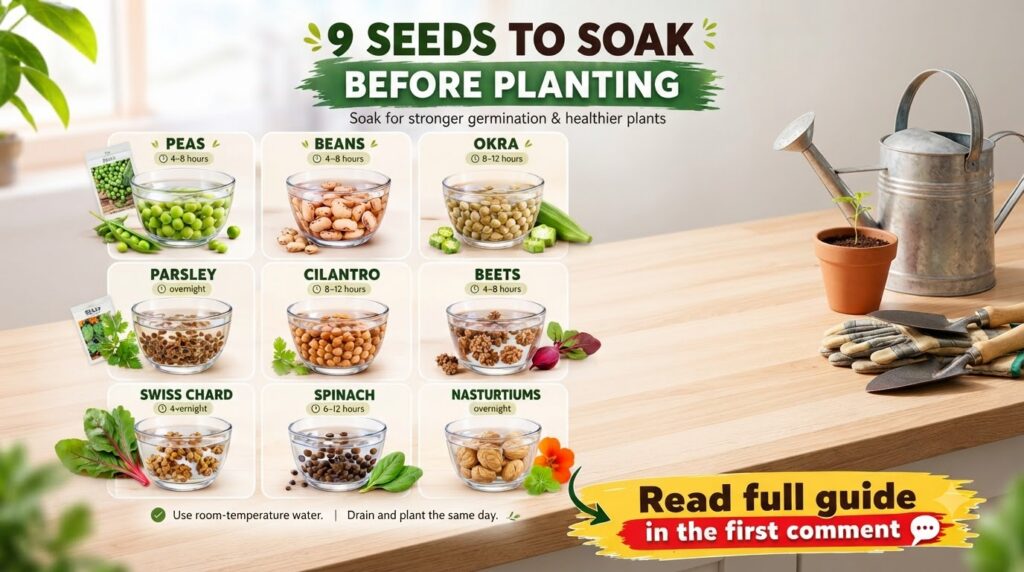
While times can vary based on seed age and variety, here are some general guidelines for popular seeds:
- Peas: 12-24 hours
- Beans (e.g., green beans, pole beans): 8-12 hours
- Okra: 12-24 hours
- Corn: 8-12 hours
- Squash and Cucumber: 6-12 hours
- Beets and Chard: 8-12 hours
- Nasturtiums: 24 hours
- Sweet Peas: 24 hours
Always do a quick search for specific recommendations for your chosen seed variety if you’re unsure.
How to Properly Soak Your Seeds: A Step-by-Step Guide
The process is straightforward and requires minimal tools:
- Gather Your Materials: You’ll need your seeds, a clean container (a small bowl, glass, or jar works perfectly), and room temperature water (distilled or filtered water is best, but tap water is usually fine).
- Add Water: Place your seeds in the container and add enough water to fully submerge them, plus a little extra. Seeds will expand as they absorb water.
- Set a Timer: Soak your seeds for the recommended duration. Avoid soaking for too long, as this can lead to rot or oxygen deprivation, hindering germination instead of helping it.
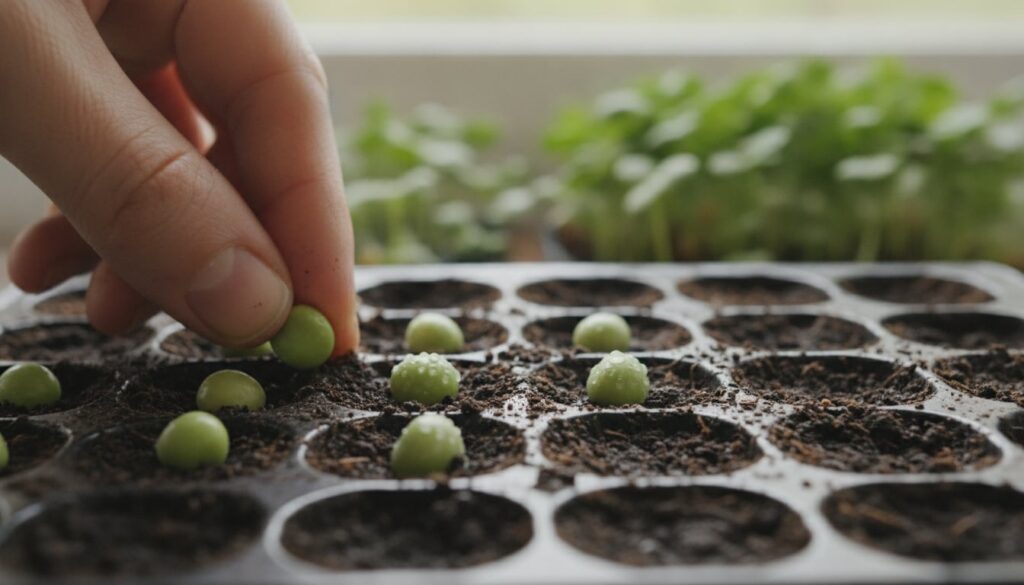
- Drain and Plant: Once the soaking time is up, drain the water. Your seeds are now plump and ready for planting! Plant them immediately into your chosen seed-starting mix or garden bed according to their specific planting depth and spacing requirements.
Important Tips for Seed Soaking Success
- Don’t Over-Soak: Longer isn’t always better. Too much time in water can drown the seed or encourage mold. Stick to the recommended times.
- Change Water (Optional): For very long soaks (over 24 hours), it can be beneficial to change the water once or twice to prevent anaerobic conditions.
- Warmth Helps: Soaking in slightly warm (not hot!) water can further encourage germination.
- Aerate (Optional): For certain very difficult seeds, some gardeners use an air stone (like those for aquariums) in the soaking water to provide oxygen, but this is usually not necessary for common garden seeds.
- Plant Immediately: Plant your soaked seeds as soon as possible after draining to prevent them from drying out or losing their newfound moisture.
- Gentle Handling: Soaked seeds are often softer and more delicate. Handle them with care during planting.
Seed soaking is a small effort with big rewards. By incorporating this simple technique into your gardening routine, you’ll be well on your way to a more vibrant, productive garden and the joy of a truly bountiful home harvest. Happy planting!
Do you have any favorite seeds you always soak? Share your tips and experiences in the comments below – we’d love to hear from you!