Imagine biting into a juicy, flavorful tomato, knowing you grew it from a seed you saved yourself. There’s a special kind of magic in that! Heirloom tomatoes, with their incredible diversity in color, shape, and taste, are a gardener’s delight. Saving their seeds not only connects you more deeply to your garden but also ensures you can enjoy your favorite varieties for years to come.
Here at Garden – L. Quyên, we’re all about empowering you to grow a thriving, sustainable garden. Today, we’re diving into the simple yet rewarding process of saving heirloom tomato seeds. It’s easier than you might think, and it’s a fantastic way to enhance your gardening journey and secure next season’s delicious harvest!
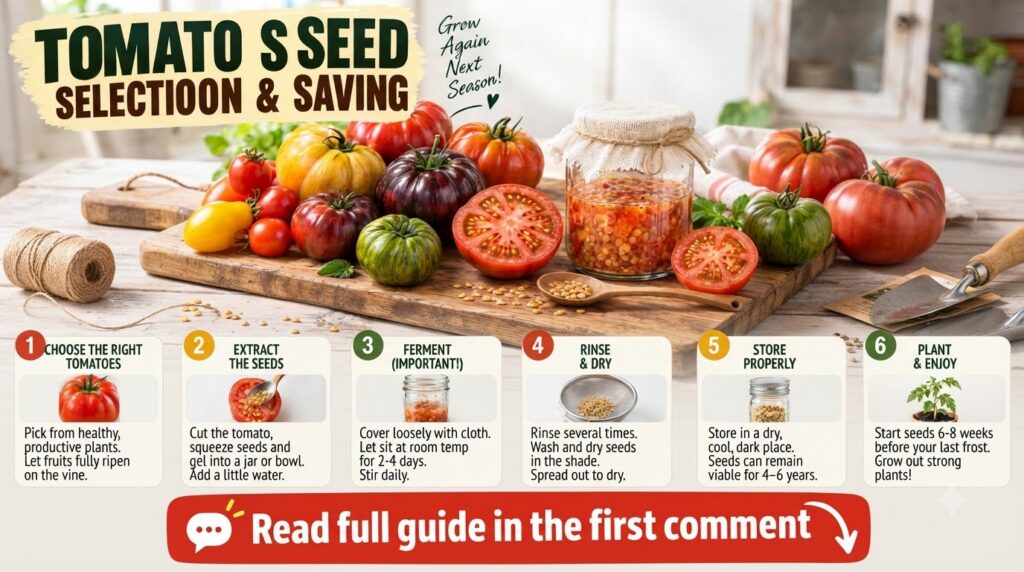
Why Save Your Own Tomato Seeds?
Beyond the joy of self-sufficiency, there are several compelling reasons to embrace tomato seed saving:
- Preserve Heirloom Varieties: Many unique and delicious heirloom varieties are not readily available in commercial seed packets. Saving seeds ensures these precious varieties continue to thrive.
- Cost-Effective: Once you have a healthy plant, you have a virtually endless supply of seeds, saving you money on future purchases.
- Adapt to Your Climate: Over time, seeds saved from plants grown in your specific garden will adapt better to your local soil and climate conditions, leading to stronger, more resilient plants.
- Sustainable Gardening: It’s a key practice in sustainable and organic gardening, reducing waste and fostering a more self-reliant garden ecosystem.
- Connect with Your Plants: It deepens your understanding and connection to the plant life cycle.
Choosing the Best Tomatoes for Seed Saving
The secret to successful seed saving starts with choosing the right tomatoes. You want to pick from the healthiest, most vigorous plants that produced the best-tasting fruit. Here are a few important considerations:
- Heirloom or Open-Pollinated Varieties: Only save seeds from heirloom or open-pollinated (OP) varieties. Hybrid (F1) seeds will not produce plants true to the parent and often yield disappointing results. Check your seed packet or plant tag to confirm.
- Healthy, Ripe Fruit: Select fully ripe, healthy, blemish-free tomatoes from strong, disease-free plants.
- Good Flavor and Characteristics: Choose fruits that exemplify the qualities you want to replicate – excellent flavor, good size, and preferred growth habit.
Step-by-Step Guide to Saving Heirloom Tomato Seeds
The fermentation method is widely considered the best way to save tomato seeds, as it helps separate the seeds from their gel sacs and eliminates seed-borne diseases.
Step 1: Harvest and Prepare Your Tomatoes
- Pick fully ripe tomatoes from your chosen plants.
- Wash the tomatoes thoroughly.
- Slice the tomatoes in half horizontally (across the equator).
Step 2: Scoop Out the Seeds
- Using a spoon, gently scoop the seeds and the surrounding gel into a clean glass jar. You can add a little bit of water (about an inch) to help cover the seeds.
- Label your jar with the tomato variety and the date. This is crucial for keeping track!
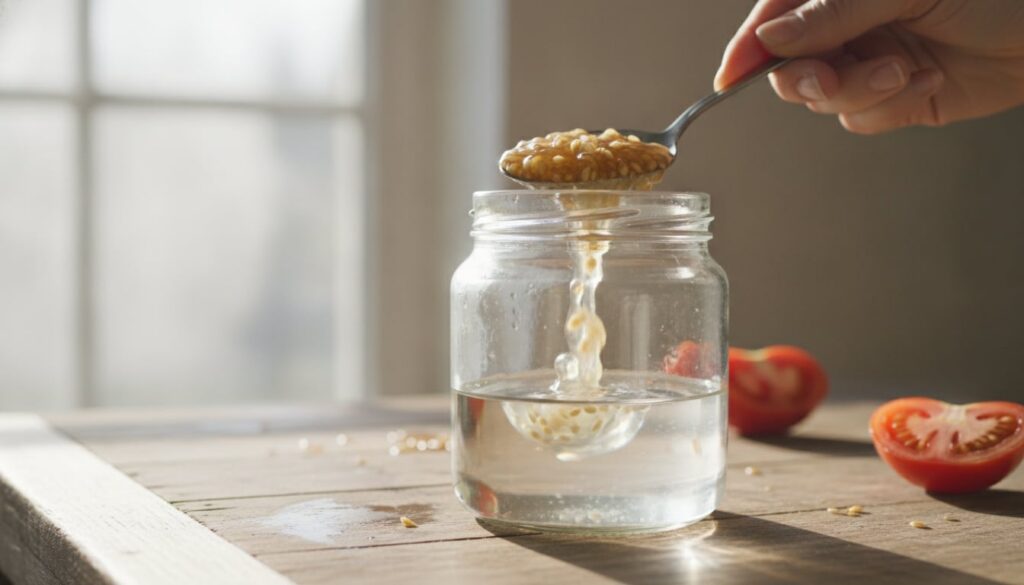
Step 3: Ferment the Seeds
- Cover the jar loosely with a lid or a breathable cloth (like cheesecloth) secured with a rubber band. This allows air to circulate but keeps pests out.
- Place the jar in a warm spot, out of direct sunlight, for 2-5 days.
- You’ll notice a layer of mold forming on top, and the mixture will start to smell slightly yeasty – this is normal! The fermentation process breaks down the gel coating around the seeds, making them easier to clean and improving germination rates. Stir the mixture once or twice a day.
- Fermentation is complete when the seeds sink to the bottom of the jar and the moldy layer is visible on top.
Step 4: Clean the Seeds
- Once fermentation is complete, carefully pour off the moldy liquid and any floating pulp.
- Add fresh water to the jar, swirl it around, and then pour off the water and any remaining debris. The good, viable seeds will sink to the bottom.
- Repeat this rinsing process several times until the water runs clear and you’re left with clean seeds at the bottom of the jar.
Step 5: Dry the Seeds
- Drain the clean seeds through a fine-mesh sieve.
- Spread the seeds in a single layer on a non-stick surface, such as a ceramic plate, parchment paper, a glass plate, or a coffee filter. Avoid paper towels, as the seeds might stick.
- Place the seeds in a warm, dry spot with good air circulation, away from direct sunlight.
- Allow the seeds to dry completely for 1-2 weeks. Stir them occasionally to ensure even drying and prevent clumping. They should be brittle and snap when bent, not flexible.
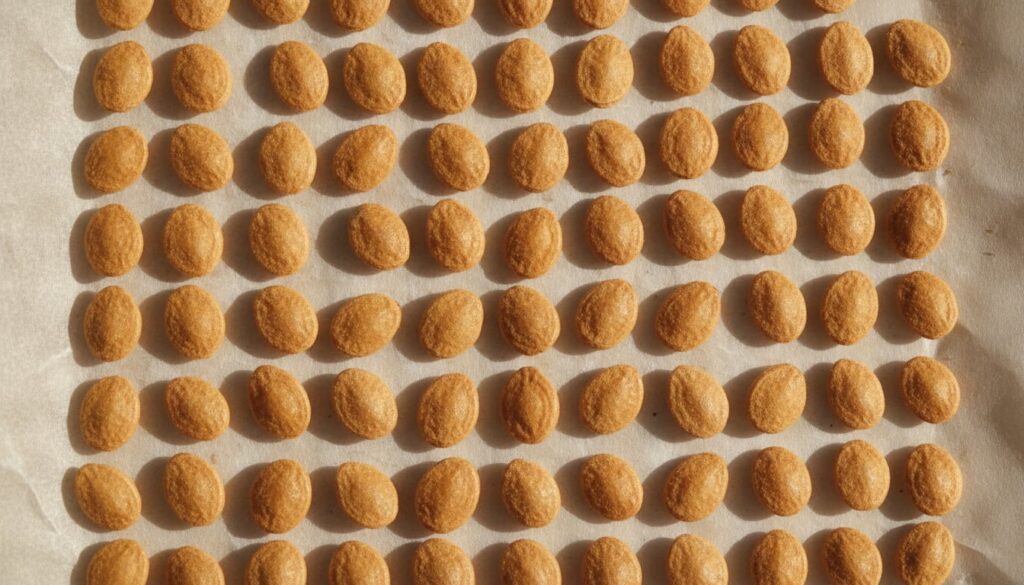
Step 6: Store Your Seeds
- Once completely dry, store your tomato seeds in airtight containers or paper envelopes.
- Label each container clearly with the variety name and the date saved.
- Keep them in a cool, dark, and dry place. A pantry, closet, or even a refrigerator (if kept dry) works well. Properly stored, tomato seeds can remain viable for 3-5 years, sometimes even longer!
Tips for Success
- Start Small: If you’re new to seed saving, choose one or two favorite heirloom varieties to start with.
- Patience is Key: Don’t rush the fermentation or drying process. Both are critical for viable seeds.
- Isolate Varieties (Optional): If you’re saving seeds from multiple heirloom varieties and want to ensure genetic purity, separate them by about 10-20 feet or use row covers to prevent cross-pollination. However, for home gardeners, a small amount of cross-pollination is generally not a major concern.
- Test Germination: Before planting a large batch, you can test a small sample of your saved seeds for germination.
Your Next Season Awaits!
Saving heirloom tomato seeds is a fulfilling practice that deepens your connection to the food you grow and the cycle of nature. It’s a simple step towards a more sustainable and abundant garden. So, pick out your favorite tomato, follow these easy steps, and get ready to unlock a whole new world of home-harvested deliciousness next season!
Happy gardening!