Unlock the Secret to Ageless Beauty with Grandma’s DIY Collagen Gel!
Have you ever wondered how your grandma maintained such beautiful, glowing skin through the years? There’s a secret ingredient and a simple, time-tested approach that’s making waves across the internet: a DIY “collagen gel” that harnesses the power of natural ingredients to rejuvenate your complexion. This isn’t just another beauty hack; it’s a warm embrace of natural wisdom for truly timeless skin.
Forget expensive creams and complicated routines! We’re diving into an age-defying night routine that’s easy to make, kind to your skin, and gentle on your wallet. Ready to discover the magic?
Understanding the Magic: How “Collagen Gel” Works Naturally
Let’s clarify one thing: this DIY recipe isn’t introducing actual collagen directly into your skin. Instead, we’re talking about a powerful blend of ingredients that work synergistically to support your skin’s natural elasticity, hydration, and repair processes. This helps your skin look plumper, firmer, and more youthful – giving you that “collagen-boosted” appearance without the harsh chemicals!
The Star Ingredients & Their Benefits:
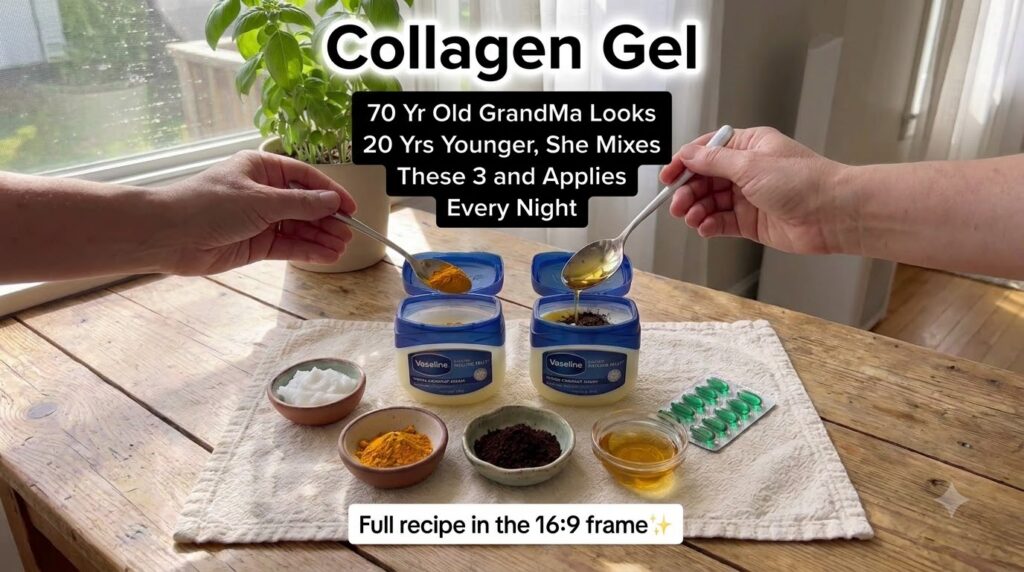
- Vaseline (Petroleum Jelly): The humble hero of this recipe, Vaseline acts as an occlusive barrier. It locks in moisture, preventing water loss from your skin, which is crucial for maintaining a plump and hydrated complexion. When combined with other nourishing ingredients, it helps them penetrate more effectively.
- Turmeric Powder: A golden spice revered for centuries, turmeric is packed with antioxidants and anti-inflammatory compounds. It can help brighten your skin, reduce the appearance of dark spots and hyperpigmentation, and give you a natural, radiant glow.
- Coffee Grounds: Beyond your morning cup, coffee grounds are rich in antioxidants and can stimulate blood circulation. While often used as an exfoliant, in a gel form, the fine particles can provide gentle stimulation, helping to give your skin a revitalized appearance. Ensure they are very finely ground for a smooth texture.
- Honey or Natural Oil (e.g., Almond Oil, Jojoba Oil): The golden liquid in many DIY recipes, honey is a natural humectant, drawing moisture into the skin. It’s also antibacterial and rich in antioxidants. If using an oil, it provides deep nourishment, essential fatty acids, and helps improve skin elasticity.
- Vitamin E Capsules: These little green gems are powerhouse antioxidants, known for their skin-healing and nourishing properties. Vitamin E can help protect skin cells from damage, reduce the appearance of scars, and promote a smoother, more supple texture.
Grandma’s Secret DIY Collagen Gel Recipe
Ready to whip up your own batch of youthful magic? Here’s how:
Ingredients You’ll Need:
- 2 tablespoons Vaseline Healing Jelly (Coconut Cream for an extra treat!)
- 1/2 teaspoon finely ground turmeric powder
- 1/4 teaspoon very finely ground coffee grounds (or coffee extract for smoother gel)
- 1 teaspoon pure honey or a nourishing facial oil (like almond or jojoba oil)
- 1-2 Vitamin E capsules (prick and squeeze out the oil)
Step-by-Step Instructions:
- Prepare Your Base: In a small, clean, heat-safe bowl, add the Vaseline.
- Gentle Melt: Gently melt the Vaseline using a double boiler method or by microwaving in short bursts (10-15 seconds) until it’s softened and easily mixable, but not fully liquid.
- Add the Goodness: Once softened, add the turmeric powder, very finely ground coffee grounds (if using), honey or oil, and the oil from the Vitamin E capsules.
- Mix Thoroughly: Stir all ingredients together very well until you have a smooth, consistent “gel-like” mixture. Make sure there are no lumps of powder.
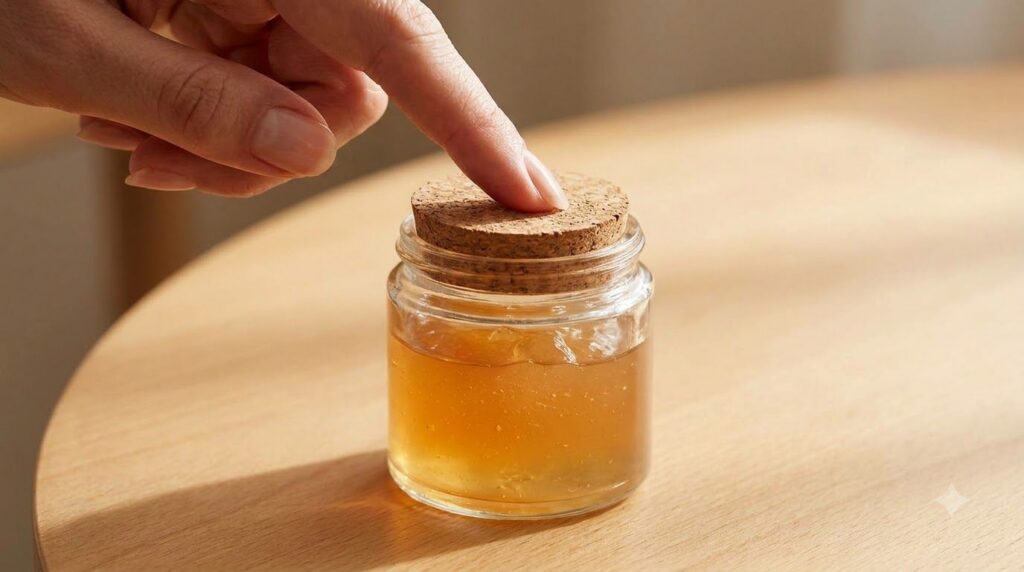
- Transfer and Set: Carefully transfer your homemade collagen gel into a small, clean, airtight container (a small jar works perfectly). Allow it to cool and set at room temperature or in the refrigerator for about an hour.
How to Use Your Homemade Collagen Gel for Best Results
Incorporating this gem into your routine is simple:
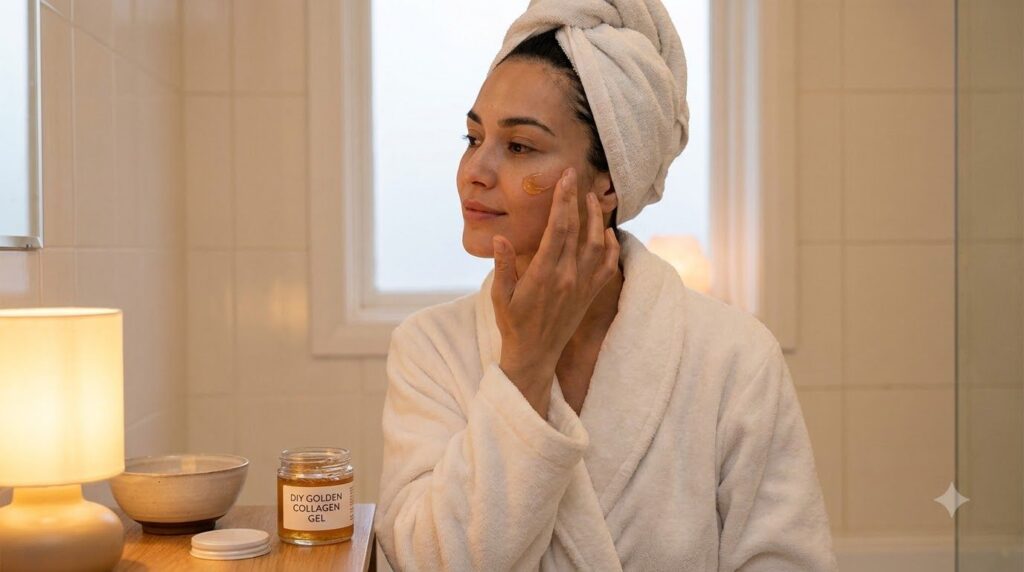
- Nightly Ritual: After cleansing and toning your face in the evening, take a small amount of the gel with clean fingertips.
- Gentle Application: Gently massage the gel onto your face and neck using upward, circular motions. Pay extra attention to areas prone to fine lines and wrinkles.
- Let It Work: Allow the gel to absorb overnight. You’ll wake up to skin that feels incredibly soft, hydrated, and refreshed.
- Patch Test First: Always perform a patch test on a small area of your skin (like behind your ear or on your inner arm) 24 hours before full application, especially if you have sensitive skin, to ensure no adverse reactions.
Tips for Maximizing Your Youthful Glow
- Consistency is Key: For noticeable results, make this gel a consistent part of your nightly skincare routine.
- Store Properly: Keep your homemade gel in an airtight container in a cool, dry place. It should last for 2-3 weeks. Discard if you notice any changes in smell or appearance.
- Hydration from Within: Remember that beautiful skin also comes from within. Drink plenty of water and maintain a balanced diet.
Embrace Your Natural Beauty!
Grandma truly knew best! This DIY collagen gel is more than just a recipe; it’s an invitation to embrace natural, affordable beauty solutions that truly work. By taking a few moments each day to nourish your skin with these simple ingredients, you’re investing in a radiant, youthful complexion that will make you feel confident and beautiful.
Have you tried a similar homemade beauty recipe? Share your experiences and tips in the comments below! We’d love to hear from you!