Welcome Spring with Gorgeous Tulips!
There’s nothing quite like the vibrant burst of tulips to announce the arrival of spring. Their elegant forms and dazzling colors can transform any garden into a masterpiece. If you dream of a garden filled with these cheerful blooms, the journey begins long before spring arrives – it starts with planting your tulip bulbs in the fall!
Join us as we explore the simple steps to successfully plant tulip bulbs, ensuring your garden is ready to put on a spectacular show when warmer weather returns. It’s a rewarding experience that connects you directly with the rhythms of nature.
Why Plant Tulips?
Tulips are more than just pretty flowers; they are symbols of spring, rebirth, and perfect love. They offer:
- Stunning Variety: From classic single petals to frilly parrot tulips, fringed, and double blooms, the sheer diversity of colors and forms is astounding.
- Early Spring Color: They are among the first flowers to emerge, brightening up your garden when little else is in bloom.
- Relatively Easy Care: Once planted correctly, tulips require minimal fuss, making them ideal for both seasoned gardeners and beginners.
The Best Time to Plant Tulip Bulbs
Timing is crucial for tulip success! Tulip bulbs need a period of cold dormancy to produce flowers. This means the ideal time to plant them is in the fall, typically when soil temperatures drop below 60°F (15°C) but before the ground freezes solid. This is usually from late September to November, depending on your climate zone.
Planting in the fall allows the bulbs to establish a healthy root system before winter sets in. The cold period then signals them to prepare for their spectacular spring display.
Choosing and Preparing Your Tulip Bulbs
1. Select Healthy Bulbs
When purchasing tulip bulbs, look for ones that are firm and plump, free from mold, soft spots, or cuts. Larger bulbs generally produce larger, more vigorous blooms.
2. Pick the Perfect Spot
Tulips thrive in full sun, meaning at least 6 hours of direct sunlight per day. They also need well-draining soil, as excessive moisture can cause bulbs to rot. If your soil is heavy clay, amend it with organic matter like compost or sand to improve drainage.
3. Prepare the Soil
Loosen the soil to a depth of at least 8-10 inches. This creates a soft bed for the roots to grow. You can add a balanced slow-release fertilizer or bone meal to the planting hole to provide nutrients, though tulips can often perform well without it if your soil is already fertile.
Step-by-Step Tulip Planting Guide
Step 1: Dig the Hole
A good rule of thumb for planting depth is to plant bulbs two to three times their height deep. So, if your bulb is 2 inches tall, plant it 4-6 inches deep. For larger tulip varieties, this could mean 8 inches deep.
Step 2: Mind the Spacing
Space bulbs 4-6 inches apart for a massed display. If you’re planting them in a bed with other plants, you can space them a bit wider. For a truly dramatic effect, plant tulips in clusters of 5-7 bulbs rather than in single rows.
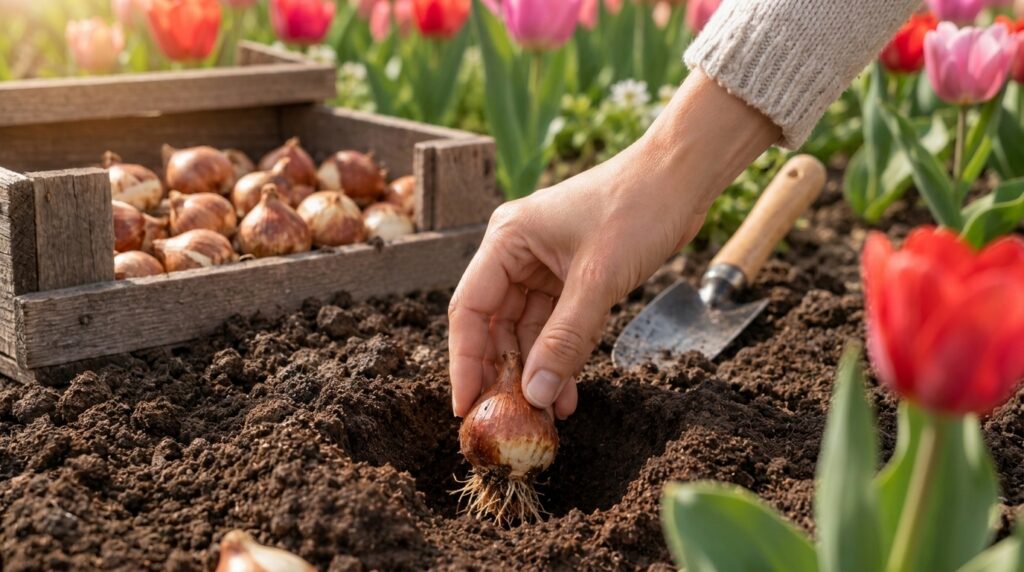
Step 3: Place the Bulb Correctly
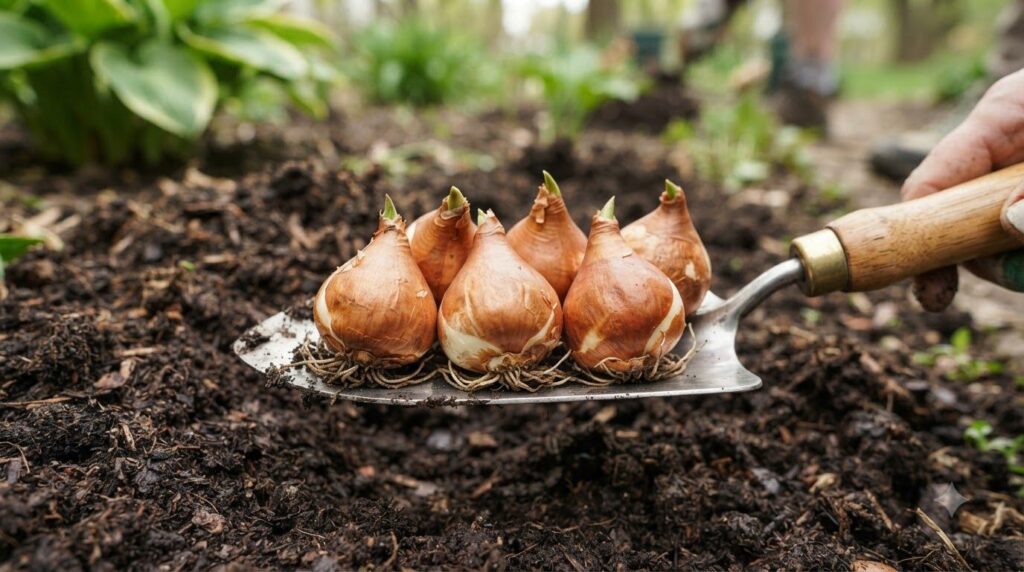
Place each tulip bulb with the pointed end facing upwards. This is where the shoot will emerge. The flatter, slightly indented side is usually the base where roots will grow.
Step 4: Cover and Water
Gently cover the bulbs with soil, patting it lightly. Water thoroughly immediately after planting to help settle the soil and kickstart root growth. If rain is scarce, continue to water occasionally until the ground freezes.
Step 5: Protect from Pests (Optional)
Squirrels and other rodents sometimes enjoy tulip bulbs. You can deter them by placing a layer of chicken wire or hardware cloth over the planting area before covering it with soil, or by applying a repellent.
Aftercare for Stunning Spring Blooms
- Winter Protection: In colder climates, a layer of mulch (like straw or leaves) applied after the ground freezes can help insulate the bulbs and protect them from fluctuating temperatures.
- Spring Watering: Once shoots emerge in spring, water if rainfall is insufficient, especially during dry spells.
- Deadheading: After tulips bloom, snip off the faded flower heads (deadhead) to prevent the plant from putting energy into seed production. This energy can then be stored in the bulb for next year’s bloom.
- Foliage: Allow the foliage to yellow and die back naturally (typically 6-8 weeks after flowering). Do not cut it back prematurely, as the leaves are crucial for photosynthesis, which nourishes the bulb for future blooms.

Enjoy the Anticipation!
Planting tulip bulbs is an act of hope and a delightful way to prepare for the beauty of spring. With a little care in the fall, you’ll be greeted by a breathtaking array of colors that will make your garden the envy of the neighborhood.
Happy planting, and we can’t wait to see your garden bloom!