When you’re craving a rich, indulgent treat but don’t want to spend hours baking, a no-bake cream dessert is your perfect solution. This simple DIY allows you to whip up a delightful, creamy confection with minimal effort, making it ideal for a cozy afternoon treat or a quick dessert after dinner. It’s surprisingly easy to customize and always impresses with its smooth texture and sweet flavor.
What You’ll Need
Ingredients
- 1 cup (240ml) heavy whipping cream, well chilled
- 1/2 cup (120ml) sweetened condensed milk, well chilled
- 1 teaspoon pure vanilla extract
- Optional additions: crumbled cookies, fresh berries, chocolate shavings, or a drizzle of caramel for layering.
Tools
- Large mixing bowl
- Electric mixer (handheld or stand mixer) or a whisk
- Measuring cups and spoons
- Spatula
- 2-4 small serving glasses or ramekins
Why This DIY Can Be Useful
This no-bake cream dessert is a fantastic option for several reasons. First, it requires no oven, saving you time and heating up your kitchen less, especially on warm days. The combination of heavy cream and sweetened condensed milk creates a luxurious, rich base that is both sweet and satisfying. Vanilla extract enhances the flavor, providing a comforting and familiar taste. It’s also incredibly versatile, allowing you to easily layer in different flavors and textures to suit your preferences, from tart berries to crunchy cookies, making each serving uniquely delicious.
How to Make It
- Ensure both your heavy whipping cream and sweetened condensed milk are thoroughly chilled. This helps the cream whip up better and creates a more stable dessert.
- In a large mixing bowl, combine the chilled heavy whipping cream, chilled sweetened condensed milk, and vanilla extract.
- Using an electric mixer, start on low speed and gradually increase to medium-high. Whip the mixture until it reaches soft to medium peaks. It should be thick and creamy, but still somewhat pourable, similar to a thick milkshake or a soft-serve consistency. Be careful not to overmix, as it can become too stiff.
- Once the desired consistency is achieved, your creamy dessert base is ready for layering.
How to Use It
- Prepare your serving glasses. If you’re adding layers, place a small amount of your chosen optional addition (like crumbled cookies or berries) at the bottom of each glass.
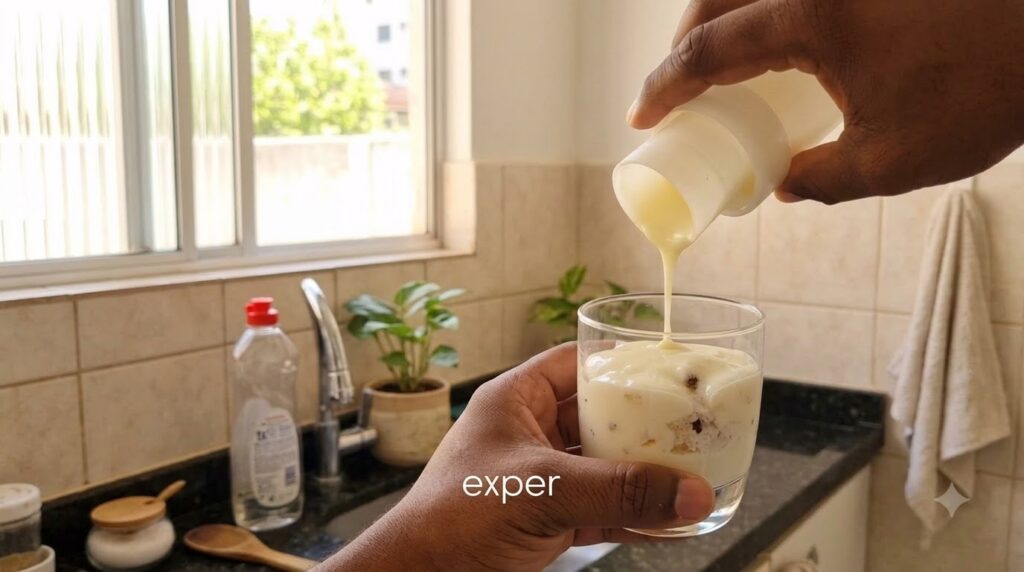
- Carefully pour or spoon the creamy mixture into the glasses. If you’re creating layers, add half of the cream mixture, then another layer of your optional additions, and top with the remaining cream mixture.
- Smooth the top with a spatula if desired.
- Cover the glasses with plastic wrap and refrigerate for at least 2-4 hours, or until the dessert is well chilled and set. For best results, chill overnight.
- Before serving, you can add a final garnish, such as a fresh berry, a sprinkle of chocolate, or a mint leaf.
What to Expect
You can expect a smooth, rich, and delightfully sweet dessert that melts in your mouth. The texture will be similar to a thick mousse or a very soft pudding, firm enough to hold its shape in the glass but still creamy. The sweetness is balanced by the cream, and the vanilla provides a classic, comforting flavor profile. The optional layers will add wonderful contrasting textures and tastes, making each spoonful an enjoyable experience.
Helpful Tips
- Chill Your Bowl and Whisk: For even better results, chill your mixing bowl and whisk attachments in the freezer for 10-15 minutes before whipping the cream mixture. This extra chill helps the cream whip faster and achieve a better texture.
- Customization is Key: Don’t be afraid to experiment with your optional layers! Try graham cracker crumbs, crushed chocolate wafers, fresh fruit like sliced bananas or strawberries, or even a swirl of fruit preserves or lemon curd.
- Mini Desserts: For portion control or a party, use shot glasses or mini ramekins for individual servings.
- Make Ahead: This dessert is perfect for making in advance. Prepare it the day before and let it chill thoroughly in the refrigerator for optimal setting and flavor development.
Important Notes
- Chilling is Crucial: This dessert relies on chilling to set properly. Do not skip or shorten the refrigeration time.
- Dairy Product Handling: Since this recipe uses dairy, ensure proper refrigeration at all times. Do not leave the dessert at room temperature for extended periods.
- Taste Test: Before pouring, taste a small spoonful of your cream mixture. If you prefer it sweeter, you can whisk in a tiny bit more condensed milk. If you prefer less sweet, consider adding a pinch of salt to balance the flavor.