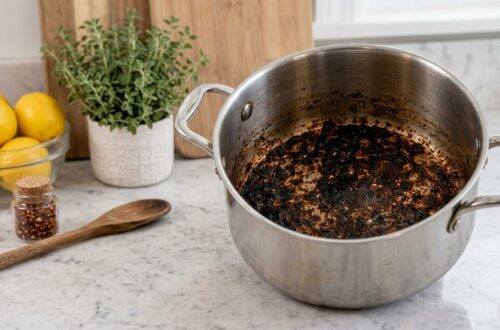
Stubborn burnt stains on your favorite pots and pans can be incredibly frustrating. Before you consider tossing that trusty cookware, discover how easy it is to make them shine like new again! We’ve gathered 8 simple, effective, and natural DIY hacks using common household ingredients to tackle even the toughest cooked-on messes, not just on your pots, but throughout your entire kitchen.
From burnt pots to sparkling sinks and microwaves, these eco-friendly cleaning solutions will help you restore your kitchenware and surfaces without harsh chemicals. Get ready to revitalize your kitchen with these clever tips!
Quick Overview
- Main topic: DIY Kitchen Cleaning Hacks
- Best for: Removing burnt stains, general kitchen deep cleaning, eco-friendly solutions
- Number of recipes: 8
- Prep style: Hands-on, natural cleaning
- Reader benefit: Restored cookware, sparkling kitchen, chemical-free cleaning
Recipe 1: The Ultimate Burnt Pot Revival Hack
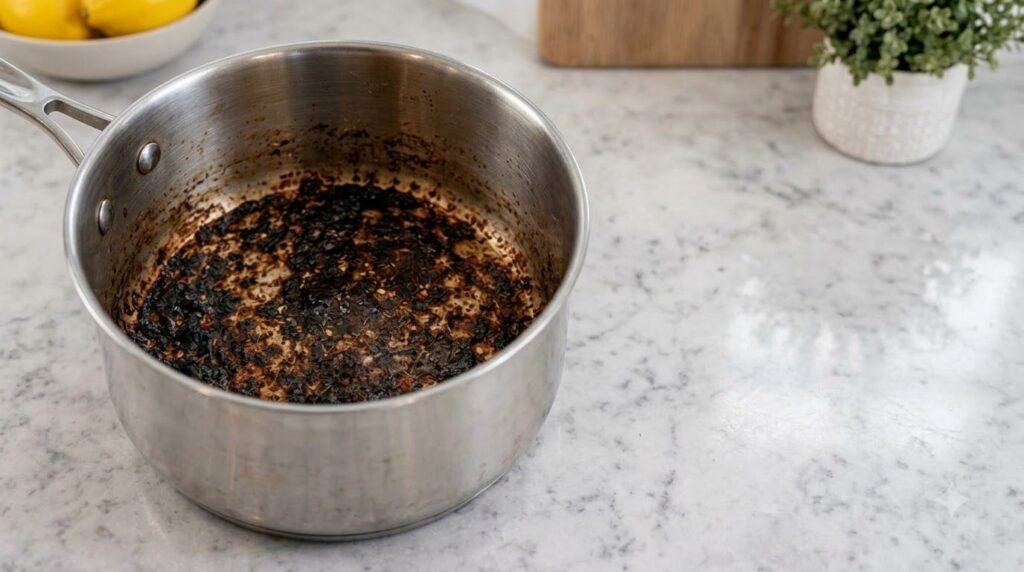
This is the original hack designed to make your burnt pots look brand new again.
Servings: 1 pot
Prep time: 5 minutes
Cook / chill / rest time: 10-15 minutes (plus scrubbing)
Ingredients:
- Water: enough to cover the bottom of the pot
- White vinegar: 1 cup
- Baking soda: 2 tablespoons
- Dish soap: 1-2 teaspoons
- Sponge or scourer: 1
Instructions:
- Fill the bottom of your burnt pot with water and add the white vinegar. The water should cover the burnt areas.
- Bring the mixture to a boil on the stove over medium-high heat.
- Once boiling, remove the pot from the heat and carefully add the baking soda. It will fizz vigorously.
- Let the solution sit and fizz for a few minutes, allowing it to work on loosening the burnt residue.
- Pour out the solution, then add a squirt of dish soap. Scrub the pot with a sponge or scourer. Watch those tough stains lift right off! Rinse thoroughly.
Storage / Serving / Usage Note:
Use immediately after cleaning. For extremely tough stains, you may need to repeat the process or let the baking soda solution sit for a longer period (30 minutes to an hour) before scrubbing.
Recipe 2: Sparkling Stainless Steel Sink Cleaner
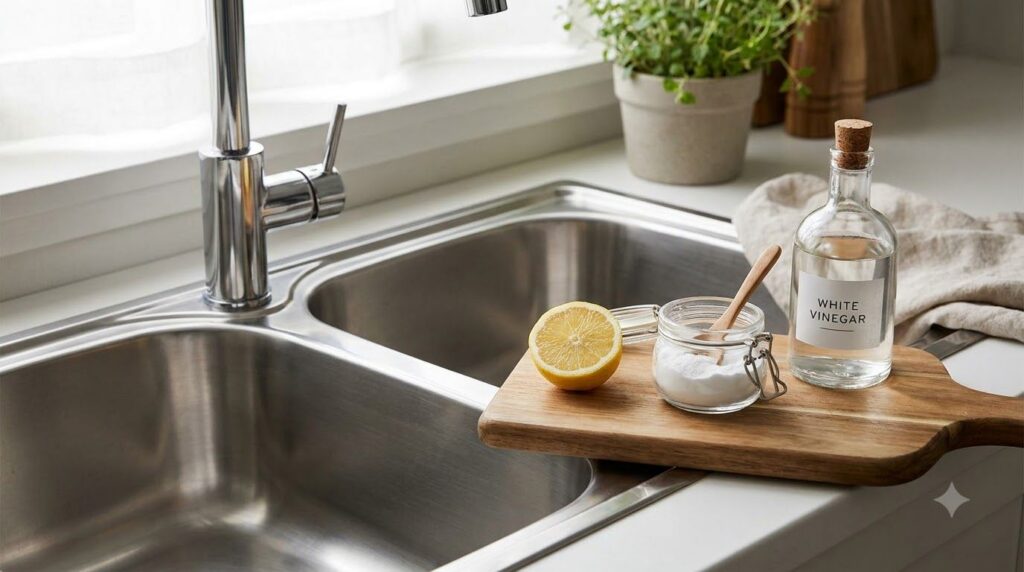
Restore the sparkle to your stainless steel sink and remove water spots and grime.
Servings: 1 sink
Prep time: 2 minutes
Cook / chill / rest time: 10 minutes
Ingredients:
- Baking soda: 1/2 cup
- White vinegar: 1/4 cup
- Lemon: 1 (halved)
- Warm water: as needed
Instructions:
- Rinse your sink thoroughly with warm water to wet the surface.
- Sprinkle the baking soda generously over the entire sink basin.
- Using one half of the lemon, scrub the baking soda into the sink, paying attention to stained areas. The lemon’s acidity and baking soda’s abrasive qualities work together.
- Pour the white vinegar over the baking soda. It will fizz; let it sit for a few minutes to disinfect and break down grime.
- Rinse the sink thoroughly with warm water until all residue is gone. For extra shine, buff with a clean, dry cloth.
Storage / Serving / Usage Note:
Use immediately. For best results, clean your sink regularly to prevent heavy buildup.
Recipe 3: Microwave Deep Clean
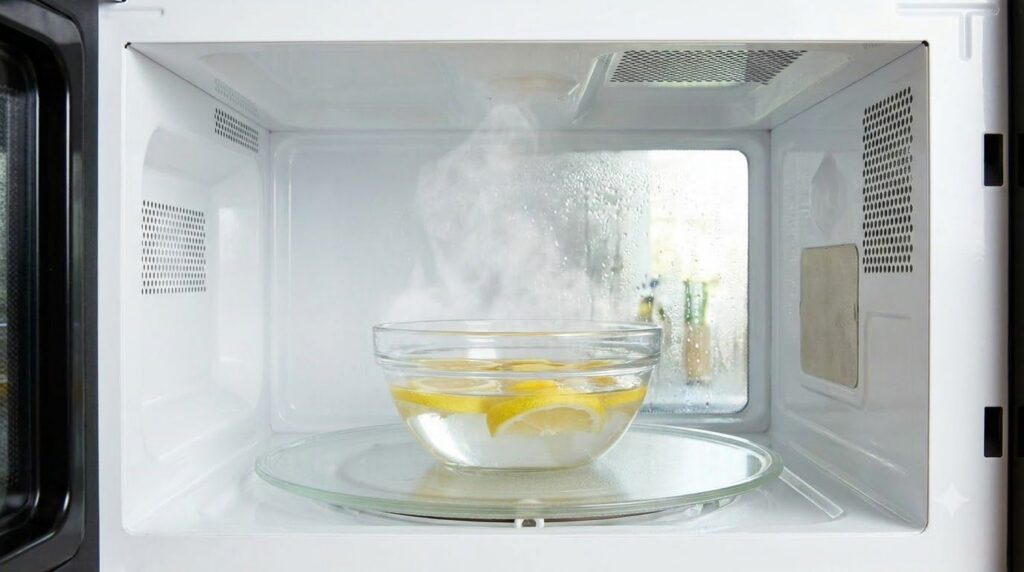
Steam away stubborn, dried-on food splatters and odors from your microwave.
Servings: 1 microwave
Prep time: 2 minutes
Cook / chill / rest time: 10 minutes
Ingredients:
- Water: 1 cup
- White vinegar: 1/4 cup
- Lemon: 1 (sliced)
- Microwave-safe bowl: 1
Instructions:
- Combine the water, white vinegar, and sliced lemon in a microwave-safe bowl.
- Place the bowl in the microwave and heat on high for 5 minutes, or until the mixture is boiling and the microwave window is steamy.
- Leave the bowl inside the microwave for another 5 minutes (without opening the door) to allow the steam to loosen food particles.
- Carefully remove the hot bowl. Wipe down the inside of the microwave with a damp cloth or sponge. The grime should come off easily.
Storage / Serving / Usage Note:
Clean your microwave weekly or as needed to prevent food buildup and lingering odors.
Recipe 4: Oven Rack Degreaser
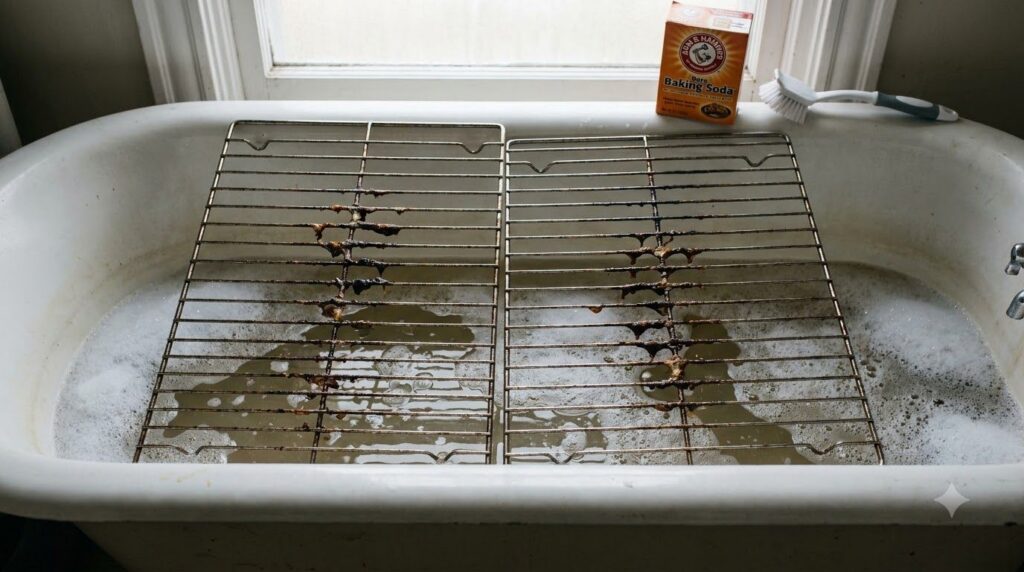
Easily remove baked-on grease and food residue from your oven racks without harsh chemicals.
Servings: 2-3 oven racks
Prep time: 5 minutes
Cook / chill / rest time: Overnight (8-12 hours)
Ingredients:
- Baking soda: 1/2 cup
- Dish soap: 1/4 cup
- Hot water: enough to cover racks
- Old towel or newspaper: 1
- Scrub brush or sponge: 1
Instructions:
- Line the bottom of your bathtub or a large plastic storage bin with an old towel or newspaper to protect the surface.
- Carefully place your dirty oven racks onto the lined surface.
- Sprinkle the baking soda evenly over the racks, followed by the dish soap.
- Fill the tub/bin with enough very hot water to completely submerge the oven racks.
- Let the racks soak overnight (8-12 hours) to allow the mixture to break down the grease.
- The next morning, drain the water. Use a scrub brush or sponge to easily remove any remaining grime. Rinse thoroughly with clean water.
Storage / Serving / Usage Note:
This method is ideal for a deep clean every few months or as needed. Ensure racks are completely dry before returning to the oven.
Recipe 5: Cutting Board Sanitizer
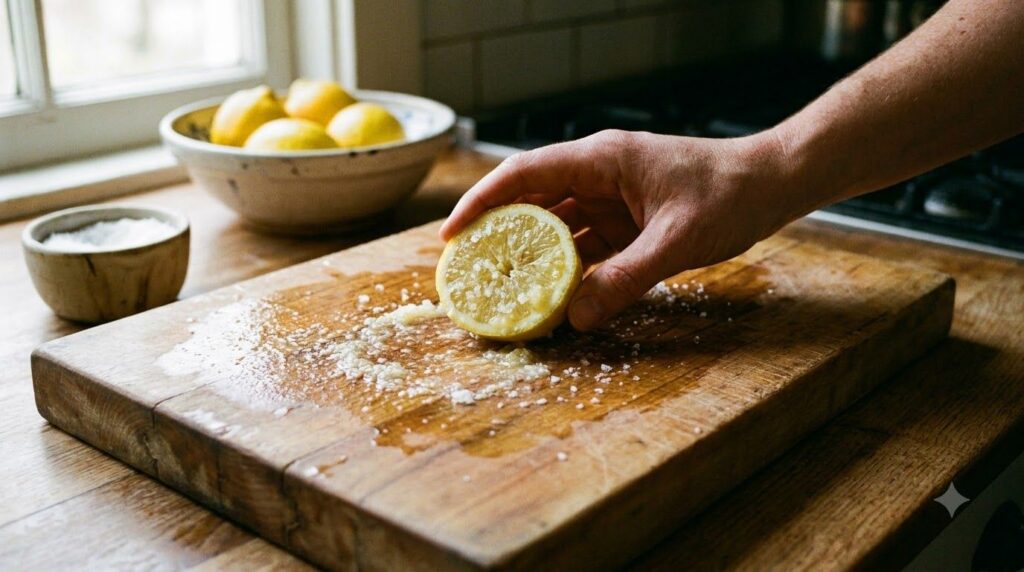
Naturally sanitize and deodorize your wooden and plastic cutting boards.
Servings: 1 cutting board
Prep time: 2 minutes
Cook / chill / rest time: 10 minutes
Ingredients:
- Lemon: 1/2
- Coarse salt: 2 tablespoons
Instructions:
- Rinse your cutting board with water.
- Sprinkle the coarse salt evenly over the surface of the cutting board.
- Using the cut side of the lemon half, scrub the salt into the board. The lemon juice helps lift stains and kill bacteria, while the salt acts as an abrasive.
- Let the salt and lemon mixture sit on the board for 10 minutes.
- Scrape off the mixture with a scraper or the back of a knife, then rinse the board thoroughly with hot water.
Storage / Serving / Usage Note:
Perform this cleaning ritual regularly, especially after cutting raw meat, to keep your cutting boards hygienic and fresh.
Recipe 6: Coffee Maker Descaler
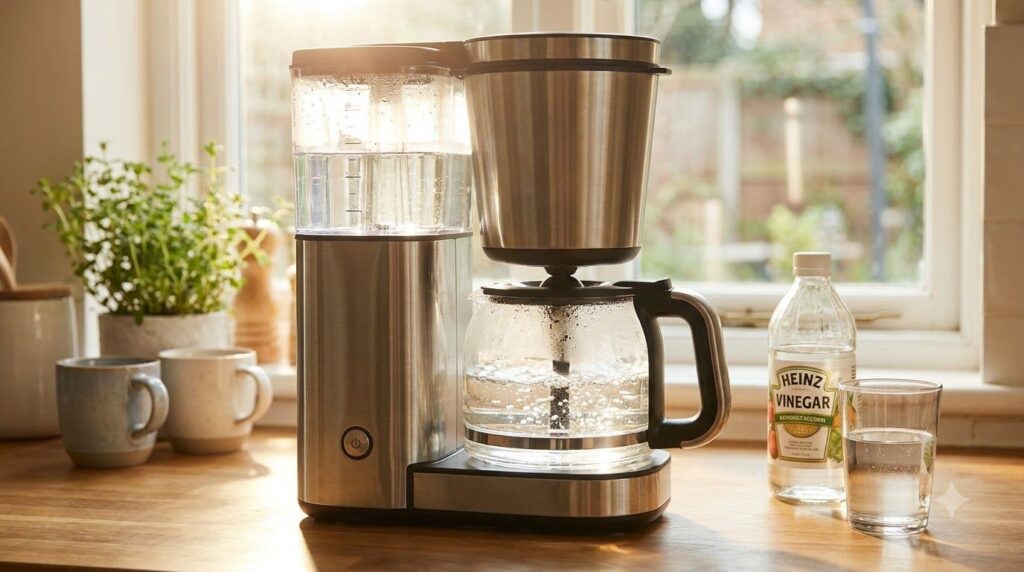
Remove mineral buildup from your coffee maker for optimal performance and taste.
Servings: 1 coffee maker
Prep time: 1 minute
Cook / chill / rest time: 1-2 hours
Ingredients:
- White vinegar: 1 cup
- Water: 2 cups
Instructions:
- Empty any old coffee grounds and water from your coffee maker.
- Fill the water reservoir with a mixture of 1 cup white vinegar and 2 cups water.
- Place an empty carafe on the warming plate.
- Start a brewing cycle. When the carafe is about half full, turn off the coffee maker and let it sit for 30 minutes to an hour. This allows the vinegar to work on the mineral deposits.
- Turn the coffee maker back on and let it complete the brewing cycle.
- After the vinegar solution has run through, repeat the brewing process 2-3 times with fresh, plain water to rinse out any lingering vinegar taste or smell.
Storage / Serving / Usage Note:
Descale your coffee maker monthly (or more often if you have hard water) to keep it running efficiently and your coffee tasting great.
Recipe 7: Grease Splatter Remover
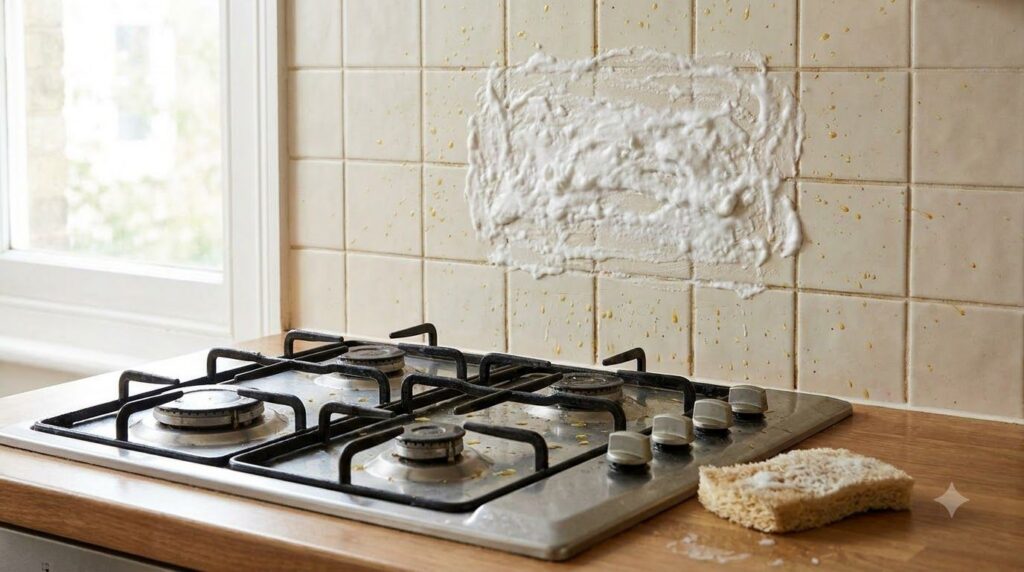
Effortlessly lift grease splatters from stovetops, backsplashes, and range hoods.
Servings: As needed
Prep time: 2 minutes
Cook / chill / rest time: 15-30 minutes
Ingredients:
- Baking soda: 1/4 cup
- Water: 2 tablespoons (or enough to form a thick paste)
- Sponge or cloth: 1
Instructions:
- In a small bowl, mix the baking soda with just enough water to create a thick, spreadable paste.
- Apply the paste directly onto the grease splatters or stained areas on your stovetop, backsplash, or other kitchen surfaces.
- Let the paste sit for 15-30 minutes. For very old or stubborn grease, you can leave it on for an hour.
- After the resting time, use a damp sponge or cloth to gently scrub the area. The baking soda will help to cut through the grease.
- Wipe away the paste and rinse the area with a clean, damp cloth until all residue is removed.
Storage / Serving / Usage Note:
Use this hack as soon as you notice grease splatters for the easiest removal. For delicate surfaces, test in an inconspicuous area first.
Recipe 8: Stovetop Burner Cleaner
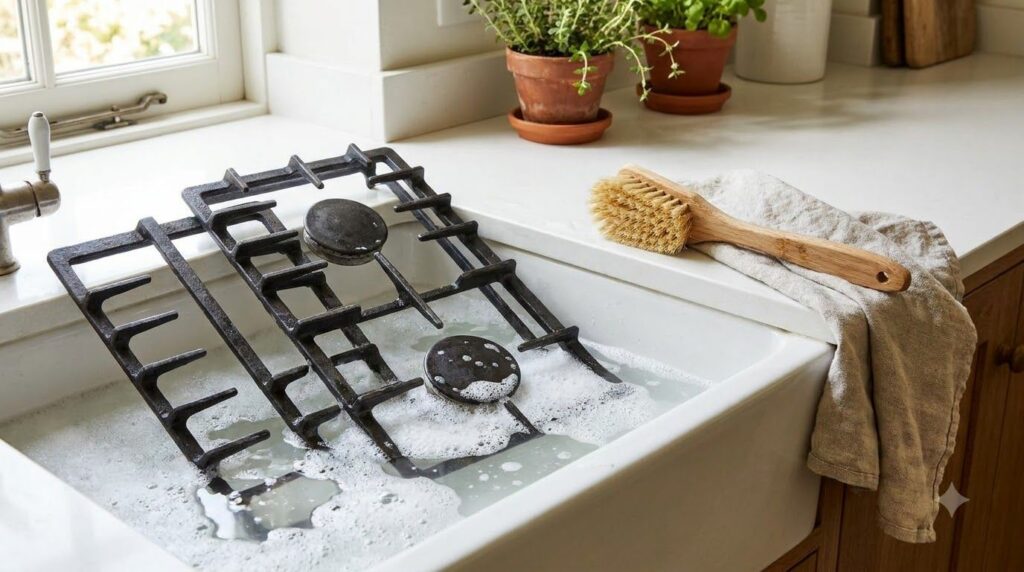
Restore the shine to your stovetop burners and grates, removing cooked-on food and grease.
Servings: 4-6 burners/grates
Prep time: 5 minutes
Cook / chill / rest time: 30 minutes to 1 hour
Ingredients:
- Baking soda: 1/2 cup
- Dish soap: 2 tablespoons
- Warm water: 1/4 cup (or more to make a paste)
- Scrub brush or old toothbrush: 1
- Microfiber cloth: 1
Instructions:
- Ensure your stovetop is cool. Remove burner grates and caps (if applicable).
- In a bowl, mix the baking soda, dish soap, and enough warm water to create a thick, spreadable paste.
- Apply the paste generously to the dirty burner grates and caps, ensuring all soiled areas are covered.
- Let the paste sit for at least 30 minutes, or up to an hour for heavy buildup, to allow it to break down the grime.
- Using a scrub brush or old toothbrush, vigorously scrub the grates and caps to remove cooked-on food and grease.
- Rinse all parts thoroughly under warm running water until they are clean and free of paste. Dry completely with a microfiber cloth before placing them back on the stovetop.
Storage / Serving / Usage Note:
Regular cleaning of your stovetop burners will prevent severe buildup, making future cleans much easier.
Simple Tips for Best Results
- Act Fast: The sooner you address a spill or stain, the easier it will be to clean.
- Test First: Always test any cleaning solution on an inconspicuous area, especially on delicate surfaces or finishes, to ensure it doesn’t cause damage or discoloration.
- Use Warm Water: Warm or hot water often helps activate cleaning agents like baking soda and vinegar and can loosen grime more effectively.
- Gloves On: While these hacks use natural ingredients, it’s always a good idea to wear gloves to protect your hands, especially if you have sensitive skin.
- Ventilate: Even natural cleaners can create strong odors (like vinegar). Ensure good ventilation in your kitchen while cleaning.
FAQ
How do these natural ingredients work to clean?
Baking soda (sodium bicarbonate) is a mild abrasive and a natural deodorizer. White vinegar (acetic acid) is acidic, which helps break down mineral deposits, grease, and grime, and also acts as a disinfectant. Together, they create a powerful, non-toxic cleaning duo.
Are these hacks safe for all types of cookware?
Most of these hacks are generally safe for stainless steel, cast iron (when seasoned correctly), and some ceramic-coated pots. However, avoid harsh scrubbing on non-stick surfaces, and always check manufacturer instructions for specific cookware types. For aluminum, vinegar can sometimes cause discoloration, so use with caution.
Can I mix different cleaning agents for a stronger solution?
No, it’s generally not recommended to mix cleaning agents, even natural ones, without knowing their chemical reactions. For instance, mixing vinegar with hydrogen peroxide or bleach can create harmful fumes. Stick to the combinations outlined in these recipes.
Final Thoughts
Saying goodbye to burnt pot stains and other kitchen grime doesn’t have to mean resorting to harsh chemicals. These 8 DIY kitchen cleaning hacks harness the power of simple, natural ingredients like white vinegar, baking soda, and lemon to bring back the sparkle to your cookware and surfaces. Embrace these eco-friendly methods for a cleaner, healthier, and more inviting kitchen space. Happy cleaning!