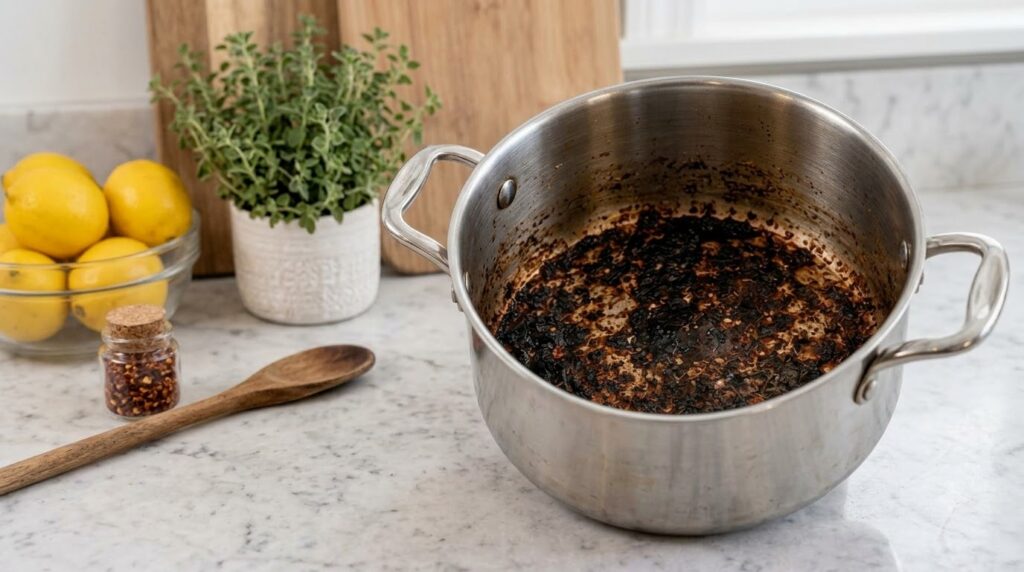
Say Goodbye to Burnt Pot Stains! Easy DIY Cleaning Hacks for Your Kitchen
Oh no, a burnt pot? We’ve all been there! Before you consider replacing your favorite pan, know that tough, cooked-on messes don’t have to be a permanent fixture. With a few common household ingredients and these simple DIY cleaning hacks, you can restore your cookware and other kitchen items to their sparkling best.
This guide empowers you to tackle even the most stubborn stains using natural and effective methods. From rescuing burnt pots to refreshing your microwave, get ready to make your kitchen shine!
Quick Overview
- Main topic: DIY Kitchen Cleaning Hacks
- Best for: Removing stubborn stains, descaling, and shining kitchen items
- Number of recipes: 7 (cleaning methods)
- Prep style: Simple, natural ingredient-based cleaning
- Reader benefit: Cost-effective, eco-friendly, and effective cleaning solutions
Recipe 1: Restore Burnt Pots with Vinegar & Baking Soda
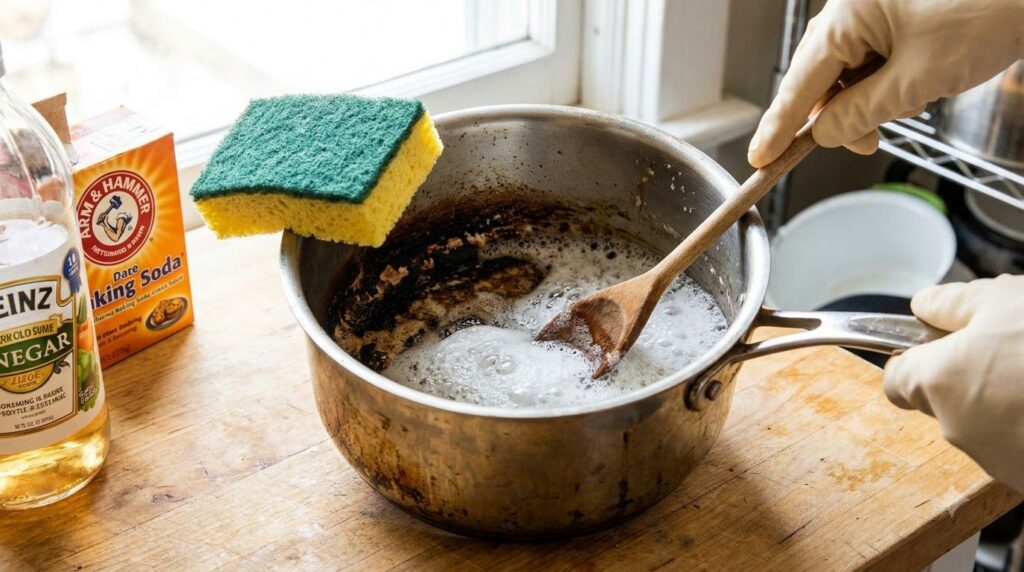
Say goodbye to those frustrating burnt pot stains with this surprisingly simple and effective method.
Servings: 1 pot
Prep time: 5 minutes
Cook / chill / rest time: 10-15 minutes (fizzing)
Ingredients:
- Water: thin layer (enough to cover the bottom)
- White vinegar: about 1 cup
- Baking soda: 2 tablespoons
- Dish soap: a few drops
Instructions:
- Fill the bottom of your pot with a thin layer of water. Add about 1 cup of white vinegar to the water.
- Bring the mixture to a boil on the stove over medium-high heat, then carefully remove the pot from the heat.
- Sprinkle 2 tablespoons of baking soda into the pot. Let it sit and fizz for 10-15 minutes. The fizzing action helps to loosen the burnt bits.
- Carefully drain the liquid from the pot, then add a few drops of dish soap. Use a non-abrasive sponge or scrubber to gently scrub away the loosened burnt bits.
- Rinse the pot thoroughly with clean water until all residue is gone.
Storage / Serving / Usage Note: For best results, clean the pot immediately after draining the liquid. This method is generally safe for stainless steel and enameled pots, but avoid on non-stick surfaces if scrubbing is too harsh.
Recipe 2: Tackle Tough Grease with Lemon & Salt
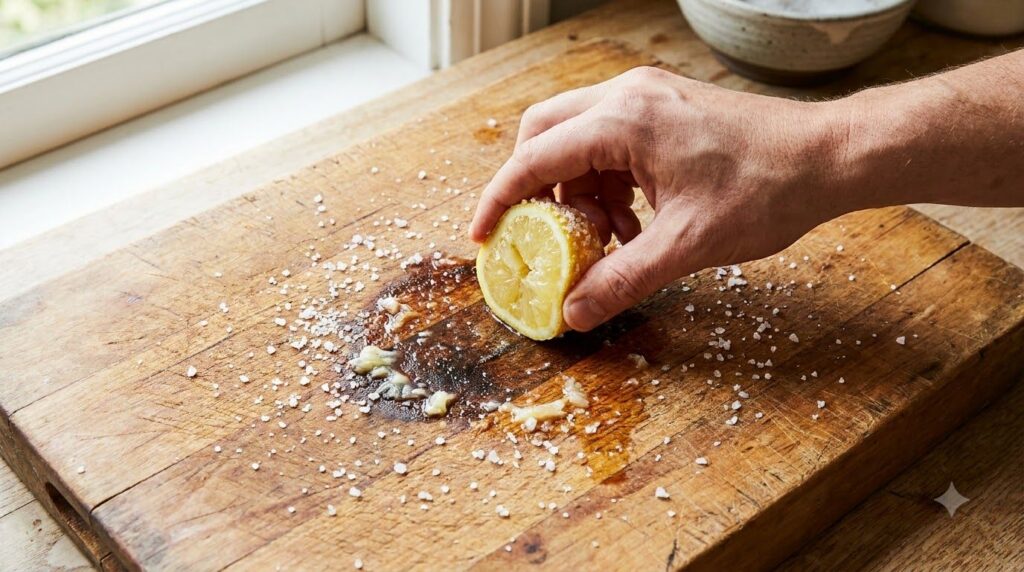
This natural abrasive and degreaser combo is perfect for cutting boards, stainless steel sinks, and stubborn coffee stains on mugs.
Servings: As needed
Prep time: 2 minutes
Cook / chill / rest time: 5 minutes
Ingredients:
- Lemon: 1 half
- Coarse salt: 1-2 tablespoons
Instructions:
- Cut a lemon in half.
- Sprinkle the coarse salt generously onto the surface you wish to clean (e.g., a cutting board, sink, or coffee-stained mug).
- Use the cut side of the lemon half as a scrubber, pressing and rubbing it into the salted surface in circular motions. The salt acts as an abrasive, and the lemon juice helps break down grease and stains.
- Let the mixture sit for about 5 minutes for tough stains.
- Rinse thoroughly with warm water and wipe clean.
Storage / Serving / Usage Note: Ideal for wood cutting boards, stainless steel, and ceramic. Avoid using on delicate or porous surfaces that might react to acid or abrasives.
Recipe 3: Descale Kettles & Coffee Makers with White Vinegar
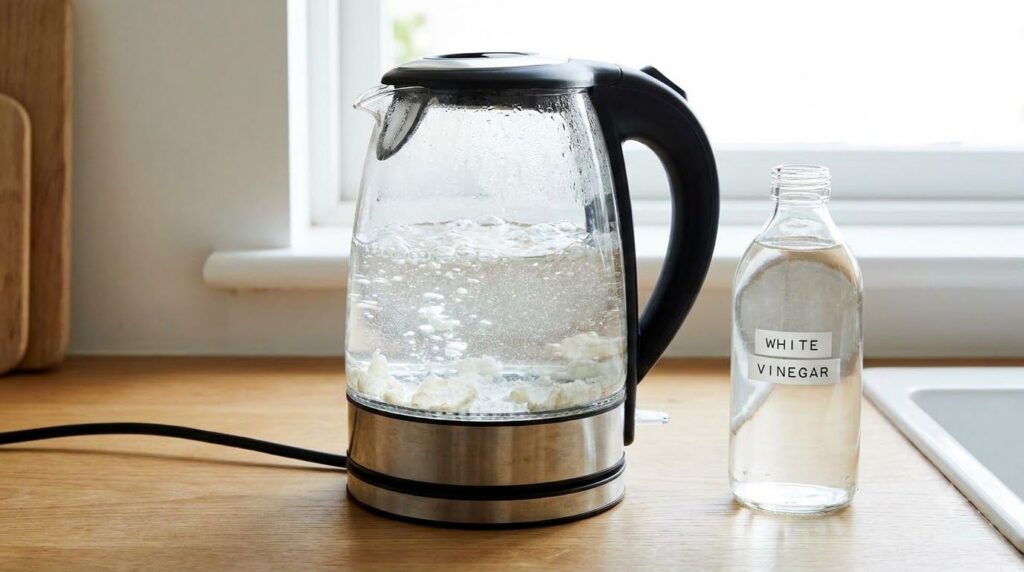
Mineral buildup (limescale) can affect the performance and taste of your hot beverages. White vinegar is a fantastic natural descaler.
Servings: 1 appliance
Prep time: 2 minutes
Cook / chill / rest time: 30 minutes to 1 hour (soaking)
Ingredients:
- White vinegar: 1 cup
- Water: 2-3 cups (or enough to fill the appliance)
Instructions:
- For kettles: Fill the kettle with 1 cup of white vinegar and 2-3 cups of water. Bring the mixture to a boil, then unplug and let it sit for at least 30 minutes, or up to an hour for heavy buildup.
- For coffee makers: Fill the water reservoir with a 1:2 ratio of white vinegar to water (e.g., 1 cup vinegar, 2 cups water). Run the coffee maker through half a brewing cycle, then turn it off and let it sit for 30 minutes.
- After soaking, discard the vinegar solution.
- Rinse the kettle or run plain water through the coffee maker for 2-3 cycles to flush out any remaining vinegar taste or smell.
Storage / Serving / Usage Note: Repeat monthly or as needed to prevent heavy mineral buildup. Do not use on appliances with specific descaling instructions that advise against vinegar.
Recipe 4: Whiten Stained Mugs with Baking Soda & Peroxide
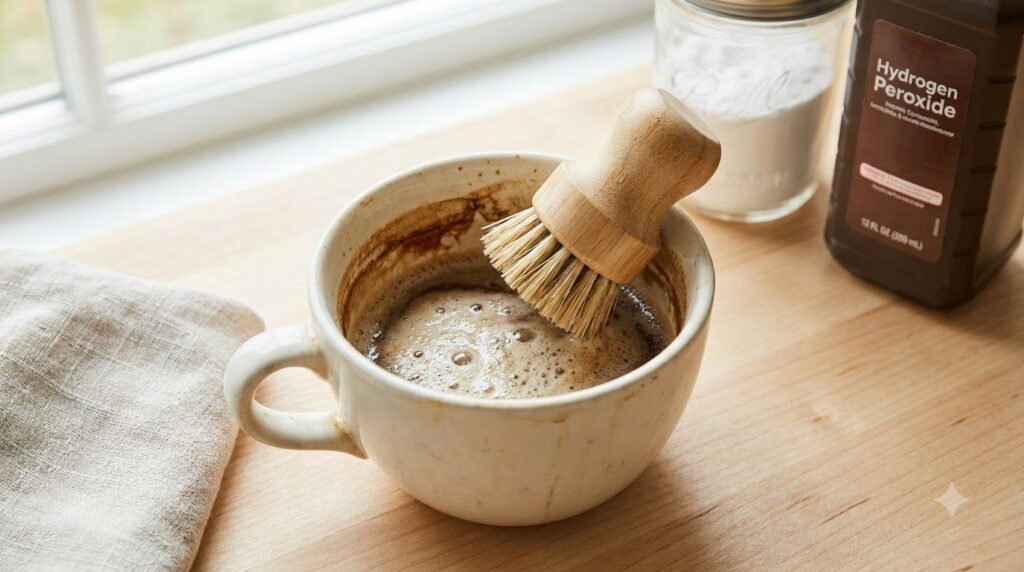
Over time, coffee and tea can leave stubborn stains inside ceramic mugs. This gentle yet effective paste will make them look new.
Servings: 1-2 mugs
Prep time: 2 minutes
Cook / chill / rest time: 10 minutes
Ingredients:
- Baking soda: 1 tablespoon
- Hydrogen peroxide (3%): 1-2 tablespoons (to form a paste)
Instructions:
- In a small bowl, mix the baking soda and hydrogen peroxide to form a thick paste.
- Apply the paste directly to the stained areas inside your mug.
- Let the paste sit on the stains for about 10 minutes.
- Using a soft brush or sponge, gently scrub the stained areas. The stains should lift away easily.
- Rinse the mug thoroughly with warm water.
Storage / Serving / Usage Note: This method is best for ceramic or porcelain mugs. Always test a small, inconspicuous area first if unsure about your mug’s material. Avoid for decorative or hand-painted mugs.
Recipe 5: Shine Stainless Steel with Olive Oil
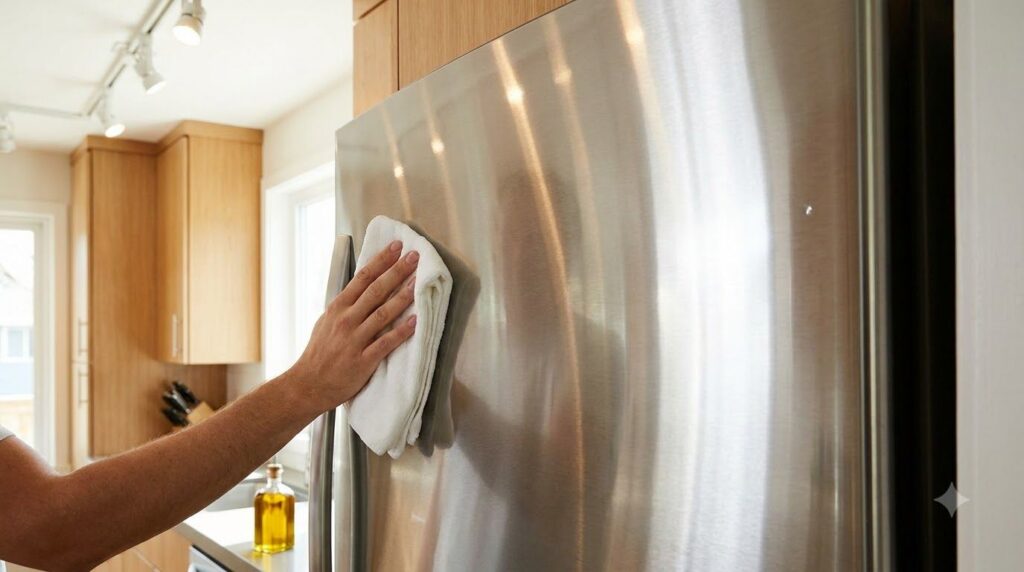
Fingerprints and smudges can dull the look of stainless steel. Olive oil offers a simple, natural way to restore their shine and repel new marks.
Servings: As needed
Prep time: 1 minute
Cook / chill / rest time: None
Ingredients:
- Olive oil: a few drops
- Soft cloth (microfiber recommended): 2
Instructions:
- First, clean your stainless steel surface (e.g., appliance, sink) with warm soapy water to remove any dirt or residue, then dry it completely with a clean cloth.
- Apply a few drops of olive oil to a clean, soft cloth.
- Rub the olive oil onto the stainless steel surface, moving in the direction of the grain of the steel.
- Using a second clean, dry cloth, buff the surface until it shines and no oily residue remains.
Storage / Serving / Usage Note: Use sparingly; a little goes a long way. This method not only shines but also helps repel fingerprints and water spots. Repeat weekly or as needed.
Recipe 6: Deep Clean Your Microwave with Lemon & Water
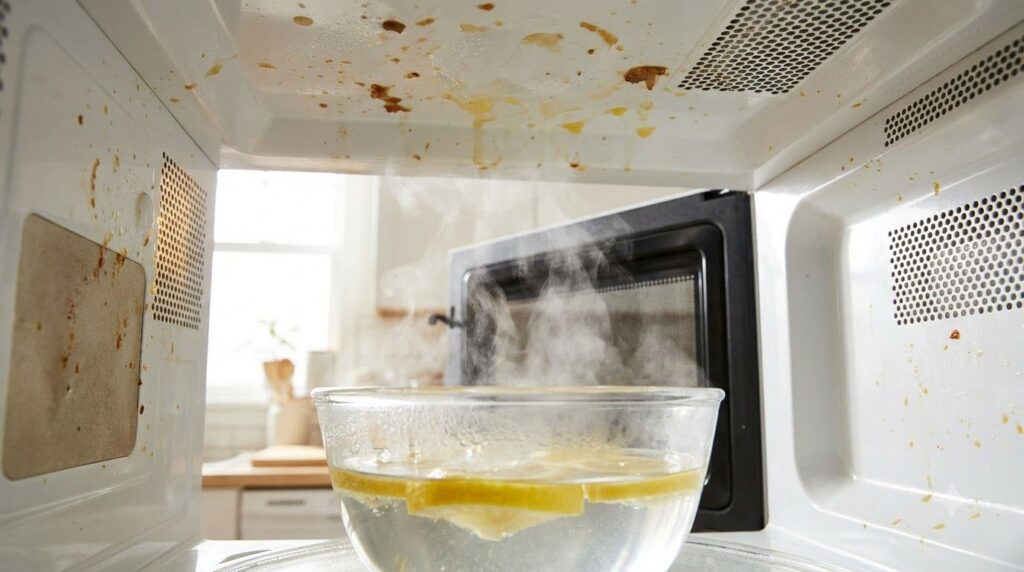
Easily remove dried-on food splatters and banish lingering odors from your microwave using the power of steam and lemon.
Servings: 1 microwave
Prep time: 2 minutes
Cook / chill / rest time: 5-10 minutes (steaming)
Ingredients:
- Water: 1 cup
- Lemon: 1 half, sliced or squeezed
Instructions:
- Pour 1 cup of water into a microwave-safe bowl. Add the sliced lemon half (or the juice of half a lemon).
- Place the bowl in the microwave and heat on high power for 3-5 minutes, or until the water comes to a rolling boil and the inside of the microwave is steamy.
- Leave the bowl inside the microwave with the door closed for another 5 minutes. The steam will loosen dried-on food particles.
- Carefully remove the hot bowl. Wipe down the inside of the microwave with a clean cloth or sponge. The grime should wipe away easily.
Storage / Serving / Usage Note: This method is safe for all microwaves. For very stubborn grime, you can add a tablespoon of white vinegar to the water. Always use oven mitts when removing the hot bowl.
Recipe 7: Natural Oven Cleaner Paste
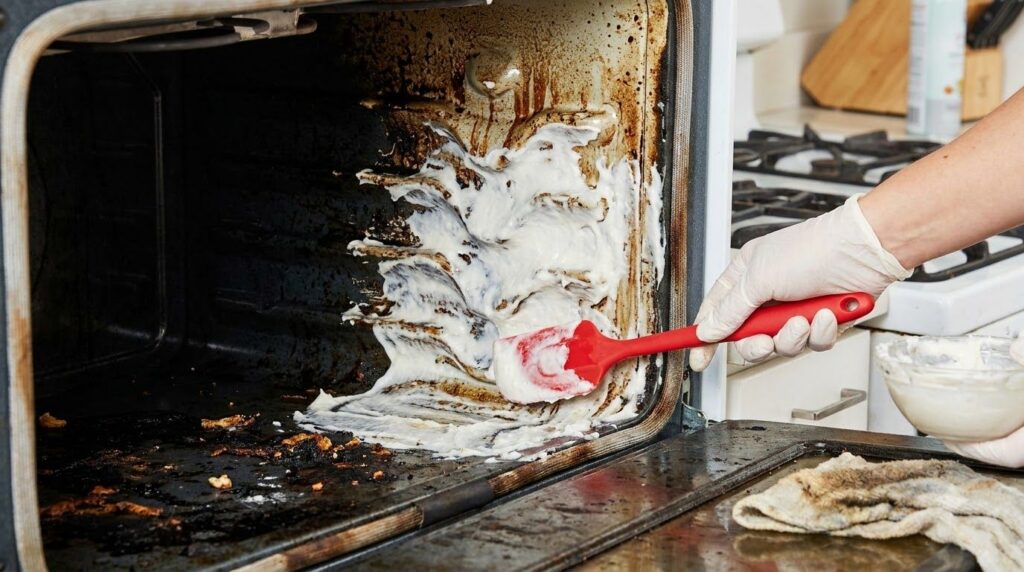
Forget harsh chemicals! A simple baking soda paste can effectively cut through baked-on grease and grime in your oven, leaving it fresh and clean.
Servings: 1 oven
Prep time: 5 minutes
Cook / chill / rest time: 12 hours (overnight)
Ingredients:
- Baking soda: ½ cup
- Water: 3 tablespoons (or enough to form a thick paste)
- White vinegar: in a spray bottle (for rinsing)
Instructions:
- Remove oven racks (if applicable, clean separately with hot soapy water).
- In a small bowl, mix the baking soda with water, adding a little at a time, until you form a thick, spreadable paste.
- Spread the paste all over the interior surfaces of your oven, avoiding heating elements and the fan. Focus on heavily soiled areas.
- Let the paste sit overnight, or for at least 12 hours, to allow it to work on the baked-on grime.
- After the resting period, use a damp cloth or spatula to scrape away the dried baking soda paste and loosened grime.
- Spray the remaining baking soda residue with white vinegar. It will fizz, helping to lift any leftover bits. Wipe clean with a damp cloth until all residue is removed.
Storage / Serving / Usage Note: This method is safe for all ovens. Ensure good ventilation when using vinegar. Repeat every few months or as needed for a sparkling oven.
Simple Tips for Best Results
- Act Fast: The sooner you tackle a mess, the easier it is to clean.
- Gather Your Tools: Keep baking soda, white vinegar, lemons, dish soap, and a few soft cloths handy.
- Test First: Always test a new cleaning method on an inconspicuous area, especially for delicate materials.
- Read the Grain: For stainless steel, always clean and polish in the direction of the metal’s grain to avoid streaks.
- Rinse Thoroughly: Always rinse off cleaning solutions completely to avoid residue buildup.
- Ventilate: Ensure good airflow when using vinegar or other cleaning solutions.
FAQ
What makes baking soda and vinegar so effective for cleaning?
Baking soda is a mild abrasive that helps scrub away grime, and it’s also a natural deodorizer. When combined with vinegar (an acid), it creates a fizzing reaction that helps loosen stubborn baked-on food and mineral deposits, making them easier to remove.
Are these DIY cleaning methods safe for all types of cookware?
While these methods are generally safe for stainless steel, glass, and ceramic, it’s always best to exercise caution. Avoid abrasive scrubbing on non-stick coatings, and for delicate or specialty cookware, refer to the manufacturer’s cleaning instructions. Always test on a small, inconspicuous area first.
How often should I deep clean my kitchen items?
The frequency depends on usage. For items like burnt pots, clean them as soon as the mess occurs. For kettles and coffee makers, descaling every 1-3 months is often recommended. Ovens might need a deep clean every few months, while microwaves can benefit from a lemon steam clean weekly or bi-weekly depending on how often they’re used.
Final Thoughts
Restoring your burnt pots and other kitchen essentials doesn’t have to be a daunting task. With these easy, effective, and natural DIY cleaning hacks, you can confidently tackle common kitchen messes and keep your cookware looking pristine. Embrace these simple solutions and enjoy a cleaner, brighter kitchen!