Dreaming of naturally stronger, healthier, and more vibrant hair? You’re not alone! Many of us are looking for simple, natural, and affordable ways to boost our hair’s health. Good news! The secret might just be hiding in your spice rack.
Rosemary oil has been a beloved natural remedy for centuries, cherished for its incredible benefits for hair. And the best part? You can easily make your own potent rosemary oil right in your kitchen!
Why Rosemary Oil is Your Hair’s Best Friend
Rosemary (Rosmarinus officinalis) isn’t just a fragrant herb for cooking; it’s a powerhouse for hair health. Here’s why:
- Stimulates Hair Growth: Rosemary oil is known to improve circulation to the scalp, which means more nutrients can reach your hair follicles. This increased blood flow can wake up dormant follicles and encourage new hair growth.
- Strengthens Hair: Regular use can help strengthen hair strands, reducing breakage and making your hair appear thicker and fuller.
- Soothes Scalp: Its anti-inflammatory properties can help calm an irritated or itchy scalp, creating a healthier environment for hair to thrive.
- Adds Shine: Beyond growth, rosemary oil can also contribute to healthier-looking, shinier hair.
- Natural and Affordable: Skip the expensive salon treatments and chemical-laden products. DIY rosemary oil is a cost-effective and natural alternative.

Easy DIY Rosemary Oil Recipe
Making your own rosemary oil is incredibly simple and requires just a few ingredients. You’ll be amazed at how easy it is to create this natural beauty elixir!
What You’ll Need:
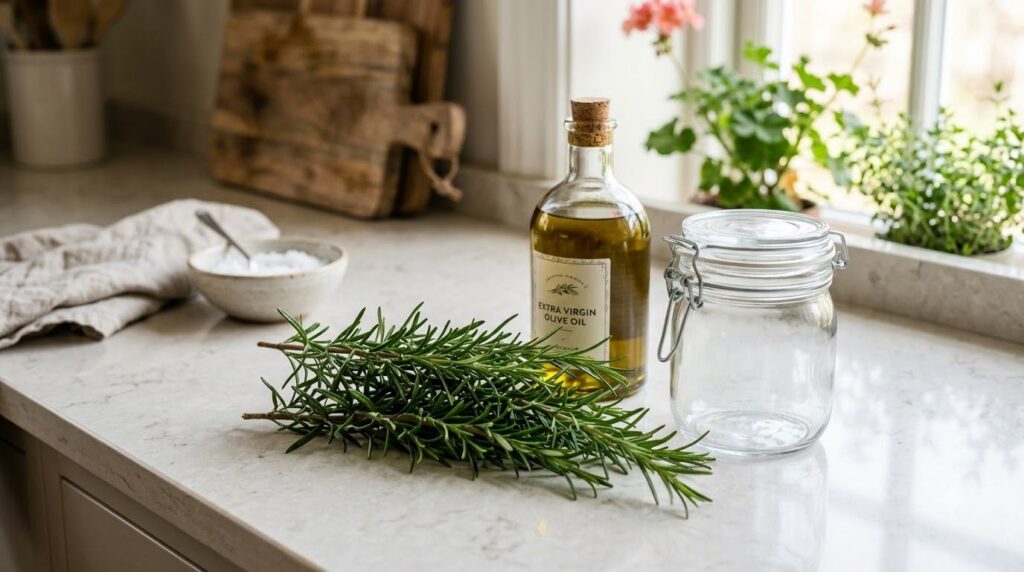
- Fresh Rosemary Sprigs: About 3-4 sprigs. Fresh is best for potency.
- Carrier Oil: 1 cup (e.g., extra virgin olive oil, jojoba oil, almond oil, grapeseed oil). Choose an oil that suits your hair type. Olive oil is excellent for most, while jojoba is great for mimicking natural scalp oils.
- Glass Jar with Lid: Clean and sterilized.
- Small Saucepan (optional, for warmer method): Or a slow cooker/double boiler.
- Strainer or Cheesecloth: For separating the oil from the herbs.
- Dark Glass Bottle: For storage.
Method 1: The Cold Infusion (Slower, More Potent)
- Wash and Dry Rosemary: Thoroughly wash your fresh rosemary sprigs and ensure they are completely dry to prevent mold. Pat them with a clean towel and let them air dry for a few hours.
- Chop Rosemary: Roughly chop the rosemary sprigs to release their natural oils.
- Combine in Jar: Place the chopped rosemary into your clean glass jar.
- Add Carrier Oil: Pour the carrier oil over the rosemary, ensuring the herbs are fully submerged.
- Infuse: Seal the jar tightly and place it in a sunny spot (like a windowsill) for 2-4 weeks. Give it a gentle shake every day or two.
- Strain: After the infusion period, strain the oil through a fine-mesh strainer or cheesecloth into your dark glass storage bottle, pressing down on the rosemary to extract all the oil.
Method 2: The Warm Infusion (Quicker)
- Prepare Rosemary: Wash, dry, and chop your rosemary as in Method 1.
- Combine in Pan: Place the chopped rosemary and carrier oil in a small saucepan or the top part of a double boiler.
- Gently Heat: Heat the mixture over very low heat for 1-2 hours. Do not let the oil boil; you want a gentle warmth to extract the oils. If using a slow cooker, set it to low for 2-4 hours.
- Cool and Strain: Let the oil cool completely. Then, strain the oil through a fine-mesh strainer or cheesecloth into your dark glass storage bottle.
How to Use Your Homemade Rosemary Oil for Hair Growth
Once your beautiful rosemary oil is ready, incorporating it into your routine is easy:
- Scalp Massage: This is the most popular and effective method. Apply a few drops of rosemary oil directly to your scalp. Gently massage with your fingertips for 5-10 minutes. This helps the oil penetrate and stimulates blood flow. Leave it on for at least 30 minutes, or even overnight, before shampooing.
- Pre-Shampoo Treatment: Mix a few drops of rosemary oil with a tablespoon of your chosen carrier oil (like coconut or olive oil) and apply it to your scalp and hair. Leave on for 1-2 hours, then wash your hair as usual.
- Add to Shampoo/Conditioner: For an easy boost, add 2-3 drops of rosemary oil to your favorite shampoo or conditioner each time you wash your hair. Do not add it directly to the whole bottle, as this can dilute its potency over time.

Tips for Best Results
- Consistency is Key: Like any natural remedy, rosemary oil requires patience and consistent use. Aim to use it 2-3 times a week for at least 3-6 months to see noticeable results.
- Patch Test: Before full application, always do a patch test on a small area of your skin to check for any sensitivities or allergic reactions.
- Storage: Store your homemade rosemary oil in a dark glass bottle in a cool, dark place to maintain its potency. It can last for several months.
- Don’t Overdo It: A little goes a long way. Using too much can make your hair greasy.
Embrace Your Natural Beauty Journey
Creating your own rosemary oil is a rewarding step towards a more natural and holistic beauty routine. It’s an affordable, empowering way to take control of your hair health, fostering growth and strength from within.
Give it a try and watch your hair transform into the strong, healthy, and beautiful locks you’ve always dreamed of! Share your journey with us in the comments below – we’d love to hear your experiences and tips!