Are you looking for a simple, affordable way to support your skin’s youthful glow? We’ve got a popular beauty routine that many people are trying, combining two common household ingredients: Vaseline and baby oil! This easy homemade gel is often shared online as a secret to achieving smoother, more hydrated-looking skin, and it’s something worth learning about for your nightly beauty regimen.
We all know how expensive skincare products can be, especially those marketed for ‘anti-aging.’ But what if a little ingenuity and a couple of drugstore staples could offer a similar feeling of luxury and hydration? This DIY approach focuses on intense moisture and creating a protective barrier, which can help skin appear more supple and reduce the look of fine lines often associated with dryness.
Why Vaseline and Baby Oil?
Let’s break down why these two ingredients are often chosen for this popular DIY blend:
Vaseline Original Healing Jelly
- Occlusive Power: Vaseline is a powerful occlusive, meaning it forms a protective barrier on the skin’s surface. This barrier helps to lock in moisture, preventing transepidermal water loss. When skin retains moisture effectively, it can look plumper and smoother.
- Skin Barrier Support: By creating this barrier, Vaseline can help support the skin’s natural healing process and protect it from environmental aggressors.
Baby Oil (Mineral Oil)
- Lightweight Moisture: Most baby oils are primarily mineral oil, which is a non-comedogenic (meaning it’s unlikely to clog pores) and lightweight moisturizer. It helps to soften and smooth the skin.
- Easy Spreading: Adding baby oil to Vaseline makes the mixture much easier to spread across the skin, creating a more pleasant application experience.
- Gentle for Many Skin Types: Mineral oil is known for being gentle and well-tolerated by many skin types, including sensitive skin.
The DIY Anti-Aging Gel Recipe
Ready to try this simple mixture for yourself? Here’s how you can create your own anti-aging gel at home.
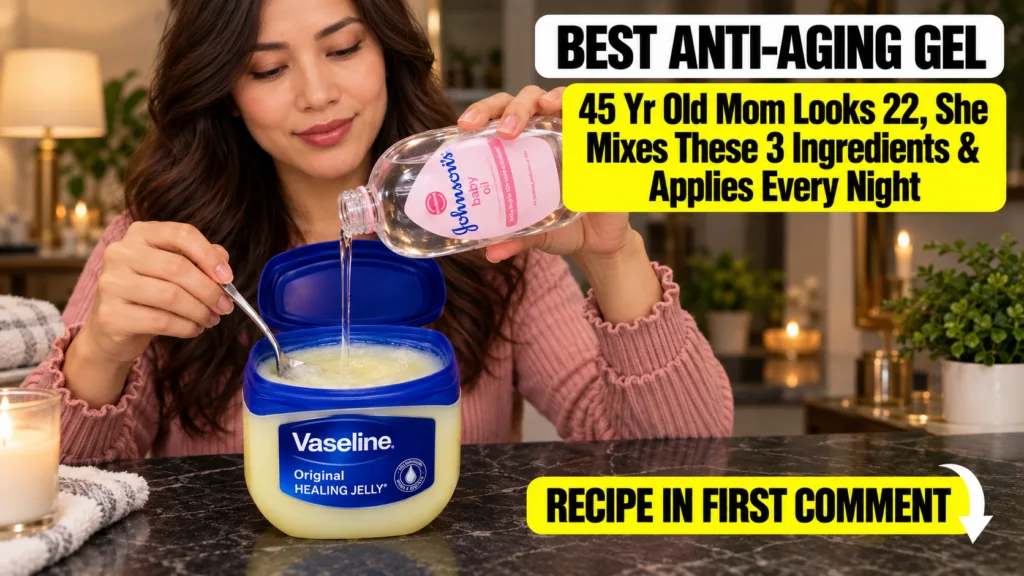
What You’ll Need:
- A clean, empty container (e.g., a small jar or pot with a lid)
- 1 part Vaseline Original Healing Jelly
- 1 part baby oil (e.g., Johnson’s baby oil or any mineral oil-based baby oil)
- A clean spoon or spatula for mixing
Instructions:
- Measure Your Ingredients: Scoop your desired amount of Vaseline into your clean container. For example, if you use two tablespoons of Vaseline, you’ll use two tablespoons of baby oil.
- Add Baby Oil: Pour an equal amount of baby oil into the container with the Vaseline.
- Mix Thoroughly: Using your clean spoon or spatula, thoroughly mix the two ingredients together. Keep mixing until you achieve a smooth, consistent gel-like texture. It might take a few minutes to fully combine.
- Store: Once mixed, secure the lid on your container. Store at room temperature away from direct sunlight.
How to Incorporate into Your Routine
This DIY anti-aging gel is best used as the last step in your evening skincare routine to lock in all your other products.
- Cleanse & Tone: Start with your usual cleansing and toning routine.
- Serums & Treatments: Apply any serums or targeted treatments you typically use.
- Moisturizer (Optional): If you use a lightweight moisturizer, apply that next.
- Apply the Gel: Take a small amount of your homemade anti-aging gel and gently warm it between your fingertips. Lightly pat and spread a thin layer over your face, neck, and décolletage. Be mindful around the delicate eye area.
Important Considerations Before You Try This
While this DIY method is widely discussed and easy to make, it’s essential to keep a few things in mind for safe and effective use:
- Patch Test is Crucial: Always perform a patch test on a small, inconspicuous area of your skin (like behind your ear or on your inner arm) 24-48 hours before applying it to your face. This helps check for any adverse reactions or sensitivities.
- Non-Comedogenic Claims: While mineral oil and Vaseline are generally considered non-comedogenic, individual skin reactions can vary. If you have very oily or acne-prone skin, monitor closely for any breakouts.
- No Medical Claims: Please remember that this DIY gel is intended to help moisturize and smooth the appearance of skin. It is not a medical treatment for skin conditions, nor does it guarantee to permanently remove wrinkles or reverse aging.
- Cleanliness is Key: Always use clean hands and clean utensils when preparing and applying your DIY products to prevent bacterial contamination.
- Listen to Your Skin: If you experience any irritation, redness, or discomfort, discontinue use immediately.
This DIY anti-aging gel offers an accessible way to boost your skin’s hydration and achieve a smoother, more radiant appearance. With its simple ingredients and easy preparation, it’s a beauty hack that many people are incorporating into their routine. Give it a try and see how your skin responds!